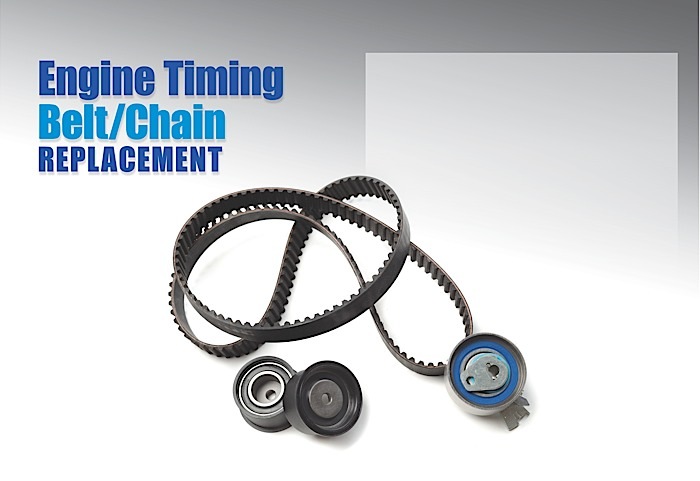
In this article, we’re going to be looking at the timing components on the Mazda line of vehicles. We’ll be focusing on timing belts since they are considered a service item and will present the greater amount of opportunity for replacement. Then, we’ll take a quick look at the timing chain engines.
Since belts are a service item, timing belt service needs to be part of a good maintenance plan. We recommend that the timing belt be replaced, along with the water pump and accessory drive belts, at 90,000-100,000 miles. If the customer has budget concerns, we’ll explain why we recommend the pump replacement and let them take the gamble that it will last another 100,000 miles — with the understanding that if the pump should fail, this labor-intensive job will have to be redone.
As is the case with the majority of the jobs involving maintenance, some present problems that will get you under the timing covers. The most common will be coolant or oil leaks and noise issues. In some cases, you may see a car with a poor-run complaint that will be the result of a loose belt from the tensioner spring failing, or a damaged crank sensor as a result of the belt starting to fail.
With timing chain engines, the most common complaint is noise from the stretched chain or variable valve timing actuator. Or, you may see P0011 or P0012 DTCs, indicating the cam timing is not as expected. This code could be as simple as the oil level being low, but it could also be the result of a worn chain or actuator.
We’ll take a look at the nuts and bolts and some of the pitfalls you may encounter on belt replacement for an early 2000 Mazda. As always, review your service information before you dive in. It may just save you some valuable time and needless aggravation.
BELT REPLACEMENT STEPS & TIPS
1) With the 626 in the bay, the first step is to remove the battery cable, spark plugs and cam and crank sensors.
2) Remove the drive belts and move the power steering pump to the side, with hoses attached.
3) Remove the valve cover and position the engine so the number one cylinder is on top dead center of the compression stroke.
4) While holding the crankshaft in position with an appropriate tool, remove the crank pulley bolt, the pulley and washer-like guide plate.
Note: Be careful with the pulley; the crankshaft position sensor rotor is mounted on the rear of the pulley and can be easily damaged if it’s mishandled. If you’re working on a car where the timing belt has failed, it’s not at all uncommon for this rotor or the crank sensor to be damaged by pieces of the broken belt. More than one tech has pulled his hair out with a no-start problem after replacing a broken belt.
5) With the pulley out of the way, remove the dipstick tube along with the upper and lower belt covers.
6) Support the engine and remove the right-side engine mount.
7) Before you go any further, confirm that your timing marks are in the correct location.
8) Using an Allen wrench, turn the tensioner clockwise to permit removal of the timing belt tensioner spring from its pin on the block.
Note: Don’t be tempted to simply back off the tensioner with the spring attached — that will result in stretching the spring beyond its useable tolerance. This engine relies solely on that spring tension to maintain the proper belt tension, so it’s critical that it be in good shape. While they’re available separately — and many timing belt “kits” will include them — there’s no reason to damage the original.
9) With the spring unhooked, remove the timing belt and check the tensioner and idler pulley for any bearing play or noisy operation that would lead to replacement.
10) Also be sure that the tensioner pulley moves freely on its pivot so the previously mentioned spring will maintain the proper tension.
Note: This is the time to take a hard look at the camshaft and crankshaft seals for any sign of leakage that would lead to replacement. Some shops choose to replace seals as part of the recommended maintenance. With the belts out of the way, water pump replacement is simply a nuts-and-bolts procedure.
11) Reassembly is straightforward, replacing the items removed in the reverse order. Be sure to confirm that the timing marks are aligned, and the tensioner spring is doing its job.
12) It’s always a good idea to turn the engine over a couple of revolutions and be certain the marks return where expected before installing the covers.
13) When filling the cooling system, be sure to fill the radiator or engine, as well as the reservoir, and let the engine warm up until you get good heat in the car, indicating the system is free of air pockets.
V6 PROCEDURE
The procedure for the V6 is very similar with a couple of exceptions that are pointed out in your service info.
1) On this engine, you’ll have to remove the motor mount before the belt covers, and the belt tensioner uses a hydraulic piston rather than the simple spring like on the four-cylinders. You should be familiar with the tensioner system and how to service it; don’t use excessive pressure or be in a hurry when pressing the tensioner plunger into its housing, to pin the plunger. And if there’s any sign of leakage, replace it. Remember, the goal is to give the customer another 100,000 miles of service without repeating this procedure.
2) Like the four-cylinder model, check the idler and tensioner pulleys for noise or play, and be sure the tensioner assembly works smoothly.
3) On the six, there’s a suggested procedure for belt installation with the goal being to end with some tension between the crank and cams, with the slack on the tensioner side.
4) With the belt in place, install the tensioner plunger, remove the pin and rotate the engine two revolutions.
5) Confirm your timing marks and be sure that the plunger extended as specified in your service information system.
There are plenty of Mazdas equipped with timing belts still on the road and this can spell service opportunities for your shop.
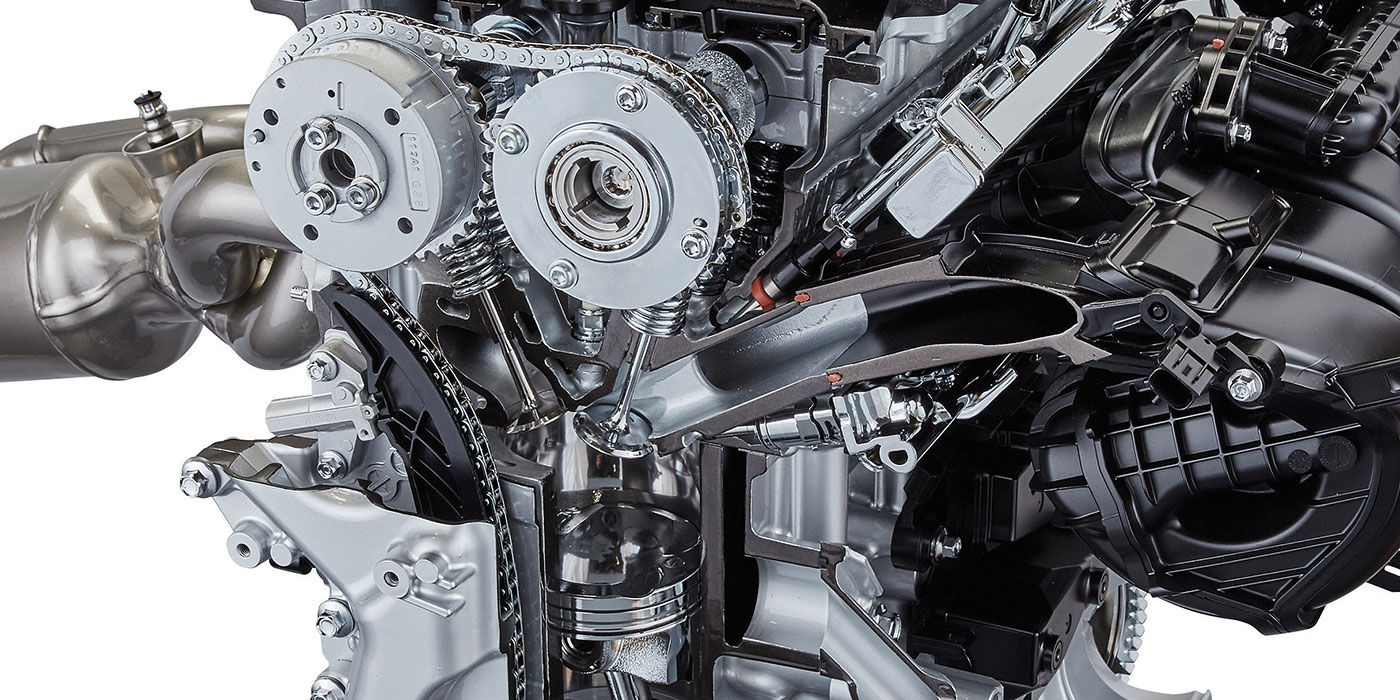
TIMING CHAINS
Mazda made the move to timing chains in the mid-2000s, and since we won’t get into the nuts and bolts of chain replacement, you would be better served referring to your service information. I’m always saying to check your service info before you dig into an unfamiliar job.
It is never more important than it is in this case. You may be saying, “I’ve done plenty of timing chains, how different can it be?”
With Mazdas, the difference is that none of the gears or shafts are fitted with keys or pins to secure their location on the shafts. Special tools are a “must have” for setting valve timing. They are readily available and affordable and come with a plate to hold the cams in place and a pin that screws into the block to locate the crankshaft at TDC.
The valve cover is going to have to come off and some parts removal may be necessary to access the plug you need to remove to install the TDC locator.
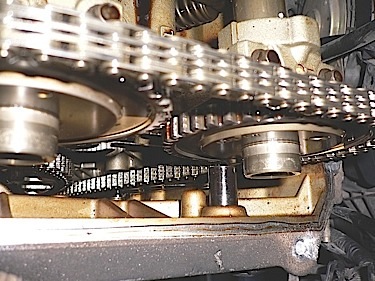
With the tools in place, the chain and tensioner can be installed and the pulleys torqued to spec, while holding the cams on the hex section provided. A diamond-impregnated washer behind the gear is tasked with locking the pulley to the shaft. Note: It’s recommended that this washer be replaced whenever it’s removed — cheap insurance on a job you don’t want to do twice.
Using this system, the cam timing and chain tension can be right where the engineers want it. This does mean extra care has to be taken when quoting jobs like front crank seal replacement. Since removing the crank bolt releases the crank gear, allowing it to rotate on the shaft, the only safe way is to install the locking tools.
Like any other chain, there can be some teething problems, and Mazda had some when it went to chains. If you have a Mazda come in the shop with a rattling noise in the front cover/valve cover area, the noise is likely coming from the variable valve actuator/intake cam gear assembly. Mazda TSB #01-012/12 covers the diagnostics and procedures well; the problem is the lock pin on the actuator is damaged, allowing uncontrolled movement of the components. The TSB covers how to replace the actuator pulley without replacing the timing chain and refers you to the service manual if the chain needs to be replaced. If you’re working on a vehicle that is not eligible for factory warranty consideration, I wouldn’t take any chances and would recommend a chain replacement to your customer.
You’ll notice the first thing the TSB talks about is oil change history. As techs, we are well aware of the importance of oil services on all vehicles, but it does seem that these timing chain and turbocharged-equipped engines have a lower tolerance for such neglect. As mentioned earlier, when we were talking about timing belts, it’s important that we remind our customers that routine services be performed so their vehicle can deliver the longevity they expect. With many carmakers going to more efficient, smaller turbocharged engines, it’s more important than ever.
Remember, you’re not selling, but simply giving them the service and advice they expect from a professional like you.