Digging In
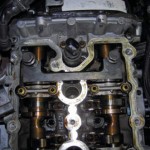
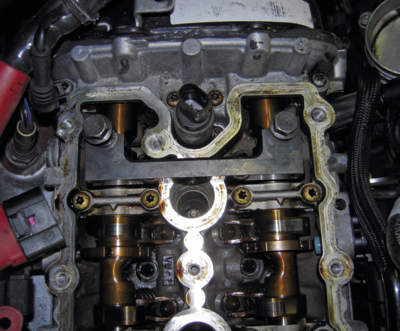
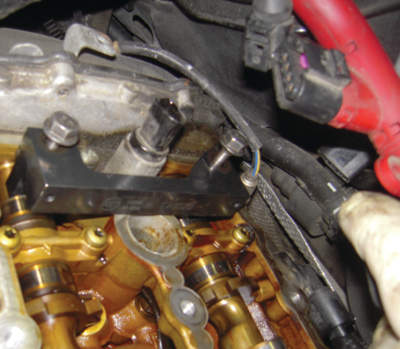
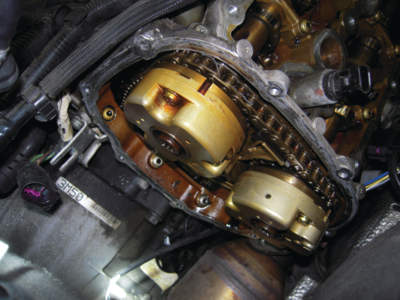
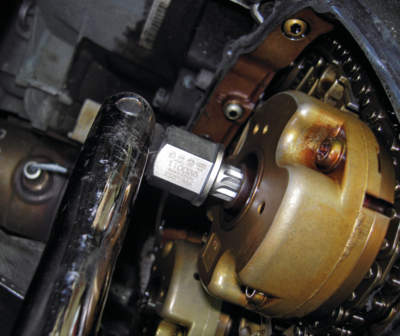
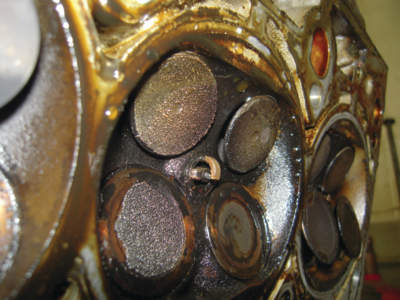
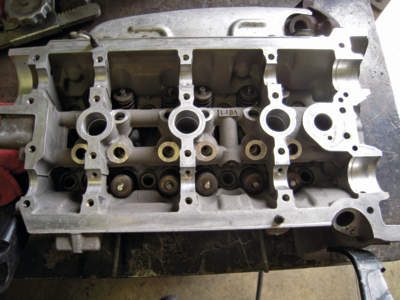
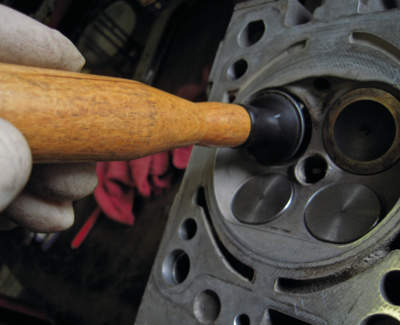
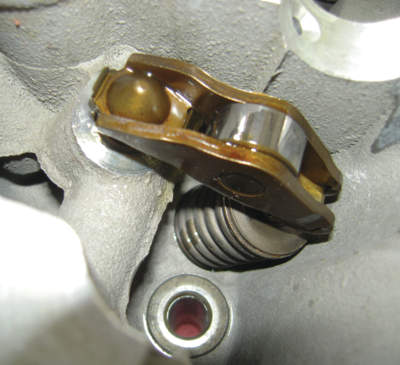
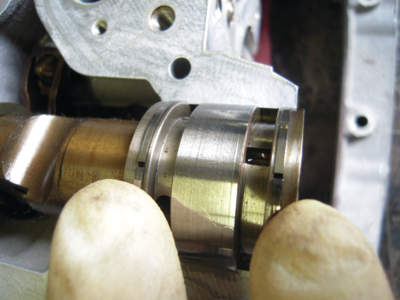
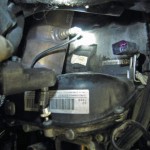
1. After removing both cam covers, rotate the engine and look for the threaded holes in the cams at the very back of the cylinder head (see Photo 2), and see if the lock-down tool will thread into the cams (see Photo 3). We’ve always found the driver’s side would lock down and the right side would be off at least a few teeth, preventing us from securing the lock-down tool (see Photo 4).
You now know the cams are out of time and you have low or no compression in the right-side cylinders, so
it’s time to pull the cylinder head and see how many valves are bent.
2. Pull the sealing plug and install the crankshaft lock-down pin on the driver’s side of the block near the motor mount (see Photo 5). You might have to rock the crank just slightly to get it properly centered.
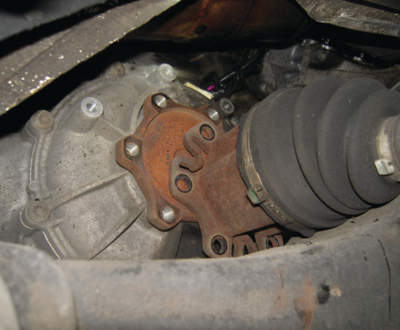
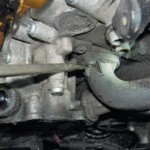
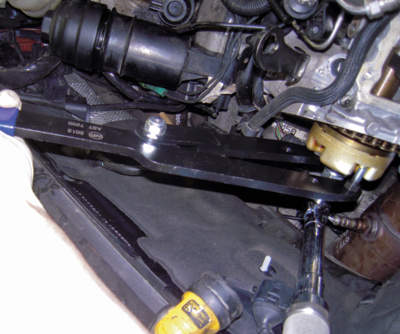
3. If you remove the bolts that hold the right axle to the transmission (see Photo 6), you’ll find it’s much easier to remove the exhaust from the manifold.
4. Drain the oil and coolant from the block.
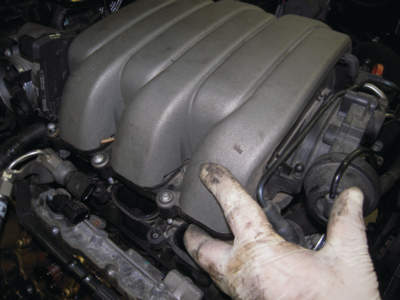
5. Remove the upper intake (see Photo 7).
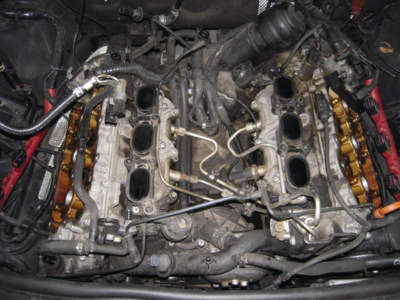
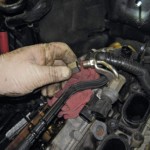
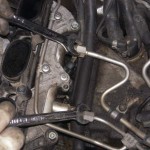
6. Once the upper intake is removed, you’ll see the lower intake manifold with the fuel rail and fuel lines (see Photo 8). Disconnect the low-pressure line (see Photo 9). The high-pressure line must be relieved down to residual pressure before disconnecting any high-pressure components (see Photo 10 on page 50).
7. Remove the front

coolant tube (see Photo
11).
8. Remove the vacuum pump for the brake booster from the front of the head.
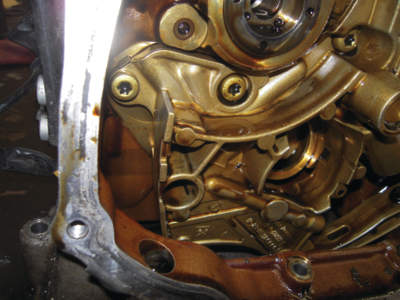
9. Remove the cam sprocket timing cover for the head you’re removing (see Photos 12 and 13).
10. You’re almost ready to remove the cylinder head. The crank is locked into position and the left head you’re not removing has its cams locked down. That will hold the other timing components in proper position while you’re making the repairs on the damaged cylinder head.
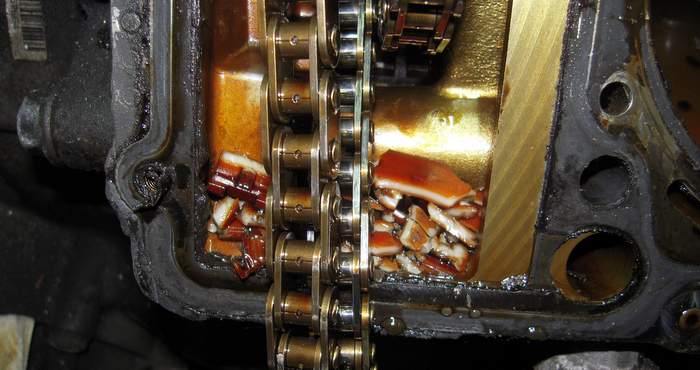
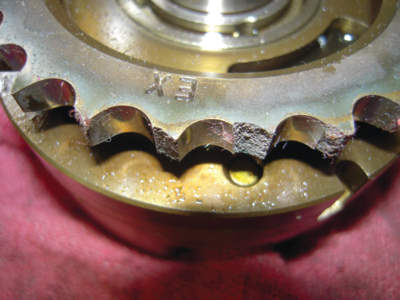
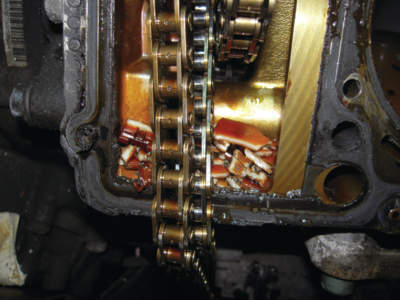
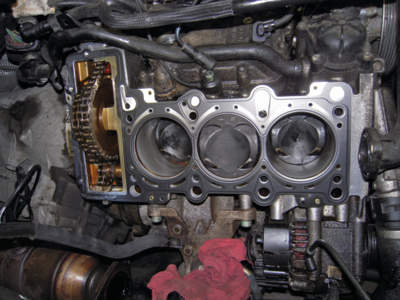
11. Remove the two cam sprocket bolts (see Photo 14). You can remove the sprockets and lay the chain down out of the way. It won’t go anywhere when you remove the head. You can see the sprockets were damaged and several teeth on the exhaust cam are missing, so they’ll need to be replaced (see Photo 15 on page 50).