12. Remove the 22 screws that hold the cam-retaining tray and remove the cams. Remove the 6 screws that hold the chain tensioner to the head and then remove it (see Photo 16).
13. Loosen the cylinder head bolts following the recommended procedure and remove the cylinder head.
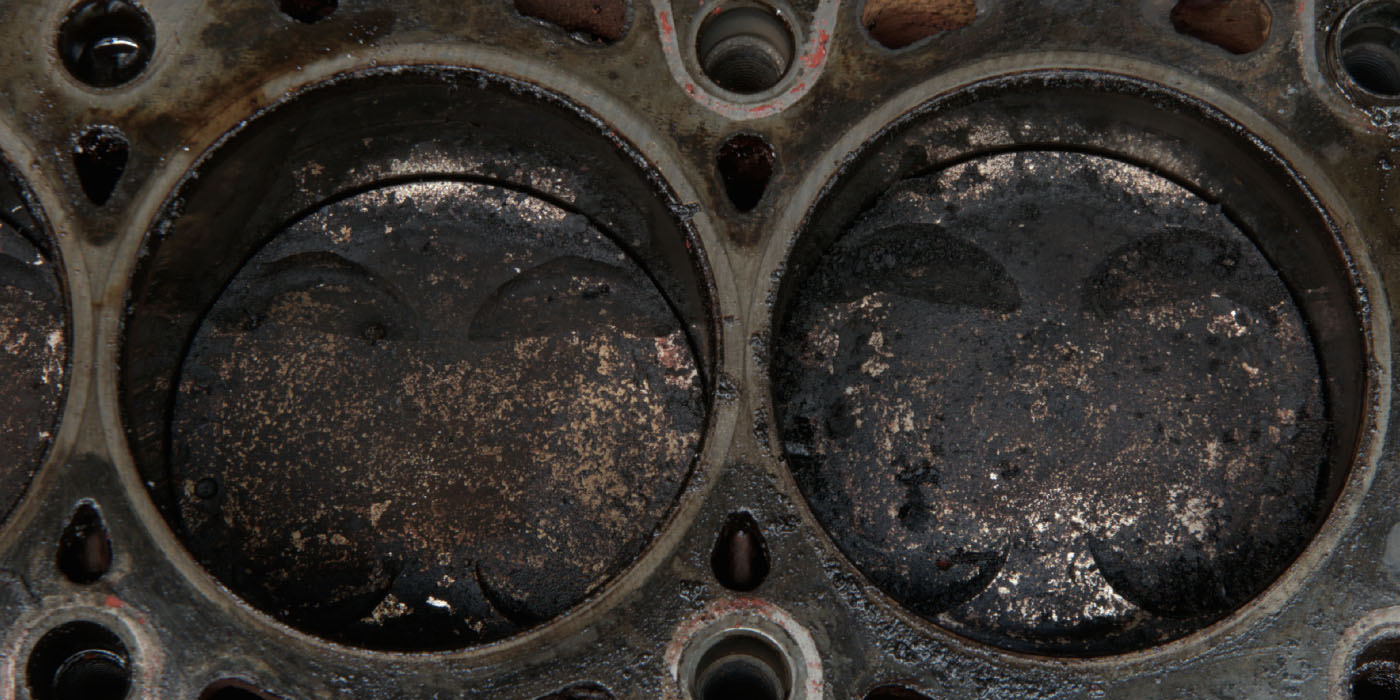
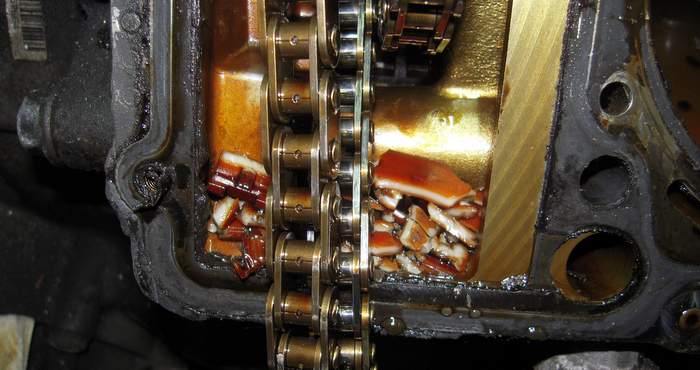
14. You can now see all the pieces of the broken tensioner rail and all the bent valves (see Photos 17 and 18).
15. Remove the rockers and the cam tray and give the head a bath (see Photo 19). You’re now ready to lap in the new valves (see Photo 20). I can’t explain why, but I always worry if the valve keepers are properly positioned (see Photo 21).
16. Once you put the rockers back in position (see Photo 22), you can then place the camshafts into position. The sealing ring gaps can point down or up, but never sideways (see Photo 23).
17. Make sure the cams are close to where they need to be for lockdown with the threaded holes pointing up, and install the cleaned cam retaining tray by following the factory installation guidelines.
18. Now that you’ve cleaned everything, locked down the cams and put the head gasket in place (see Photo 24), it’s time to put the head back on.
Note: When doing a job like this, we always recommend other repairs as we see fit. The timing chain itself can be replaced only if the transmission is out of the way. This job was through an extended service agreement, so we were obviously limited to failed parts, plus all the necessary seals and gaskets. Always replace the head bolts and cam retaining bolts, as they are one-use only.
19. Once the head is on and properly torqued, install the new timing chain tensioner. Lift the chain and wrap it around the sprocket, fit the sprockets on the cams and loosely fit the new sprocket retaining bolts. The cams and crank are locked into proper position, so it doesn’t matter where the sprockets go onto the cams. There are no timing marks. The sprockets should still be loose on the cams.
20. Pretension the chain using counterhold tool t10172 (see Photo 25) and torque the cam bolts. The left and right cylinder head timing chains are not tensioned the same way, so follow the manufacturer’s instructions.
21. The remainder of the job involves reinstalling the timing covers, valve covers, lower intake manifold, coolant cross tube, brake booster pump, intake manifold, exhaust and axle.
22. We always use an airlift to fill the coolant.
23. Finish changing the oil and you’re ready to start the car.
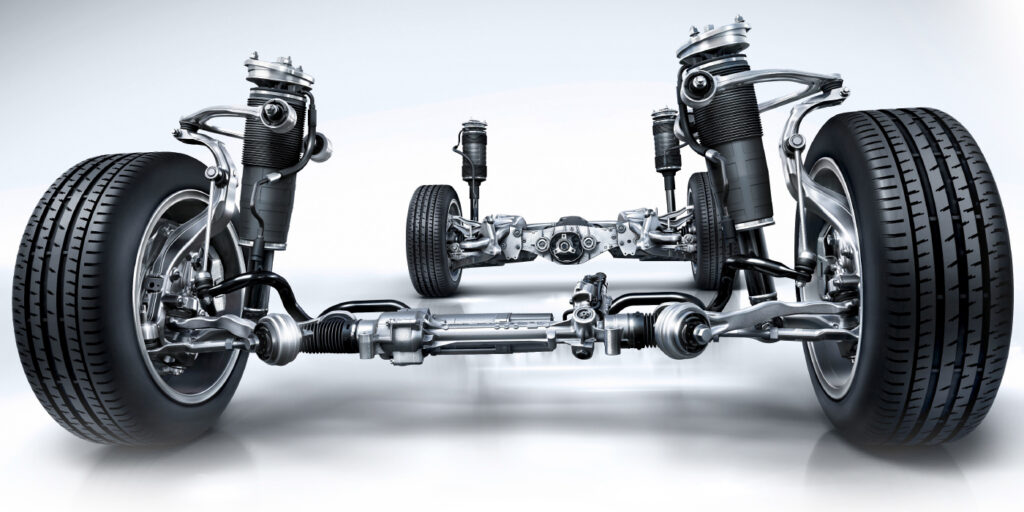
The car wasn’t drivable when it came in so we’ll give it a test drive and listen to the wheel bearings and for suspension noises and see if the vehicle needs any other work. Most of the cars we see with timing chain issues come in with low or no oil on the dipstick, so now would be a good time to stress the importance of regular maintenance.
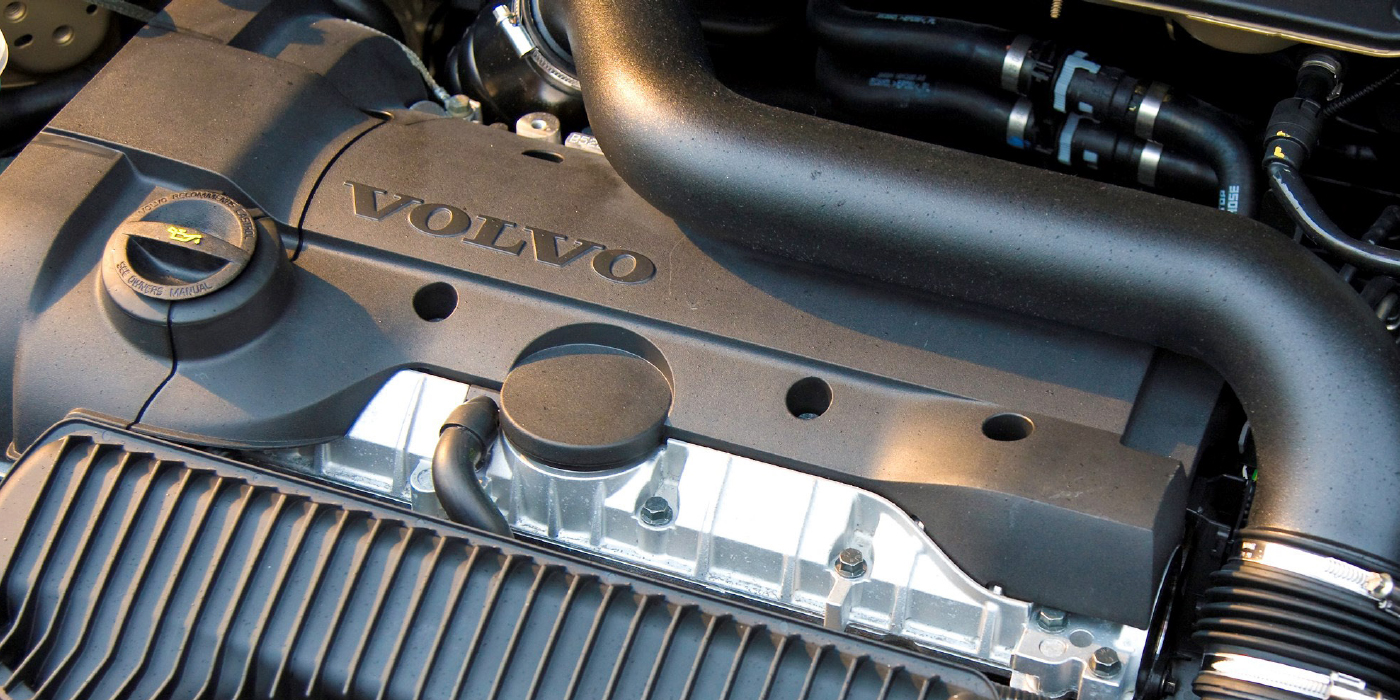
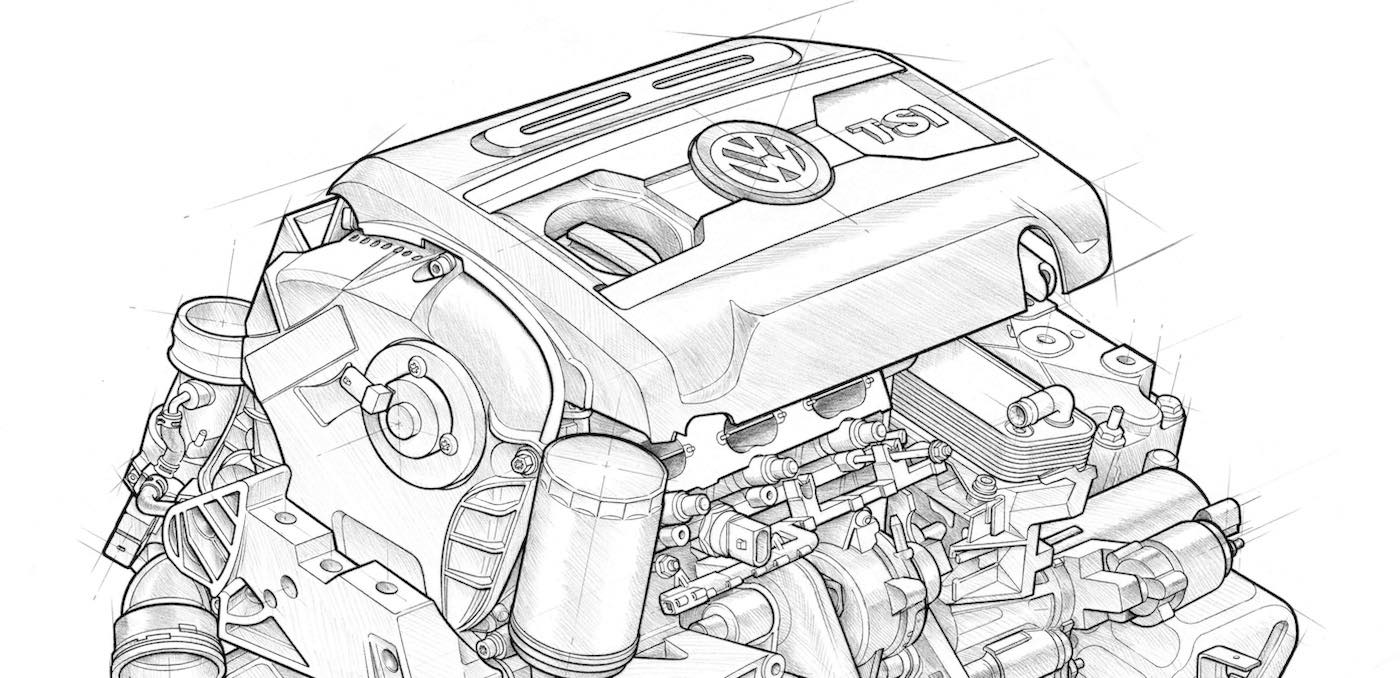
We have also started to see the newer 5- and 4-cylinder engines jumping time. Next month, we will look at the similarities and differences in those engines and how to repair them when their tensioners lose oil.