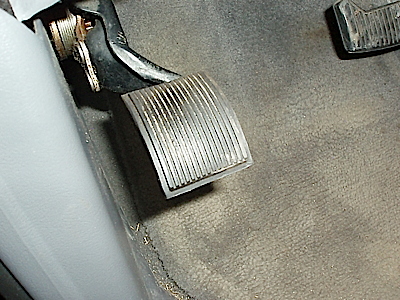
Next, check the pedal height and free play. Some vehicles are designed with low pedal height and, if this is the case, note the pedal height for future reference. In any case, apply the parking brake to see if the pedal height increases. If it does, the rear drum brakes or parking brake shoes are out of adjustment. If the pedal feels spongy, the hydraulic system probably contains air. To fully release the brakes and brake light switches, the brake pedal free play should be at least ½-inch.
With your foot on the brake pedal, observe the brake pedal activity as the engine is started. Vacuum-boosted brakes should pull the pedal down as the engine starts. Hydraulically boosted brakes should bump the brake pedal up as the engine starts.
Begin your road test by creeping from a stop to see if the brakes fully release. If the brakes don’t release after a firm application of the brake pedal, the vacuum booster pushrod or the brake-light switch might be poorly adjusted. With the vehicle rolling about 5 mph, lift your hands away from the steering wheel and gently apply the brakes. If a steering wheel pull exists, see if releasing the brake pedal cures the pulling condition. If it exists, the pull is in the front brakes. If it doesn’t exist, the pull is in the tires or wheel alignment.
If a rear drum brake locks up during a light braking test, we can safely assume that the offending brake has a leaking wheel cylinder or axle seal. If the vehicle passes the parking lot test, it’s ready for you to take it for a spin around the block to check for pedal pulsation, noise and other operational complaints. See Photo 3.
The Lift Inspection
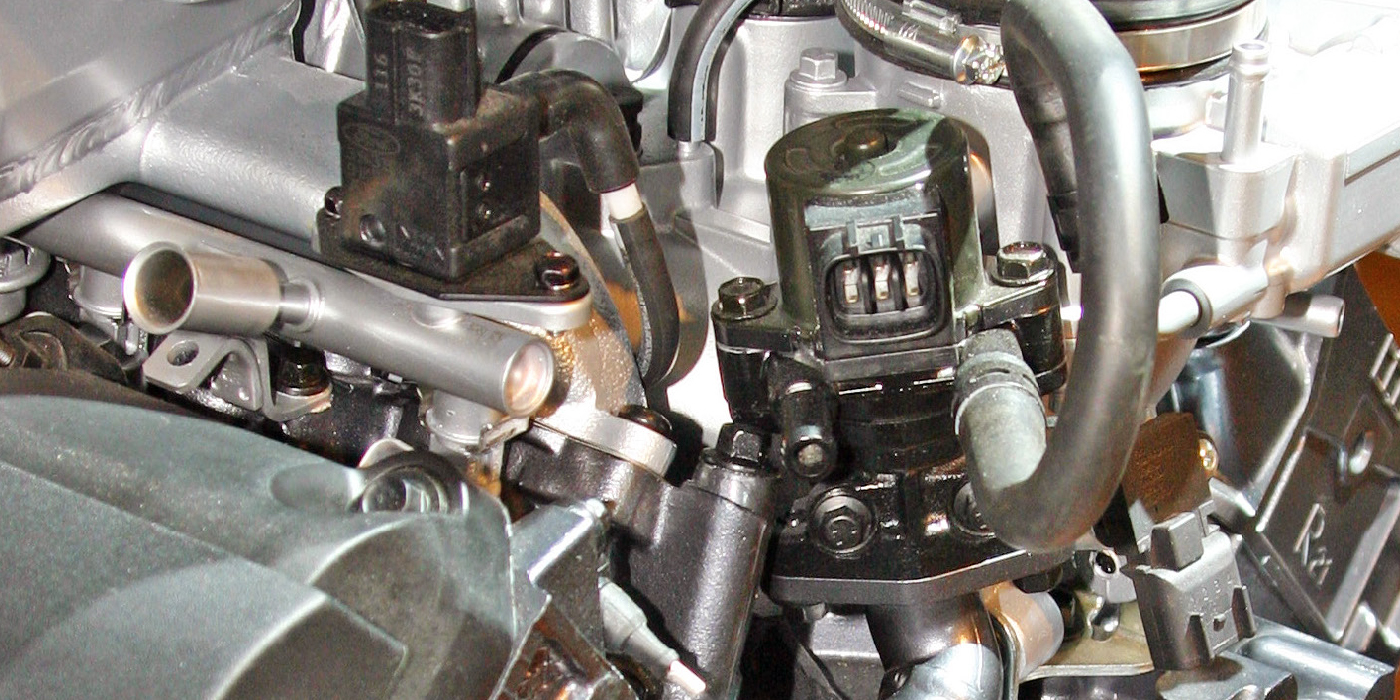
Before removing the wheels, inspect the steel brake lines for corrosion and a close proximity to the exhaust manifolds, pipes and mufflers. In some cases, a modified exhaust can cause a hot-operation pedal response complaint by overheating the brake fluid in the line.
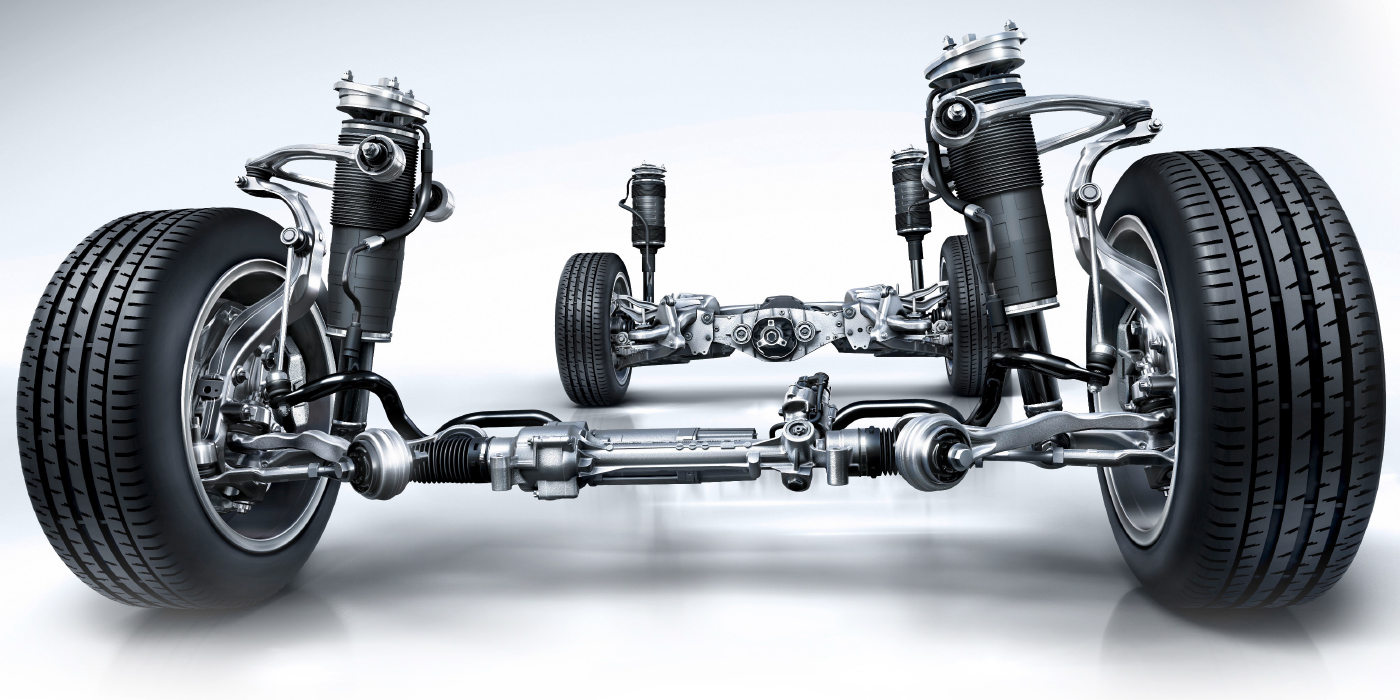
While you’re at it, check the steering and front suspension systems for worn joints and collision damage. Inspect the wheel bearings for looseness and check each wheel to make sure it rotates freely. If a wheel doesn’t rotate freely, the brake caliper piston is sticking or the caliper guide pins are seized.
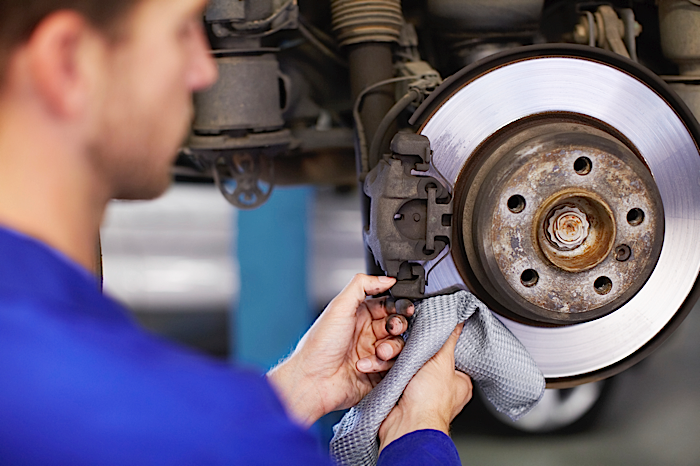
With the wheels removed, inspect the brake hoses for hardening and cracking, and the calipers for fluid leakage. If possible, measure rotor thickness. If a brake rotor is approaching discard level, recommend replacements in axle pairs.
Similarly, if a caliper piston is leaking or sticking, recommend caliper replacements in axle pairs. Last, install the recommended brake friction.
In general, semi-metallic friction is used in heavy-duty towing or hauling applications. Ceramic friction is most often used in passenger car applications because it is dust-free and has excellent noise and stopping power characteristics. Remember that all brake friction manufacturers are meeting recent EPA regulations by eliminating copper from their brake pads, so it’s important to follow the friction manufacturer’s recommendations for your application. In relation to cost, the price of premium brake friction is but a small percentage of the overall repair. So, don’t risk the safety and reliability of a brake repair to save a few dollars on inexpensive brake pads.