This month, we’re going to take a look at timing belt replacement on the increasingly popular Kia line of vehicles. Kia has made strong inroads into the market by offering high-quality vehicles at an affordable price. As underhood car techs, we’re prepared to handle any of these cars: You have the required skills and, with service information that is readily available, there’s no reason you shouldn’t feel comfortable under the hood.
We find most belt replacements are done as a recommended service at 90,000 miles. This is a good opportunity to suggest additional service that is due at the same mileage. At a minimum, any accessory drive belts should be replaced, and it’s also a good idea to suggest water pump replacement at the same time. Even if the pump looks good now, there’s a good chance it won’t last another 90,000 miles. Plus, it’s not a hard sell once the customer is made aware of the labor costs and inconvenience involved in replacing the pump at a later date. The same can be said for camshaft and crank seals; any sign of leakage should initiate replacement.
For timing belt replacement procedures, we’ll take a look at the popular Sportage model first, and then the more complex Sedona twin-cam V6.
Kia Sportage
Introduced in 1995, the first-generation Sportage was Kia’s entry in the hot mini sport-utility segment. The vehicle was powered by a 2.0L inline, 4-cylinder engine, providing 130 hp. Interestingly, in 1997, the Sportage adopted the automobile industry’s first knee airbag.
Discontinued in 2002, the Sportage re-appeared in 2005 (second-generation) and was available with the 4-cylinder powerplant, or a more powerful 2.7L V6 engine rated at 172 hp.
Sportage Timing Service Steps
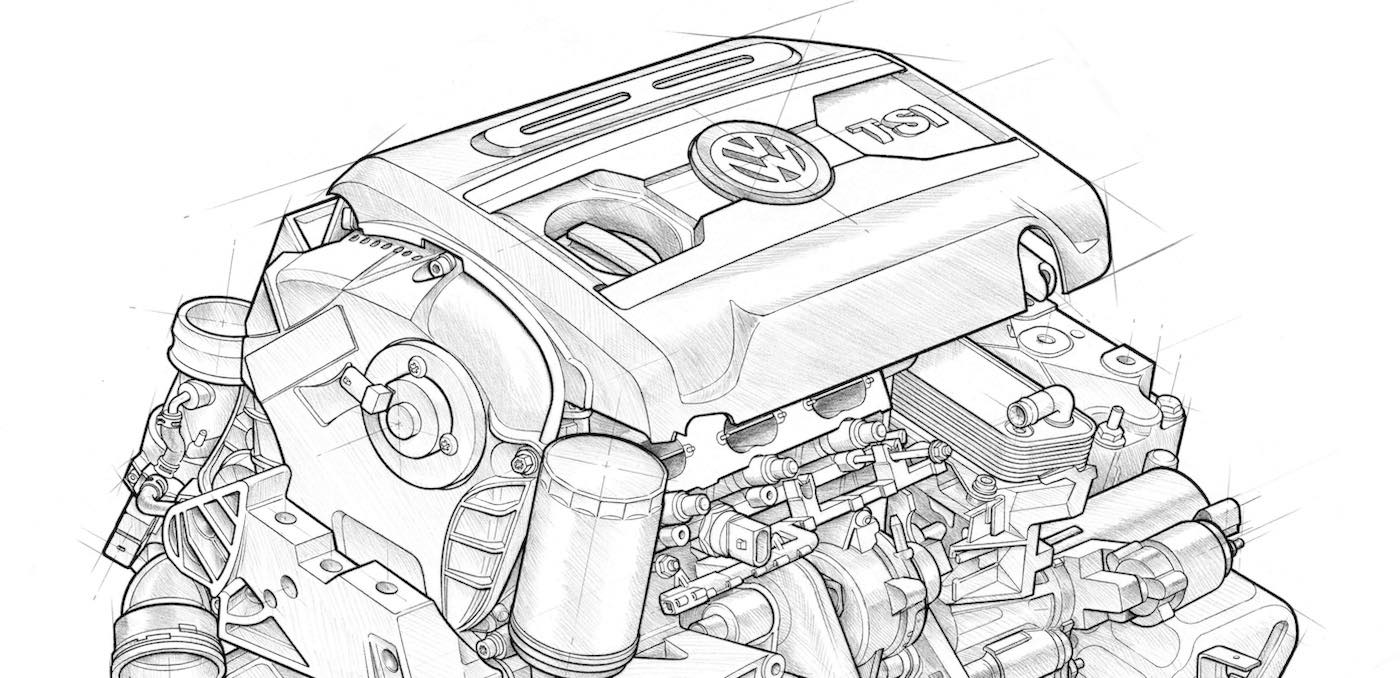
Most of these little SUVs powered by a willing 2.0L twin-cam engine have some Mazda roots. And, being mounted inline, provides good access after disconnecting the battery.
Remove the fresh air intake duct from the radiator.
Next remove the shroud bolts to gain access to the clutch fan retaining nuts.
Remove the fan and shroud together.
Loosen the alternator drive belts and remove the water pump pulley and belts.
From under the car, loosen and remove the A/C and power steering belt.
Remove the upper belt cover.
Now is a good time to align your timing marks. It’s always a good idea to confirm where the marks are before teardown. On the intake side, the “I” mark should be lined up with the seal plate mark. The exhaust side uses an “E” to identify the mark.
Two more bolts will remove the lower cover, allowing you to confirm that the mark on the crankshaft timing belt pulley is in line with the mark on the oil pump.
Loosen the tensioner bolt and move the tensioner outward to allow for removal of the belt.
Note: Be careful not to over-extend the tensioner spring while moving it outward. Closely look at the tensioner spring for distortion or stretching; if in doubt, replace it.
With the belt removed, spin the tensioner pulley, listening for loud bearings, and visually inspect its condition.
Don’t wash the tensioner in solvent. Instead, wipe it down with a clean rag so any lubrication in the bearing stays in place. If there is any sign of leakage at the shaft seals or if a water pump is going to be replaced, now is the time to take care of those tasks.
After confirming the timing marks are aligned, install the new belt, putting slack on the tensioner side.

Loosen the tensioner bolt and turn the crankshaft two revolutions in the proper (clockwise) direction to reconfirm mark alignment. If all is well, continue to turn the crank until the S mark on the exhaust cam is in line with the reference mark on seal plate. See Figure 1.
Loosen the tensioner bolt, allowing the spring to set the proper tension. Two more revolutions bring the timing marks back in line.
Check for 0.030-0.033” of belt deflection between the cam pulleys with 22 lbs. of pressure.
Reinstall the covers and components that were removed, and you’re ready to put the car back into service.
One other note: While the service information systems declare the 2.0L to be an “interference engine,” and that it’s possible that valve damage could occur in the event of a broken belt, experience shows that it isn’t always the case. It’s well-worth your time — and the customer’s money — to install a belt to confirm any suspected damage. More often than not, you’ll be OK.
Kia Sedona
The first generation of the Sedona (1999-2005) was developed to compete with the minivan segment of Toyota Sienna, Honda Odyssey and the Chrysler minivans. It was delivered with a 3.5L V6 engine (195 hp) and was mated to a 5-speed automatic transmission.
The second generation Sedona (2006 to the present) has been upgraded with a 3.8L V6 (244 hp) engine.
Sedona Timing Service Steps
As the Kia line progressed, things didn’t stay as simple as the Sportage. The Sedona, Kia’s version of the ever-popular minivan, is powered by a 4-valve twin-cam V6, so it’s no surprise that belt replacement will be more complex and require some additional precautions.
Start by removing the engine cover, drive belt, idler and tension pulley, as well as the power steering pulley.
Now you can remove the timing belt covers. While supporting the engine with either an engine support tool or a jack under the oil pan, and being careful not to distort the pan, remove the right-side engine mount.
Rotate the crankshaft clockwise and align the timing mark, positioning the No. 1 cylinder’s piston in the TDC position (compression stroke).
At this time, the timing marks of the camshaft sprocket and cylinder head cover should coincide with each other.
Now you can remove the auto tensioner unit and the timing belt.
Note: Be sure the tensioner arm moves freely and all the pulleys spin free without noise. As with the Sportage, avoid cleaning the pulleys in any solvent. Any sign of binding in the tensioner arm should be dealt with now to ensure the auto tensioner will do its job for another 90,000 miles.
Using a vice, slowly push in the plunger on the automatic tensioner, allowing you to install the locking (set) pin. Be sure the plunger retracts smoothly and shows no signs of leakage; if in doubt, replace it.
With the No. 1 cylinder still at TDC, reinstall the tensioner and timing belt, maintaining the proper belt tension between each shaft in this order:
crankshaft sprocket
idler pulley
left bank exhaust camshaft sprocket
left bank intake camshaft sprocket
water pump pulley
right bank intake camshaft sprocket
right bank exhaust camshaft sprocket
tensioner pulley.
In the event a camshaft sprocket rotates excessively, don’t rotate it more than necessary to align the timing mark.
When realigning the timing marks, turn the cam in the opposite direction it rotated. If one sprocket is fixed at the No. 1 compression TDC position (on the mark) and the other sprocket is rotated one revolution clockwise or counterclockwise, the intake and exhaust valve might contact each other, resulting in bent valves.

After installing the timing belt, put counterclockwise pressure on the right (firewall) side exhaust cam, tensioning the belt, and make sure all the timing marks are still lined up. If so, snug down the center bolt of the tensioner as you prepare to adjust the tension.
This engine requires an initial mechanical tension adjustment to keep the hydraulic tensioner in its operating range. To make the mechanical adjustment with the set pin in place, rotate the crankshaft 1/4-turn counterclockwise, and then return it to TDC by turning it clockwise. Using a two-pin tensioner pulley socket and a beam-type torque wrench, push down to exert 50 kg-cm of tension on the pulley, while maintaining the tension. Tighten the center bolt to 32 to 40 ft.-lbs.
To check the adjustment, remove the auto tensioner-locking pin and rotate the crankshaft two turns in the direction of rotation (clockwise), returning the engine to No. 1 TDC. Wait 5 minutes and confirm that the auto tensioner rod is protruding 3.8 to 4.5 mm (0.150-0.175”). This is also a good time to double-check that the timing marks are lined up.
Reinstall the covers and feel good about a job well done.
Log On
When it comes to service information, Kia is at the top of the list. This is one company that wants us to have the information we need to take care of their customers’ vehicles. By now, you all should have Internet access at the shop, so go to www.kiatechinfo.com and register to gain access to the carmaker’s free technical website. Take some time to look around at what’s available. Like any tool, you have to learn to use it — but it’s certainly time well spent. Don’t overlook the “community” section, which is loaded with good information.