In the 1980s, many Asian nameplate vehicles from Honda, Toyota and Nissan came to this country with a different type of friction material. Replacing the strands of asbestos and sintered steel were small ceramic tubes and softer metals. This changed how friction materials were formulated and vehicles were engineered globally. These ceramic materials changed how brakes needed to be serviced.
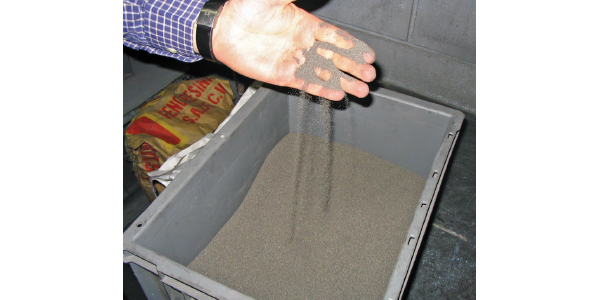
Friction = Dust
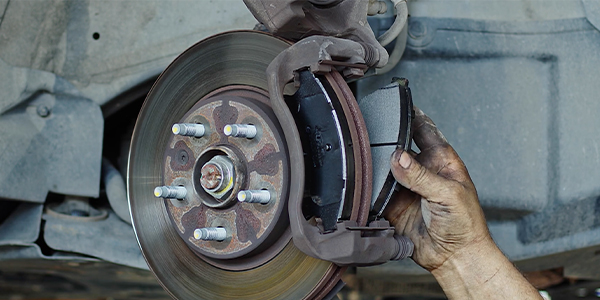
Friction is the force resisting the relative motion of elements sliding against each other. In the case of cars and trucks, it is the brake pads pushing against a rotor that changes kinetic energy into heat.
If you could mount a tiny camera on a brake pad, you would see bits and pieces of the pad and rotor breaking away as the surfaces make contact. If you had a thermal camera, you would see heat being generated as the bits and pieces are being torn or sheared from the rotor and pad.
The bottom line is that for the brakes to function, the rotors and pads have to wear. Even a brake rotor’s metallurgy can determine how a pad wears.
The Secret Sauce of Friction
How the components in the friction material shear, break and interact during braking can determine a pad’s friction level, noise and wear characteristic.
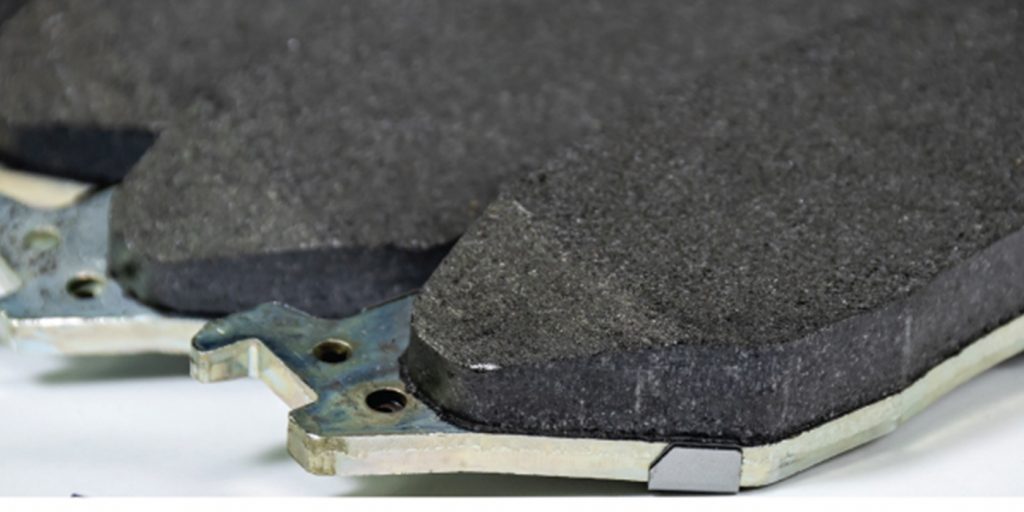
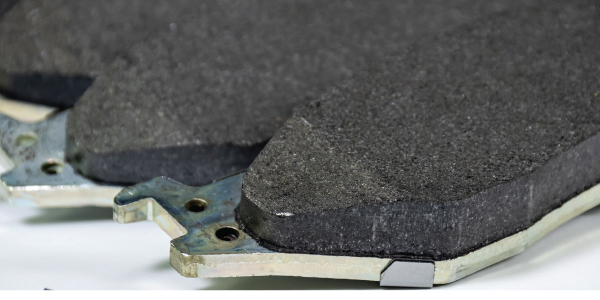
A brake pad may require up to 20 different raw materials. Some raw components of a friction material are abrasive, while other components lubricate. Some components, like structural fibers and resins, hold the pad together, while other components tune the friction levels through various temperature ranges.
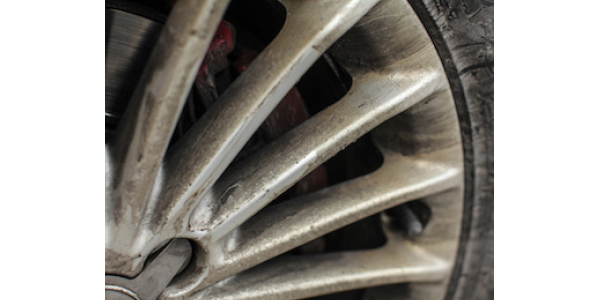
Ceramic fibers used by some Asian import were a great replacement for asbestos. They are strong and temperature resistant. The dust they produce is lighter in color and is not attracted to wheels.
Tuning the components in a brake pad mix is like tuning a graphic equalizer on a stereo for the best sound. This is the black art of friction material formulation and why some pad manufacturers protect their recipes like Coca-Cola’s secret fomula and KFC’s eleven herbs and spices.
Two Types of Friction
So friction is friction right? Wrong. There are two types of friction when it comes to brakes.
Abrasive friction results from the breaking of bonds of both the pad material and the cast iron of the disc when the caliper pushes them together. Adherent (or adhesive) pad material forms a very thin transfer layer of pad material on the surface of the rotor. The two surfaces are the same materials and generate friction by breaking or shearing the bonds in the pad.
Abrasive friction is the wearing of the pad and rotor to change forward motion into heat. Both components wear. Semi-met pads and some non-asbestos-organics use this type of friction.
Adherent (or adhesive) pad material transfers a very thin layer of pad material onto the surface of the rotor called the transfer layer. Ceramic and some NAO pads use this type of friction. The transfer layer is bonded to the rotor’s surface and cannot be washed away by water or wheel cleaners. The only way to remove it is by removing it with a brake lathe or abnormal heat.
The layer is always being worn and replenished by the brake pad during braking. These pads produce dust. Adherent friction is easier on rotors, but the pads become the primary wear component. With this type of pad, it is critical the rotor’s surface finish is not too rough or too smooth.
With both types of friction, it is critical for the rotor to have minimal runout. Abrasive friction materials will wear away at high spots creating disc thickness variation and pulsation. Adhesive or adherent friction material could deposit the friction material unevenly and cause brake judder.
The establishment of the transfer layer is critical. If the rotor is not machined or replaced when new pads are installed, the friction material from the previous pads could contaminate the new pads. This could cause noise, judder and possibly lower friction levels. The contamination will go away eventually, but the customer may start complaining.
Runout = Disc
Thickness Variation
Let’s say a vehicle had .003˝ of lateral runout when measured at the outside face of the rotor. The drive will not notice any pulsation or judder.
If this vehicle is riding on 205/55R16 tires, in one mile, the high-spot with .003˝ of runout goes past the caliper approximately 836 times. Over 6,000 miles, that spot on the rotor will go past the pads more than 5 million times. Every time this spot passes the pads, a little bit of the rotor’s material is removed.
Over the course of those 5 million revolutions, enough material is removed by the brake pad to create a thickness variation. Disc thickness variation is what causes pulsation in the pedal because the piston in the caliper has to follow the surface of the rotor. When the piston moves, it causes fluid to move in the master cylinder that can be felt by the driver.
If the brake pad uses adherent friction or is a ceramic, the wear rate of the rotor is lower and it might take longer to develop pedal pulsation.
No matter what type of friction material that is called for by the OEM, it is critical to measure thickness and runout in a brake rotor and wheel flange even if new rotors are going to be installed.
Before Starting
Mark the original position of the rotor with a paint or grease marker before removing the rotor.
Rotor Thickness
1. Inspect the rotor’s surface for defects, corrosion or cracks.
2. Find the discard measurements on the rotor. On some aftermarket rotors, they will be laser-etched into the sides of the plates. If a discard measurement can’t be found, look it up along with the specification for thickness variation or parallelism.
3. Using a micrometer, measure the thickness of the rotor in at least six spots that are opposite from each other.
4. Record the results. Variations in thickness should be between .001˝ and .003˝.
Rotor Runout Measurement
1. Mount the dial indicator to a rigidly secure portion of the suspension, like the knuckle. Do not mount the arm to tie-rod ends or control arms. Position the indicator tip perpendicular to the rotor’s surface and 0.5˝ from the edge of the rotor.
2. Tighten down the rotor with the correct conical washers to the recommended lugnut specification.
3. Set the dial to zero and turn the rotor.
4. Mark the high and low spots of the runout. For most cars, the specification will be .002˝ or less.
5. Remove the rotor. Inspect the mounting surface inside the hat. Remove any corrosion or debris.
Runout in the Wheel Flange
1. Rotate the hub bearing assembly by hand. Any roughness, play or noise from the bearing is an indication of damage. Verify that the condition is normal or requires replacement.
2. The dial indicator base should be placed or clamped rigidly on a secure portion of the suspension. Position the indicator tip as perpendicular on the wheel flange as possible.
3. Set the dial indicator to zero. Next, turn the flange at least twice and observe the high and low spots of runout.
4. Mark the high and low spots of runout on the flange.
5. If the flange has more that .002˝, or the readings are inconsistent, further corrective actions might need to be taken, including indexing the rotor and flange, installing shims or using an on-the-car lathe.