Tech Tip: Fuel Pump Installation Tips

Tech Tip: Fuel Pump Installation Tips

After having identified the fuel pump as the cause of a failure, empty the fuel tank in an appropriate container or gas buggy. Before removing the fuel pump from the tank and to prevent contamination, clean dirt off the top of the tank.

After having identified the fuel pump as the cause of a failure, empty the fuel tank in an appropriate container or gas buggy. Before removing the fuel pump from the tank and to prevent contamination, clean dirt off the top of the tank. 
 
Remove the retainer ring and lift the fuel pump out from the tank. With the fuel pump removed, inspect the interior of tank for contamination. If contaminated, have the tank cleaned or replaced to ensure the new fuel pump will not prematurely fail.
 
Install all accessories supplied including the replacement connector. Install the new O-ring or gasket and reinstall the retainer ring. 
 
With the fuel tank in place and all fuel/vapor and electrical connectors in place, fill the tank with enough fuel to soak the pump and so that fuel can be drawn by the fuel pump suction port. Especially for modular units, fill the tank at least 50% as pumps are mounted higher in the module.

Install a new fuel filter to prevent excess pressure differential between the pump and filter. A dirty filter may exhibit a restriction that can reduce the pump’s life, as it will run under considerably higher pressure. 
 
Cycle the ignition switch several times without starting the engine. This will enable the fuel delivery system to pressurize correctly and prevent long cranking time, which could be misdiagnosed as a defective pump.
Install a fuel pressure gauge and verify pressure. On return-type systems, test the fuel pressure regulator.
 
To ensure proper fuel pump operation, road-test the vehicle with fast accelerations and quick left and right turns.
 

You May Also Like

Snap-on Announces Latest Software Release

The latest software includes new coverage, guided component tests and features.

Snap-on announced its spring software release which it says "drives unparalleled confidence from the moment a Snap-on scan tool is turned on with its general and collision repair coverage and industry exclusive features for domestic, Asian and European vehicles."

Not only does the latest software include new coverage, guided component tests and features, but it also contains everything from previous releases for smarter fixes that lead to complete repairs and satisfied customers, according to Snap-om.

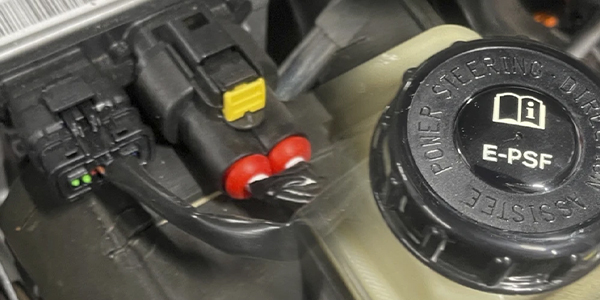
Nissan Electro Hydraulic Steering

Nissan’s steering system is susceptible to driver-error.
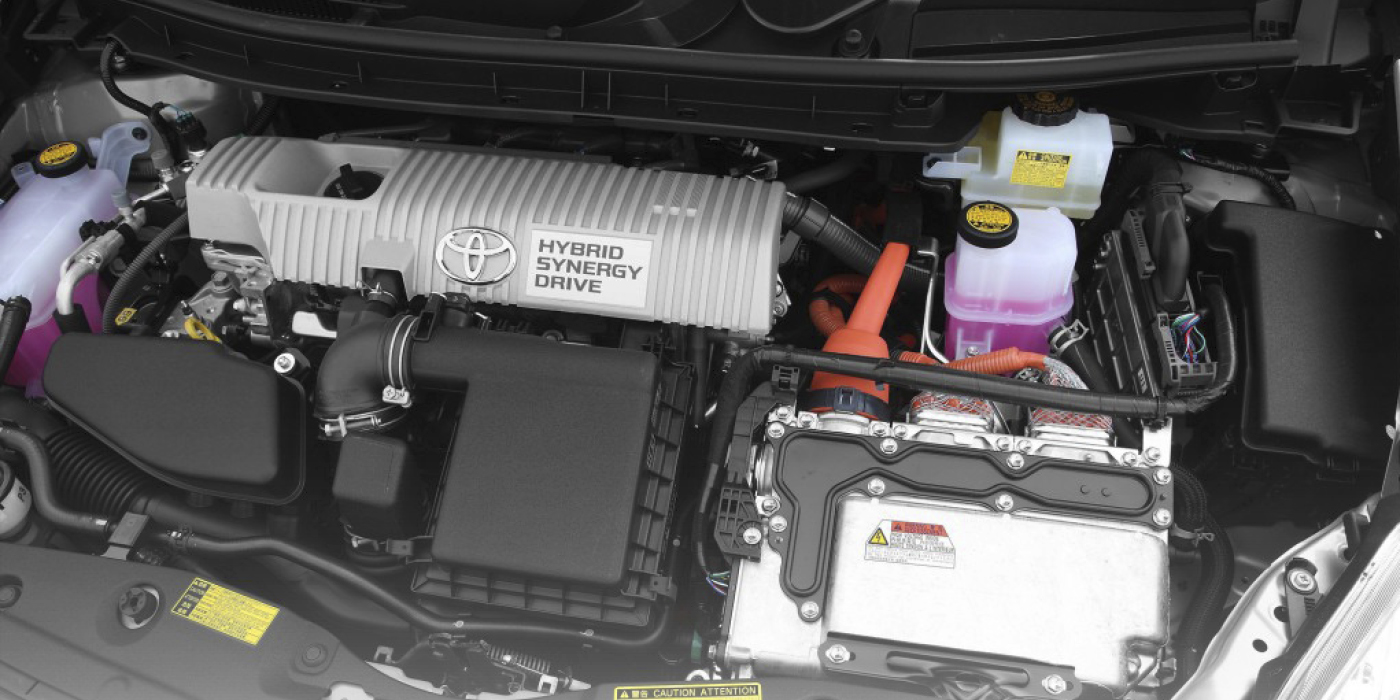
Toyota Regenerative Braking System

The brake system of a hybrid may have multiple components to perform regenerative braking and pedal simulation.
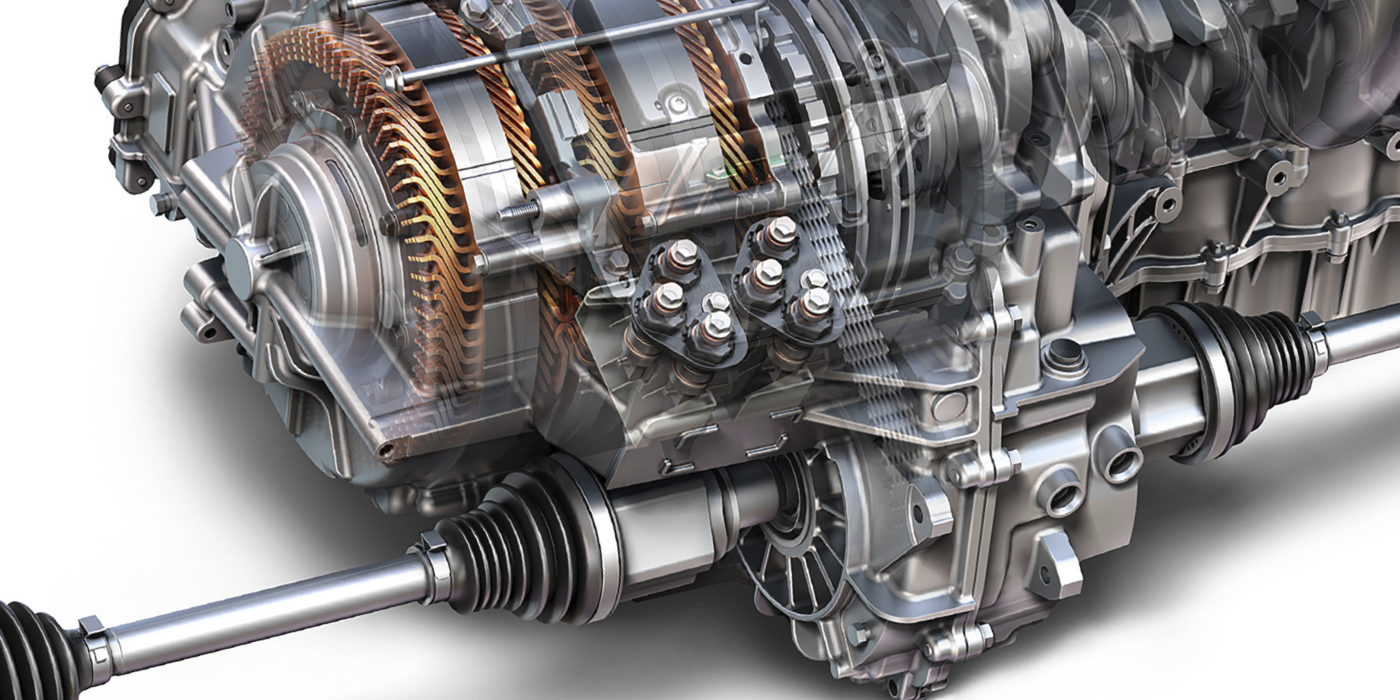
Regenerative Braking Service

Regenerative braking takes the forward motion of the vehicle and turns it into electrical energy.
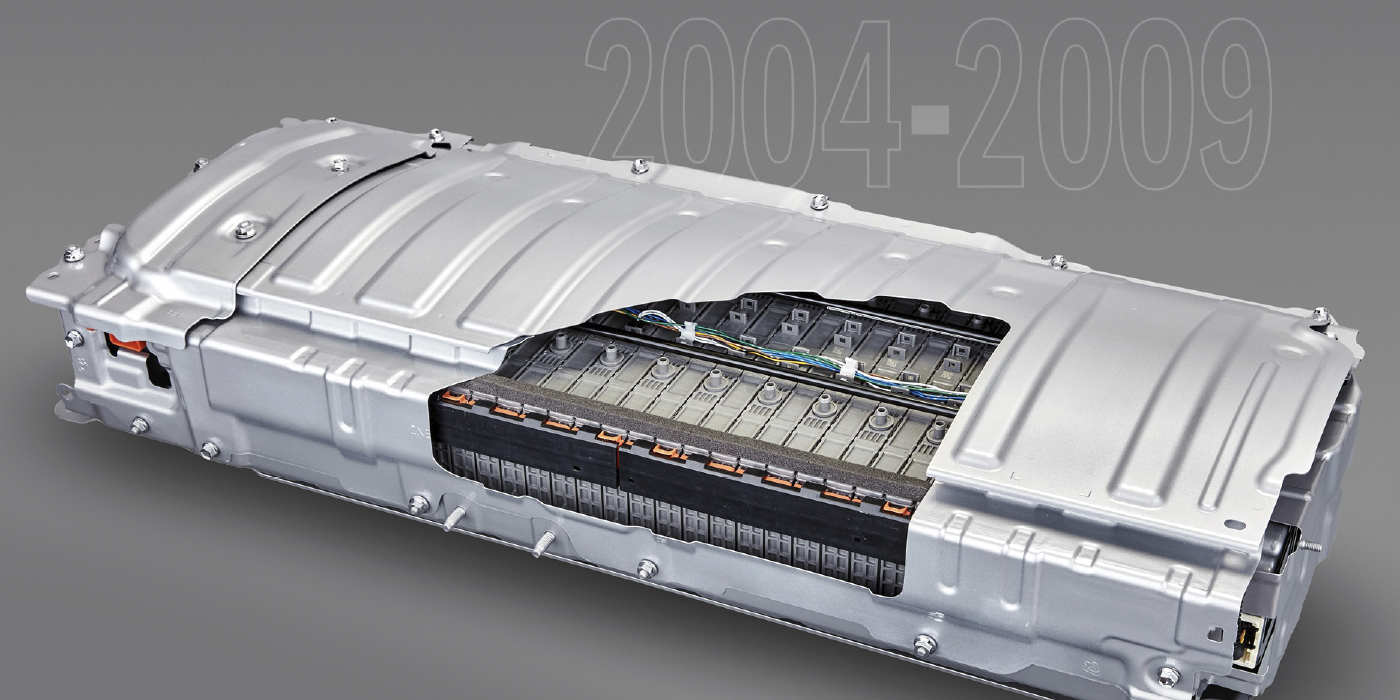
Toyota Prius Battery Codes P0A7F, P2011 and P0A80

A second generation Toyota Prius is at least 12 years old and batteries may need to be replaced. Here’s what the codes mean.
Other Posts

Continental Tire Opens Retread Solutions Center in South Carolina

The company said it hopes to uncover new improvements and technologies to innovate the retread process.

Philips Announces GoPure GP5212 Automotive Air Purifier

It uses a 3-layer filter to deliver cleaner, healthier, fresher air on the go, Lumileds said.

AACF Launches 65th Anniversary Fundraising Initiative

The campaign aims to raise $65,000 through 1,000 donations of $65 each.

Standard Motor Products Announces 123 New Numbers

The release provides new coverage in 53 distinct product categories and 47 part numbers for 2023 and 2024 model-year vehicles.