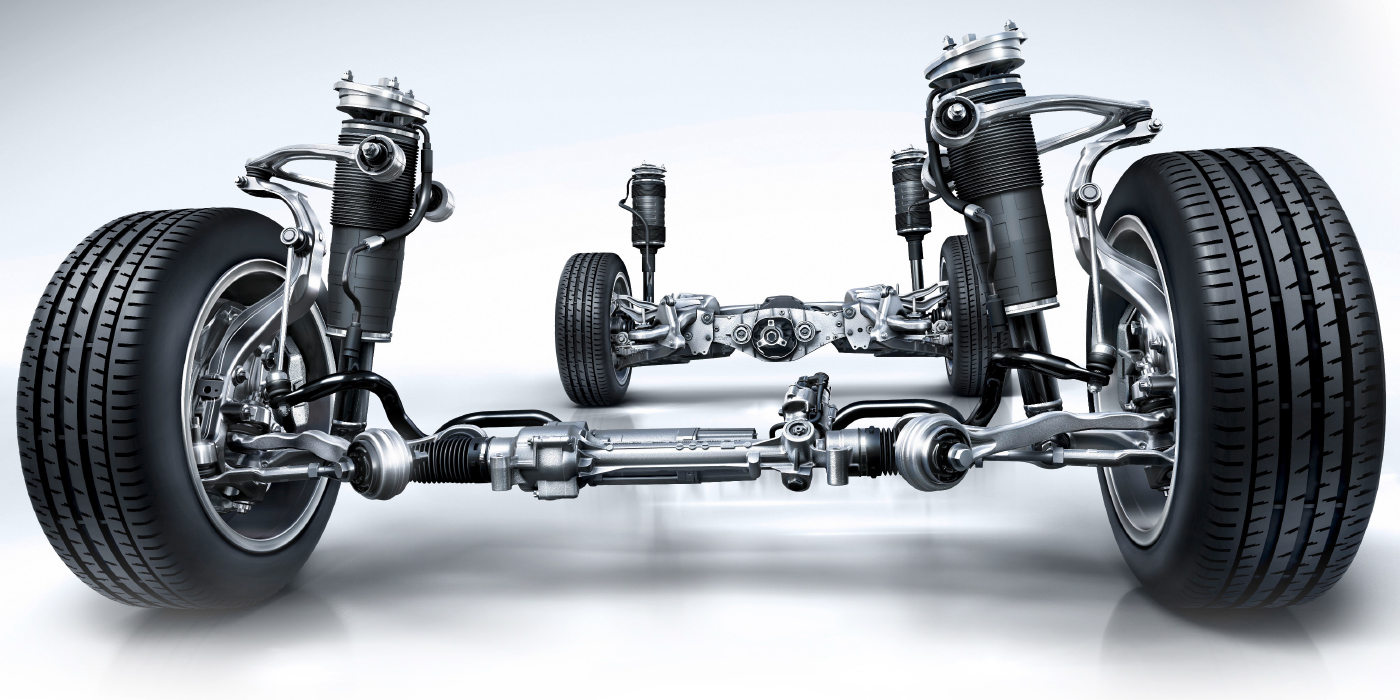
In areas where heavy road salt use occurs, customer complaints have identified increased steering effort and noise (from the steering intermediate shaft) on the 2002-’05 (GQ) Sedona. The increased effort is usually first noticed with a noise or rattle at low speeds. When addressing such customer concerns, replace the steering intermediate shaft using P/N 0K52Y 32550 following the instructions in this technical service bulletin.
Steering Intermediate Shaft Removal:
1. Before beginning any work, road-test the vehicle to confirm the customer concern. During the road test, take note if the steering wheel is centered while driving straight ahead.
Note: Make note on the repair order of any steering wheel that is off-center (and approximate number of degrees left or right) before beginning your repair. Any pre-existing alignment condition needs to be addressed separately with the customer before beginning work, and is not included as part of this repair.
2. Unlock the steering column with the ignition key and leave it unlocked throughout this repair. Underneath the dash, loosen, but do not remove, the two upper joint pinch bolts that attach to the steering column and intermediate shaft.
Note: The pinch bolts should still grasp the shaft tight enough so that no play is felt.
3. Raise the vehicle on a lift. Loosen, but do not remove, the lower intermediate shaft pinch bolt. With the wheels pointing straight ahead, center the pinch area of the lower intermediate shaft joint on the raised rib and/or circular reference point of the steering rack housing. You may need to clean and re-mark this area with a paint marker (as necessary) for reference.
4. Lower the vehicle so the tires firmly contact the ground. Without moving the steering wheel, carefully install a commercially available steering wheel holding device.
Note: For any number of reasons, the steering wheel may no longer be centered once the lower intermediate shaft joint is aligned to the steering rack as outlined in step 3. The steering wheel must be locked in the position resulting from alignment of the lower intermediate shaft joint to the steering rack, and may not necessarily be centered.
Warning: Do not allow the steering wheel to spin freely while replacing the steering intermediate shaft. This may cause damage to the clock spring, and will effect centering of the steering wheel after the repair.
5. Completely remove the previously loosened upper intermediate shaft joint bolts. Slide the joint down onto the splines of the intermediate shaft, which will allow the joint to be removed from the bottom of the steering column shaft.
6. Remove the upper intermediate shaft joint from the intermediate shaft and set it aside for later reinstallation.
Note: Do not allow either the steering wheel and or intermediate shaft to turn.
7. Raise the vehicle on the lift. Remove the previously loosened pinch bolt from the lower intermediate shaft joint, and then remove the intermediate shaft from the steering gear shaft.
Note: Do not allow the joint to turn when removing the bolt and/or intermediate shaft.
Steering Intermediate Shaft Reinstallation:
1. Install the new intermediate shaft, aligning the pinched area of the lower joint with the raised rib and/or circular reference point of the steering gear housing. Lightly tighten the pinch bolt, making sure not to rotate the steering gear shaft.
Note: Do not fully tighten this pinch bolt until step 5 of the reinstallation procedure.
2. Lower the vehicle so the tires firmly contact the ground.
Important: The shaft’s upper joint has a master spline on its lower joint section that ensures proper phasing of the two joints of the intermediate shaft. Note that the upper section of the joint does not have a master spline.
Important: The intermediate shaft has a master spline that ensures proper phasing of the two joints of the intermediate shaft.
Important: The upper joint master spline must be aligned with the intermediate shaft master spline to ensure proper phasing of the two joints of the intermediate shaft. Only the bottom section of the upper joint has a master spline.
3. Under the dash, reinstall the previously removed intermediate shaft upper joint, paying close attention to the master spline alignment between the joint’s lower section and intermediate shaft.
4. Fully install and tighten the upper intermediate shaft joint: 16-20 lb.-ft.
5. Raise the vehicle and fully tighten the joint at the steering gear shaft: 16-20 lb.-ft.
6. Lower the vehicle and remove the steering wheel holding device. Road-test the vehicle to ensure the customer concern has been addressed.
Additionally check that the steering wheel is still aligned as before the intermediate shaft replacement.
Courtesy of ALLDATA.
For additional information, visit www.alldata.com.