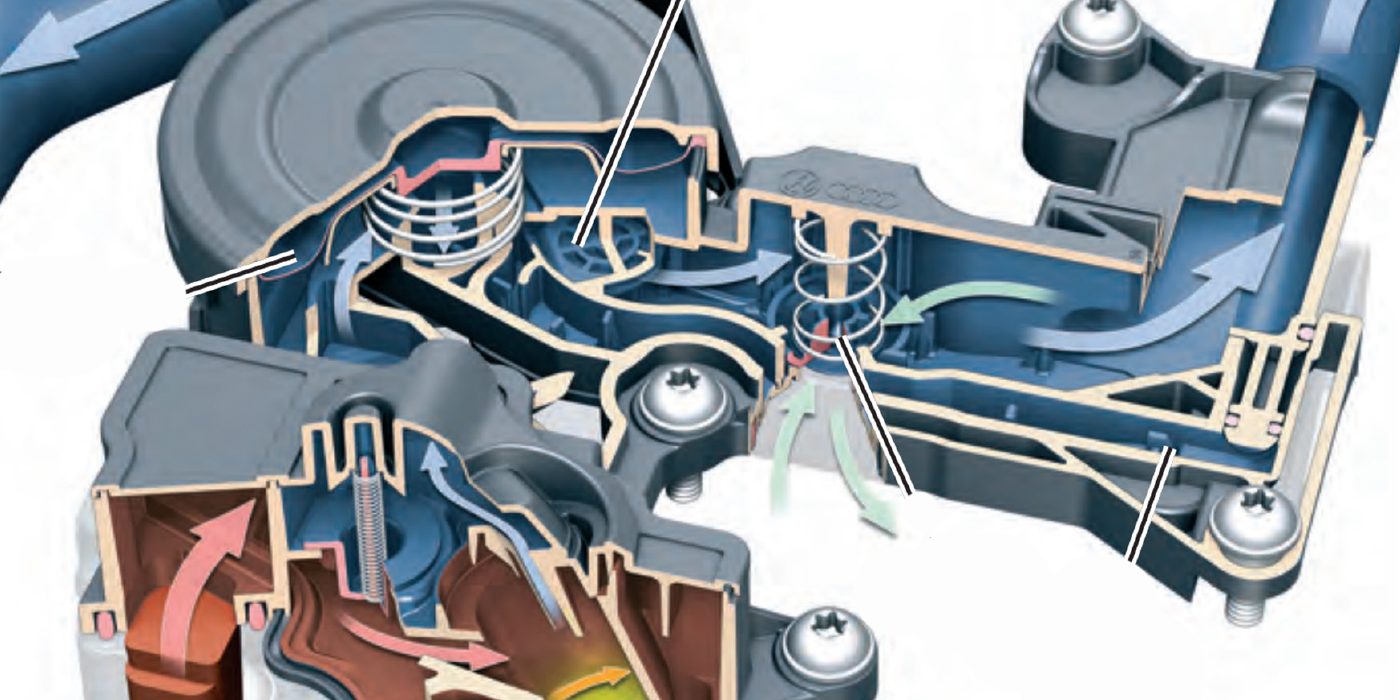
Wheel bearing service on import front-wheel drive cars with cartridge-style wheel bearings can be a challenge if you don’t have the proper tools. The wheel bearings are pressed into the knuckle and are impossible to remove unless you have a hydraulic press or a puller designed to push the wheel bearings out of the hub. Import applications that use the pressed in wheel bearing cartridges include Honda Accord, Mazda MX-6, 626 and Protege, Kia Optima, Nissan Altima and Maxima, VW Beetle, Jetta, Golf and Passat, and Audi TT to name a few.
But first things first. There’s no need to replace the wheel bearings unless they are bad. One of the reasons why import auto makers have used cartridge-style wheel bearings in various makes and models is because the bearings are sealed for life. They require no maintenance or adjustment. But that doesn’t mean they will last forever. The typical service life of a sealed wheel bearing is about 150,000 miles. Some may last longer and others may fail sooner. When one goes bad, the other is probably nearing the end of its service life, too, which is a good reason to recommend replacing both front wheel bearing cartridges if either has failed.
Water is murder on wheel bearings because it causes rust and contaminates the grease. Sealed wheel bearings are designed to withstand normal road splash, but driving through hub-deep water may allow water to get past the seals and enter the bearings. Over time, the damage that’s been done will eventually cause the bearings to fail.
A condition known as “fatigue spalling” can also be a cause of bearing failure. This can occur at high mileage when tiny cracks form in the surface of the rollers and races and allow flakes of metal to break loose. “Brinelling” is another condition that may occur if the bearing is subjected to high impact loads or vibrations. Brinelling will leave small indentations in the surfaces of the races and rollers. Heat discoloration (typically a bluish color) is usually the result of loss of lubrication or overloading. Overheating can soften the rollers and races leading to accelerated wear and rapid failure.
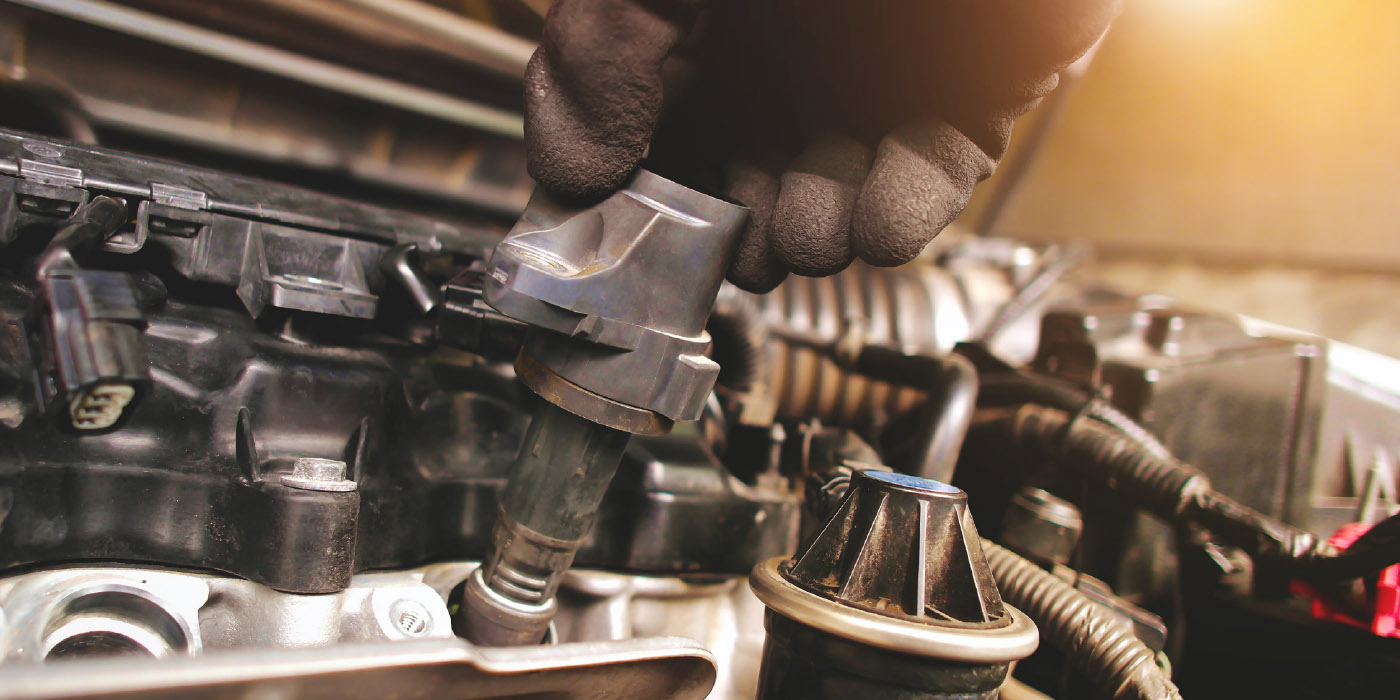
Another cause of premature wheel bearing failure is using an impact wrench to tighten the axle hub nut after replacing a halfshaft or CV joint. The axle nut typically requires a lot of torque (140 to 200 ft. lbs., depending on the application), so the “easy” way to tighten the nut is to just hammer it on with an impact wrench. Unfortunately, the blows produced by the impact wrench can also beat up the rollers or balls inside the bearing, causing the wheel bearing to fail later. The only way you should ever tighten an axle nut is with a torque wrench. And don’t guess about how much torque to apply. Look up the specifications and tighten the nut to the spec and no more.
SYMPTOMS
Noise is usually the first symptom of wheel bearing trouble. The vehicle owner may notice a whine, rumble, growl, chirping or cyclic squealing that increases as the vehicle goes faster. Sometimes it’s hard to tell which front wheel is making the noise. Turning the vehicle to the right will shift weight to the opposite side and increase the load on the left wheel bearings. If the noise gets louder, the bad bearing would be the one on the left side when turning right. Conversely, if turning right causes no change in the noise or less noise, the bad bearing is probably the one on the right.
Any noise that comes from the vicinity of a wheel is a symptom of trouble that should be investigated without delay. The noise might just be a disc brake pad dragging, but the scraping sound produced by a dragging or loose brake pad will usually change or go away when you tap on the brakes lightly. If the vehicle owner hears a slicking or popping noise when turning, the problem is likely a bad outer CV joint, not a bad wheel bearing. Bad outer CV joints usually only make noise when turning, not when driving straight ahead.
Wheel bearing noise is usually proportional to vehicle speed, and gets louder the faster the vehicle goes. It may change when turning, or become louder or even disappear at certain speeds.
BEARING INSPECTION
Because wheel bearing cartridges are sealed assemblies and are pressed into the knuckles, you can’t just remove the hub nut and pull out the bearings to check them like you can on older rear-wheel drive cars with serviceable wheel bearings. If a sealed wheel bearing is noisy or feels rough when the wheel is spun by hand, the wheel bearing needs to be replaced.
As a rule, most wheel bearing cartridges should have almost zero play. You can check bearing play by placing a dial indicator against the face of the rotor and trying to push/pull the rotor in and out. The amount of allowable play will vary depending on the application, and may range from as much as 0.05 mm (0.002 inches) to as little as 0.008 mm (0.0003 inches). If bearing play exceeds the OEM specifications for maximum allowable play, replace the bearing cartridge.
BEARING REMOVAL
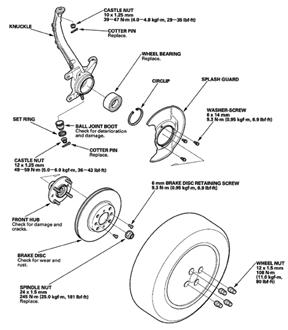
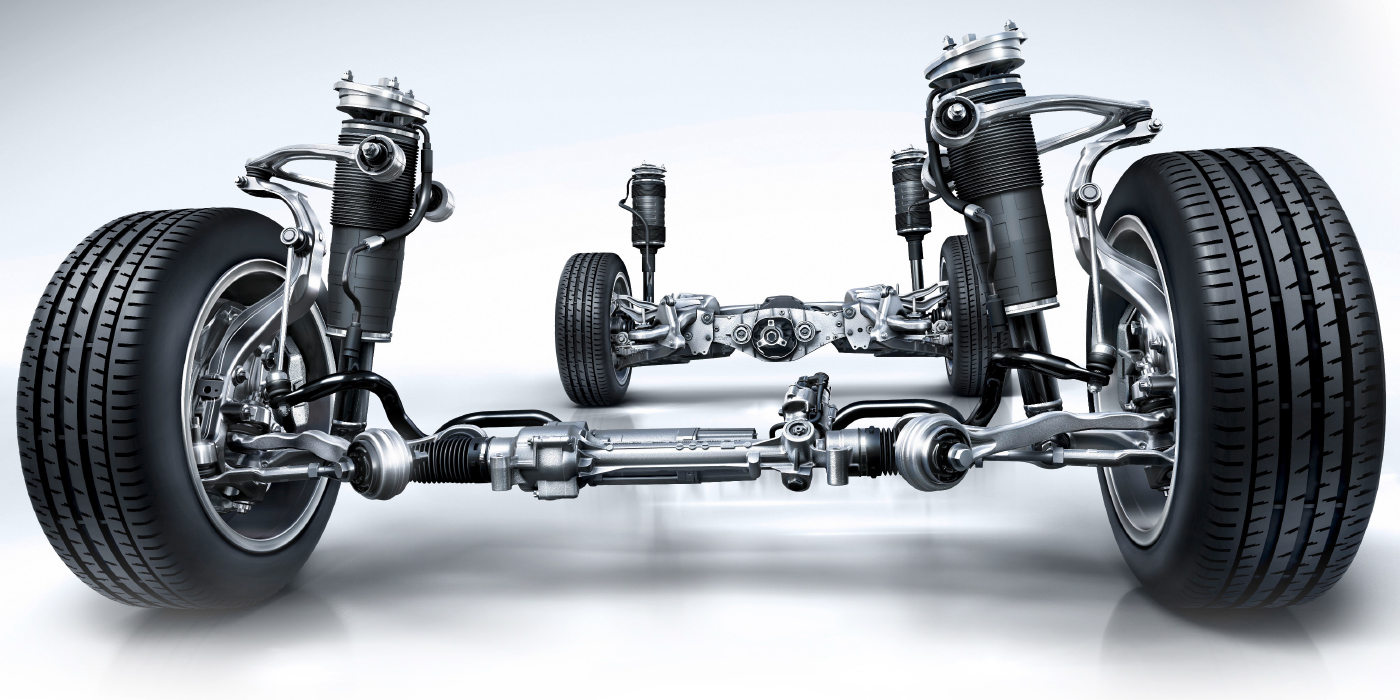
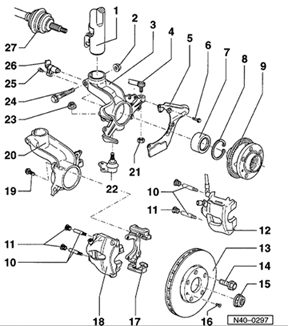
Regardless of the make and model of the import vehicle that uses cartridge style wheel bearings, the basic assembly of the hub is similar. The front wheel and brake rotor is mounted on a hub. The wheel bearing cartridge that supports the hub and axle shaft is press fit into the steering knuckle with a small amount of interference. The splined shaft on the end of the outboard CV joint extends through the center of the hub, and is locked in place with a large axle nut on the end of the shaft.
The basic removal procedure goes as follows:
Loosen the hub nut while the wheel is still on the ground, and the weight of the vehicle is on the wheel.
Raise the vehicle and remove the axle nut, wheel, brake caliper and rotor.
Disconnect the lower ball joint from the steering arm.
Swing the steering knuckle out and push the CV joint shaft back through the hub to separate the axle from the knuckle.
If there is a circlip and snap ring behind or in front of the bearing cartridge, remove it (and discard it).
If you have a hub puller that can extract the bearings from the knuckle without having to remove the knuckle, then install the puller through the hub, place the large washer on the center screw of the puller so it can pull against the bearing cartridge, and tighten the center screw nut with an impact wrench to pull out the bearing.
A tool that can press out the bearing while on the car can be a real time saver here because you don’t have to remove the knuckle.
If you do not have a hub puller that can extract wheel bearings, remove the steering knuckle, carry it over to a hydraulic press and use whatever adapters are needed to push the old wheel bearing cartridge out of the knuckle.
 Note: On some vehicles, the bearing cartridge may come apart with the inner race stuck to the hub, and the outer race still inside the knuckle. To get the inner race off the hub, it may be necessary to grind down part of the race, then crack it loose with a chisel.
Be sure to note the position of any splash shields or dust shields that are part of the assembly so these parts can be reinstalled in the correct position when you press in the new wheel bearing cartridge.
Clean and inspect the inside of the knuckle for any cracks, damage or severe corrosion or pitting. Visible cracks or severe corrosion would require replacing the knuckle.
BEARING INSTALLATION
Bearing installation is the reverse of the above procedure. Be sure to use a new dust seal if one is used, and a new circlip or snap ring.
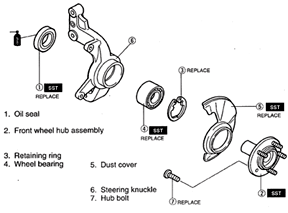
When pressing in the new bearing cartridge, make sure the adapter exerts the load on the outer edge of the bearing cartridge, not the inner race (as this can damage the bearing). Also, make sure the bearing is not cocked and goes in straight.
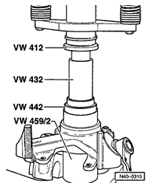
On the new VW Beetle (1998 & up), Jetta (1999 & up) and Golf (1999 & up), the OD of the wheel bearing cartridge is 74 mm. Other VW models such as the Passat use have a 72 mm, 75 mm or 82 mm wheel bearing cartridge depending on the model year and other options. So make sure you use the right adapter when pressing in the bearing so the load is placed on the outer race only.
 Installation can be easier if you place the bearing cartridge in a freezer to shrink it and/or heat the knuckle to expand it. You can apply heat to the knuckle with hot air from a hot air gun or even a propane torch. Do not use anything hotter than a propane torch to heat the knuckle as doing so may cause it to lose its temper and weaken the metal. Never apply heat to the bearing cartridge.
Once the bearings are in place, remount the knuckle on the car (if removed), reattach the lower ball joint, brake rotor, caliper and wheel, then install a new axle hub nut and tighten to specifications with a torque wrench.
Other items that should also be inspected when replacing a wheel bearing cartridge include the condition of the inner and outer CV joint boots, the boots on the ends of the steering rack, the outer tie rod ends, the struts and springs, brake rotors, pads, calipers and brake hose. Check the front tires for uneven wear that might indicate camber or toe misalignment.