Tech Tip: Nissan Bearing Noise from Transfer Case Area

Tech Tip: Nissan Bearing Noise from Transfer Case Area

If bearing noise (rumbling noise) is coming from the bottom of the vehicle when the transfer case is in 4WD high and throttle application is light with speed between 15 and 35 mph, the original transfer case companion flange dust cover may be amplifying the sound of the bearing.

If an applied vehicle listed below exhibits bearing noise (rumbling noise) coming from the bottom of the vehicle when the transfer case is in 4WD high and throttle application is light with speed between 15 and 35 mph, the original transfer case companion flange dust cover may be amplifying the sound of the bearing.

Applied Vehicles:
• 1999-2002 Frontier (D22); and
• 2000-’02 Xterra (WD22).

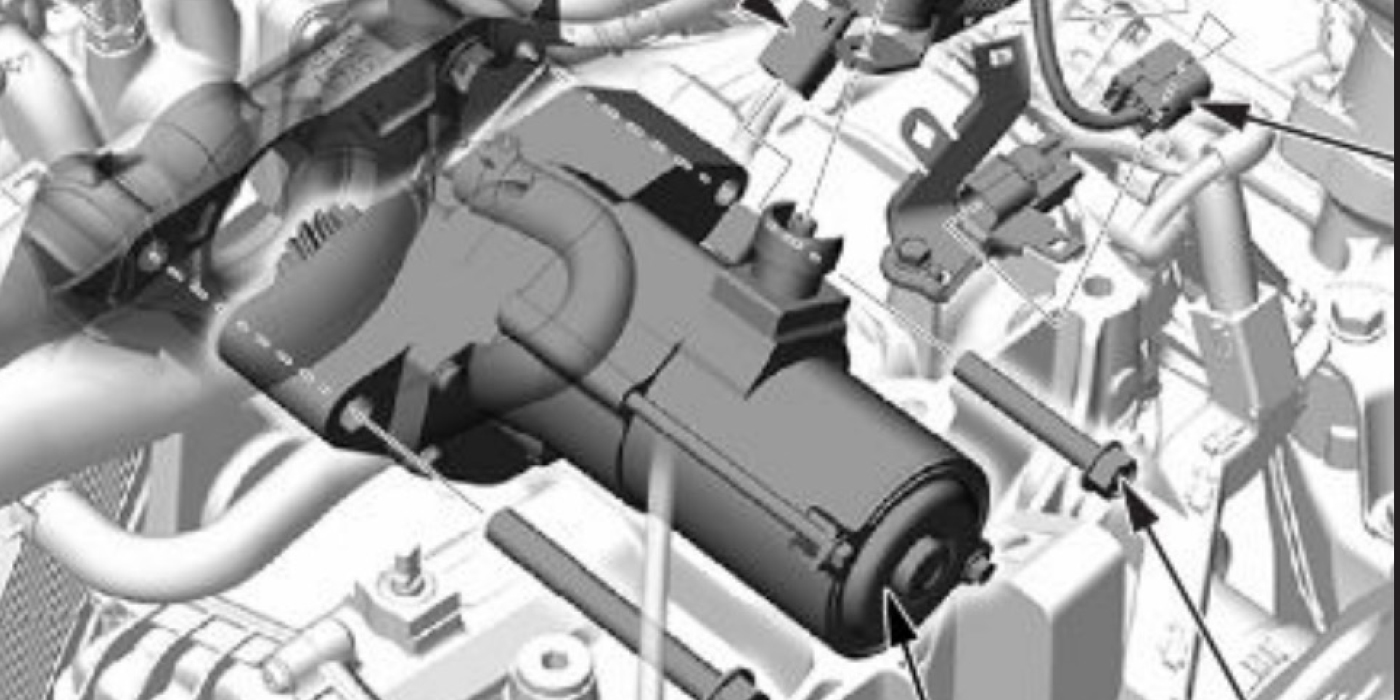
A replacement companion flange designed to dampen the noise emitted from the bearing, should it occur, has been developed (see Figure 1). Use the service procedure provided in this bulletin to verify and repair this incident.

Service Procedure:
1. Put the vehicle up on a hoist and while in 4WD high use a stethoscope to verify that bearing noise is occurring.
a. If the noise is occurring in locations other than the transfer case assembly companion flange, this bulletin does not apply. Use the appropriate Frontier/Xterra Electronic Service Manual (ESM) to investigate other causes for the noise.
b. If the noise is occurring from the transfer case assembly companion flange, proceed to Step 2 below.
2. Remove the original transfer case assembly companion flange. Reference the ESM, Section TF (Transfer)/On-Vehicle Service/ Replacing Oil Seal/Front Case Oil Seal.
3. Install the replacement companion flange and self-locking nut and reassemble the parts removed in Step 2 in reverse order. Torque the self-locking nut to 226-324 Nm (166-239 ft.-lb.)
4. Test-drive the vehicle to verify the noise is reduced.

Courtesy of IDENTIFIX.

For additional information, visit www.identifix.com.

You May Also Like

Today’s Fuel Pressure Diagnostics

Direct injection pressure is measured with sensors, and the signals are used to determine pump speed and/or volume.

Ever since the fuel pump was moved to the fuel tank, fuel pressure replaced the float height as a measure of fuel system health and performance. Checking the height of the float might have required some disassembly or special tools to bend the arms of the float.

When the shift was made to port or throttle body fuel injection, all a technician needed to diagnose a fuel problem was a set of “noid lights,” a fuel pressure gauge and maybe a multi-meter. Measuring the fuel pressure typically required checking the pressure at idle and under load. Most of the these tools can’t be used on the high pressure side of a direct-injection system because of higher pressures and changes in the injector location and technology. 

ADAS Calibration Tips

Here are 10 tips to follow during ADAS Calibration.

ADAS Calibration Aborts

Knowing the common “hiccups” can save you time and money.

Fuel Pumps and Cranking

Diagnosing the problem comes down to understanding what causes a loss of fuel pressure.

Electric Power Steering Diagnostics

Load management for steering systems.

Other Posts

Solving VW False Fuel Pressure Reading

First, verify the customer did not run out of fuel at the time the DTCs were stored.

vw steering wheel squeak
Tech Tips for Dorman’s OE FIX Steering Tie Rod End Assembly

Read the tech note for tips on installation of this unique fix.

Acura Frozen Starter Causes No Start

Why won’t the engine crank after the vehicle has been exposed to precipitation and then freezing temperatures?

Beating the Tech Shortage Through Mentoring

How understanding the 80/20 Rule and creative mentoring can make the shortage less threatening.