Replacing Motor Mounts on 2013-2018 Santa Fe Sports

Replacing Motor Mounts on 2013-2018 Santa Fe Sports

Follow along this step-by-step guide to learn how to replace motor mounts on 2013-2018 Santa-Fe Sports. Sponsored by PRT.

CC:

PRT, the first to market choice for complete strut assemblies is proud to introduce a line of engine and transmission mounts. The PRT part number 6111786 and 6111799 for the Hyundai Santa Fe fits the upper motor and transmission mounts. 

PRT mounts match the original mounts for fit, form and function. The mounts use advanced elastomeric materials to reduce noise and vibration. Also, the materials are formulated to withstand the extreme conditions under the hood and under the vehicle. 

For the upper engine mount: 

-Remove the engine cover. 

-Support the engine by placing a jack with a rubber pad on the oil pan. You will have to remove the undertray. 

-Disconnect the grounding strap on the engine front cover. 

-Remove the engine support bracket that connects the engine to the mount. 

-Unfasten the three bolts that hold the mount to the body and remove the old mount. 

-Install the new mount. 

-The bolts for the three mounts should be torqued to 60 foot pounds. 

-Install the support bracket and tighten the bolts to 79 foot pounds. 

-Install the ground strap and install the engine cover. 

For the Transmission Mount: 

-Support the transmission with a jack and rubber pad.  

-Remove the air intake duct. 

-Loose the bracket that holds the battery. Slide the battery forward to access the bolts that hold the air filter housing in place.  

-Loosen the clamp for the air intake hose and remove the housing. 

-Next, remove the bolts that hold in the ECM. You do not have to disconnect the ECM, just pull it to the side.  

-Inside the driver’s side front wheel well, there is a service cover to access the transaxle mounting bolts. 

-Remove both bolts. 

-Remove the four bolts that hold the bracket that secures the transaxle to the mount.  

-Unfasten the three bolts that secure the mount to the body and remove the bolts. Remove the mount. 

Install the new mount. The three bolts that attach to the body should be torqued to 60 foot pounds. 

-Reinstall the bracket and tighten the bolts to 58 foot pounds. 

-In the wheel well, reinstall the bolts that connect the mount to the transmission. Torque the bolts to 95 foot pounds. 

-Install the ECM. 

-Install the air filter housing and tighten the bolts and clamp. 

-Slide the battery back into position and tighten the bracket. 

This video is sponsored by PRT.

You May Also Like

Schaeffler and Sustainability with Jerry Conroy

Conroy shares insights into his career trajectory, the evolving landscape of the company’s aftermarket operations, and its commitment to innovation and sustainability.

In this episode of AMN Drivetime, Bill Babcox is joined by Jerry Conroy, vice president USA and Canada, Automotive Aftermarket for Schaeffler. Conroy shared insights into his career trajectory, mentorship experiences, and the evolving landscape of aftermarket operations.

Conroy's journey into the aftermarket began during his college years. He stumbled upon an internship at Bendix, a commercial vehicle supplier based in Elyria, Ohio—his hometown. Little did he know that this opportunity would kickstart a career spanning 17 years at Bendix, and later transition into a leadership role at Schaeffler in the automotive aftermarket.

Flushing the Brake Fluid is Critical on Every Brake Repair

Making sure the brake fluid is the correct quality is critical. Sponsored by Auto Value and Bumper to Bumper.

Selecting the Right Oil for your Customers Engine

Learn how to educate customers on the importance of OEM specifications and premium lubrication for their vehicles’ maintenance needs.

At the Intersection of Tradition and Innovation with Grace Hovis

Grace Hovis’s journey in Hovis Auto & Truck Supply blends tradition with digital innovation in the automotive aftermarket industry.

Turbocharger Maintenance ft. Rein TechSelect Turbo Kits

Learn about common challenges with turbocharger maintenance and how Rein TechSelect Turbo Kitsmake the repair process easier for technicians.

Other Posts

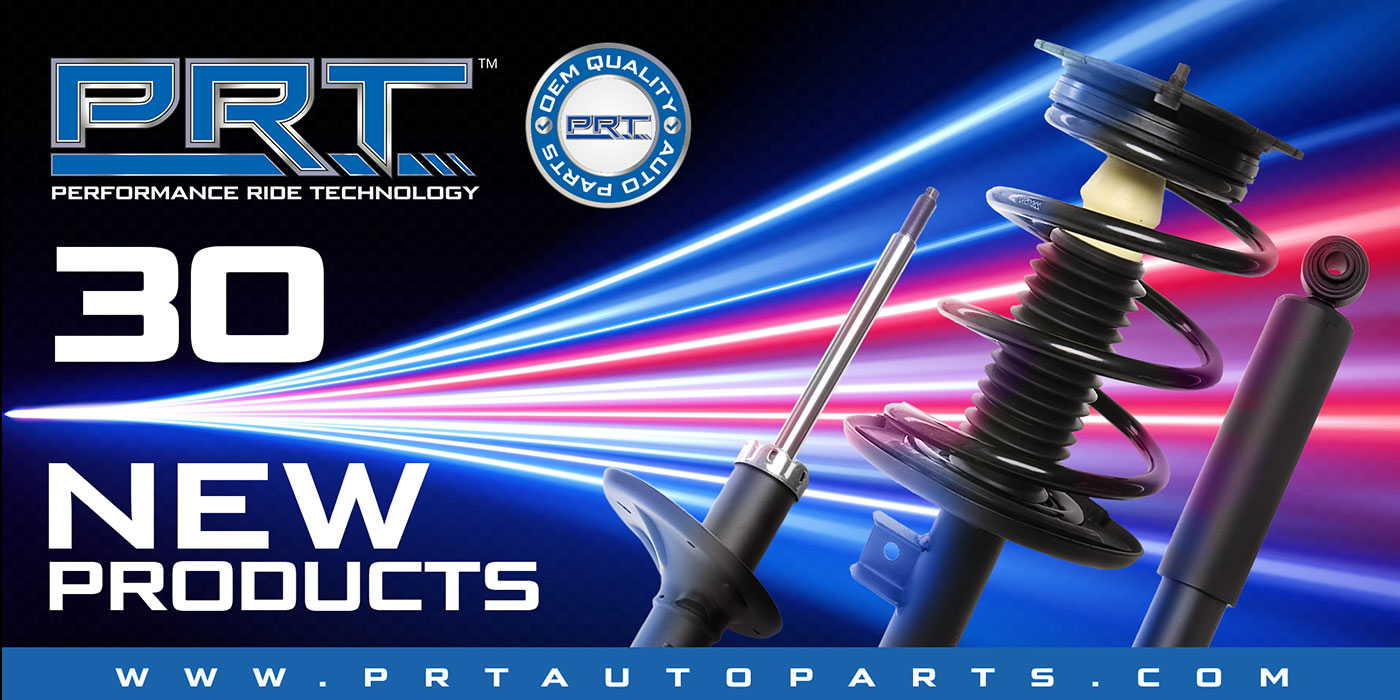
PRT Launches 30 New Complete Strut Assemblies

The new items represent more than 10 million vehicles in new coverage, PRT said.

The Standard® Advantage

Standard® knows that what comes out of a repair is directly dependent upon what goes into the box. This video is sponsored by Standard®.

Tesla Model 3 TPMS Service

Resetting and programming TPMS sensors for a Tesla is a lot like any other vehicle, and the challenge is still the same: keeping the light off.

Can You Jumpstart an EV?

First thing’s first: Find the LV battery, which could be anywhere in the vehicle.