You might be seeing more blues, reds and various other colors on the threads of bolts when working on drivetrain, suspension and brake components. OEMs put these threadlocking compounds there for a reason, and not servicing them could get you into trouble. To get the most out of these “liquid” tools, you first need to know how they work.
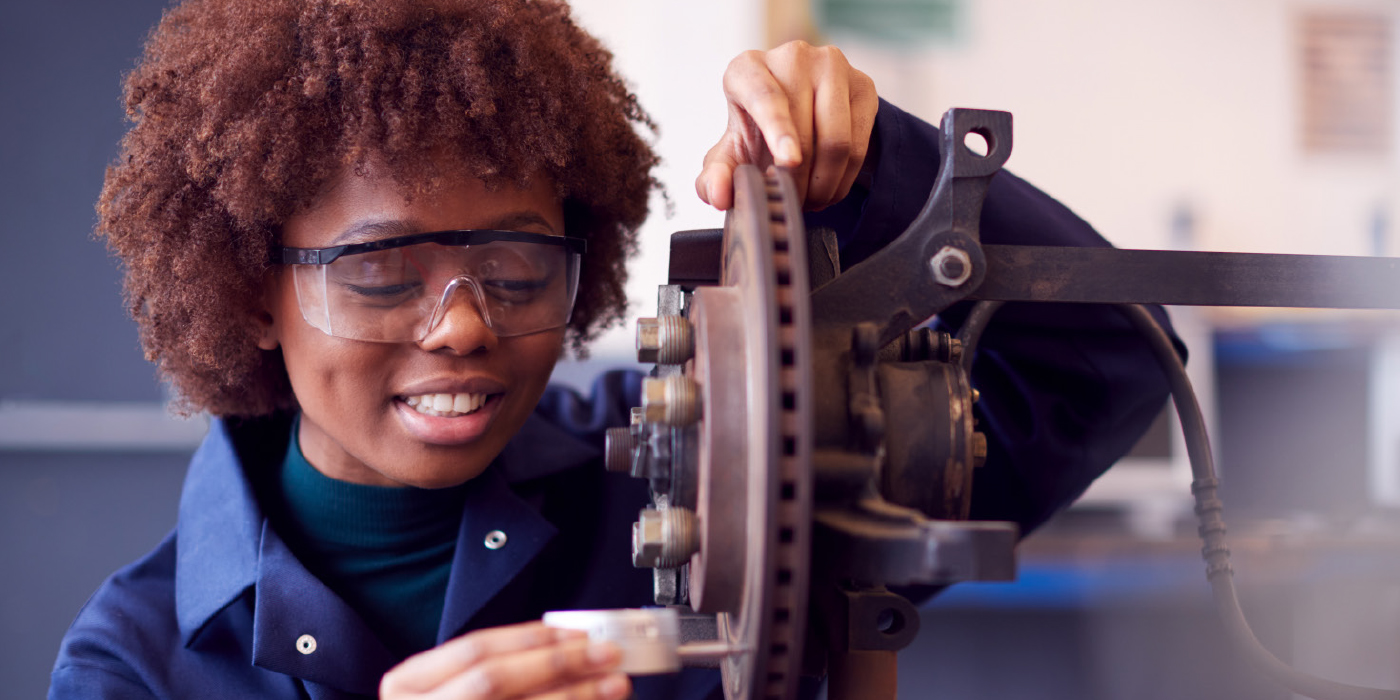
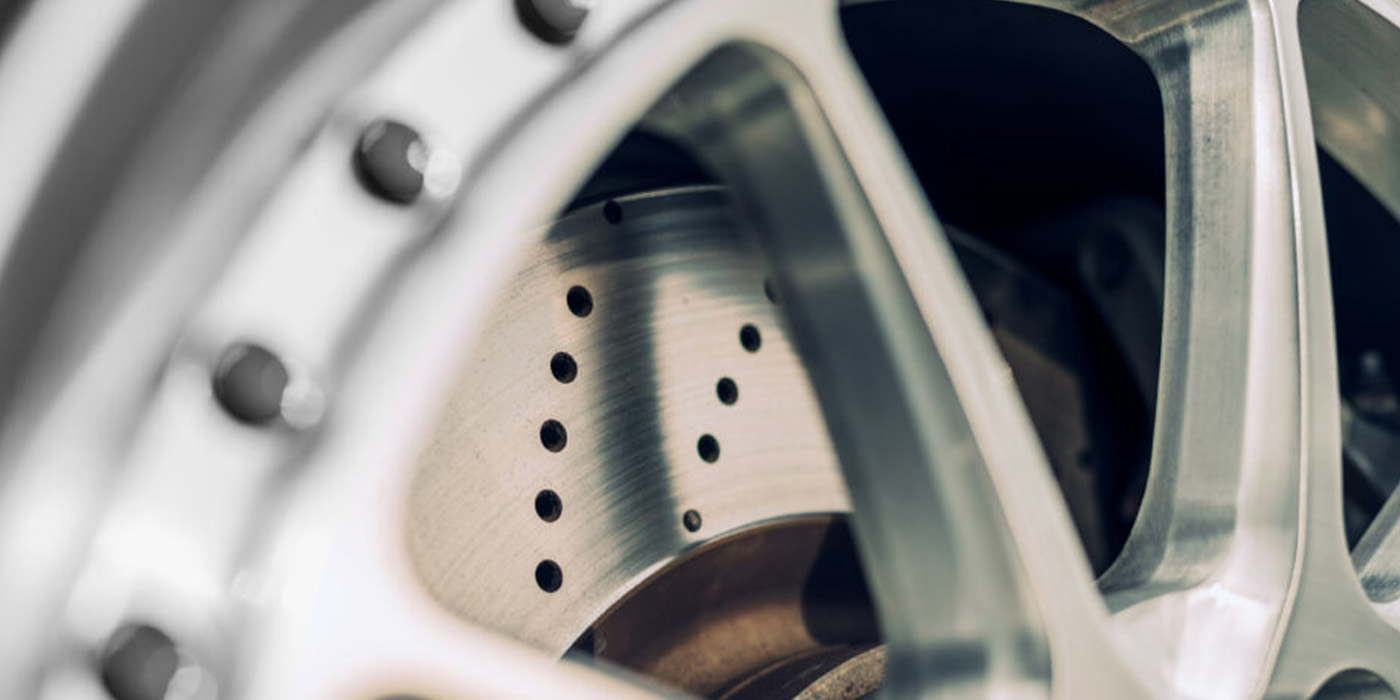
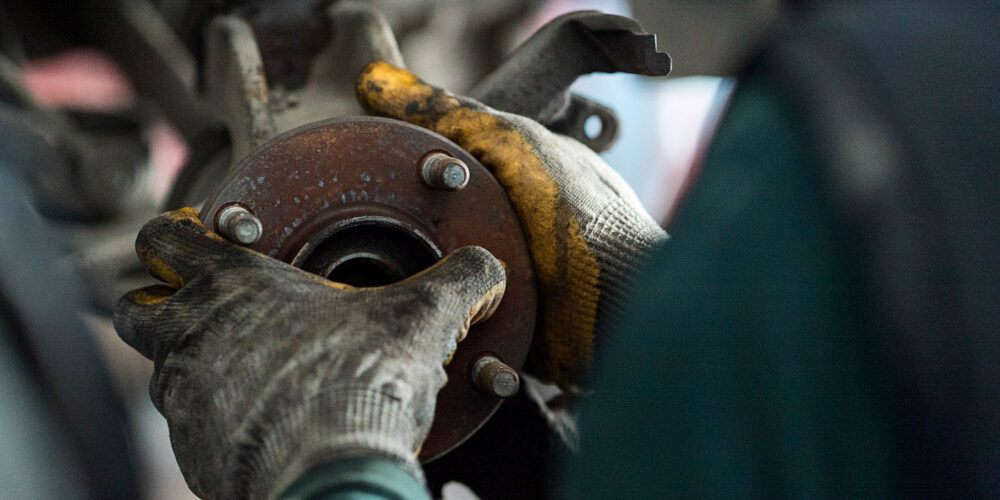
The one component that can require thread lockers are wheel bearing hub units. The bearing is the connection between the suspension and brakes. You could be dealing with several dissimilar metals. Threadlocking compounds can allow the different parts to work together without the need for larger fasteners and prevent galvanic corrosion.
Aluminum components may require special fasteners and tightening procedures to make sure they keep their tension and do not damage components. Typically, you will see coated threads, threadlockers and torque-to-yield (TTY) fasteners.
TTY fasteners are mounting fasteners that are torqued beyond the state of elasticity, and, therefore, undergo plastic transformation, causing them to become permanently elongated.
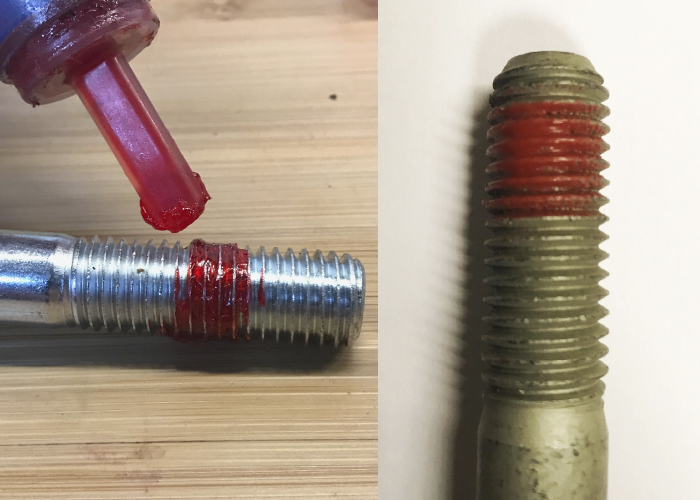
The majority of threadlockers are applied directly to the threads. When the fasteners are joined together, the threadlocker starts to react with the metals. After tightening, the tight fit cuts off the air supply “anaerobically” and the threadlocker changes from a liquid to a solid. The result is a type of “insulator” between the mating parts that, while acting as a wedge in the threads, also prevents galvanic corrosion, which can cause stripped threads. Applications with housings made of aluminum or magnesium can benefit from this process.
Threadlockers are usually better than mechanical methods in both how they work and how much a shop needs to keep in stock. Locking nuts may secure only three or five rows of threads, while threadlocking compounds can cover 100% of the threads.
Most threadlockers are used before assembly and that’s the perfect time to clean the fasteners to get the best results. Products used for this include cleaners, primers or activators. Working like they would in a paint application, cleaners and primers have different, yet similar, functions.
A cleaner does just that, cleaning the surfaces of the two mating parts. Threadlockers are then applied to the threads’ natural surface. How do you know it’s clean? Manufacturers suggest a water test. For the test, a small portion of water is placed on the surface. If the water distributes evenly, then the metal should wet well with an adhesive. But, if it beads or crawls, then the surface should be cleaned again and the test repeated.
Threadlockers for use after assembly are referred to as “wicking” or “penetrating,” as the fluid works its way into the threads after they are assembled. The thin liquid flows into the threads and then begins its hardening process. These types of threadlockers offer a surprising amount of strength.
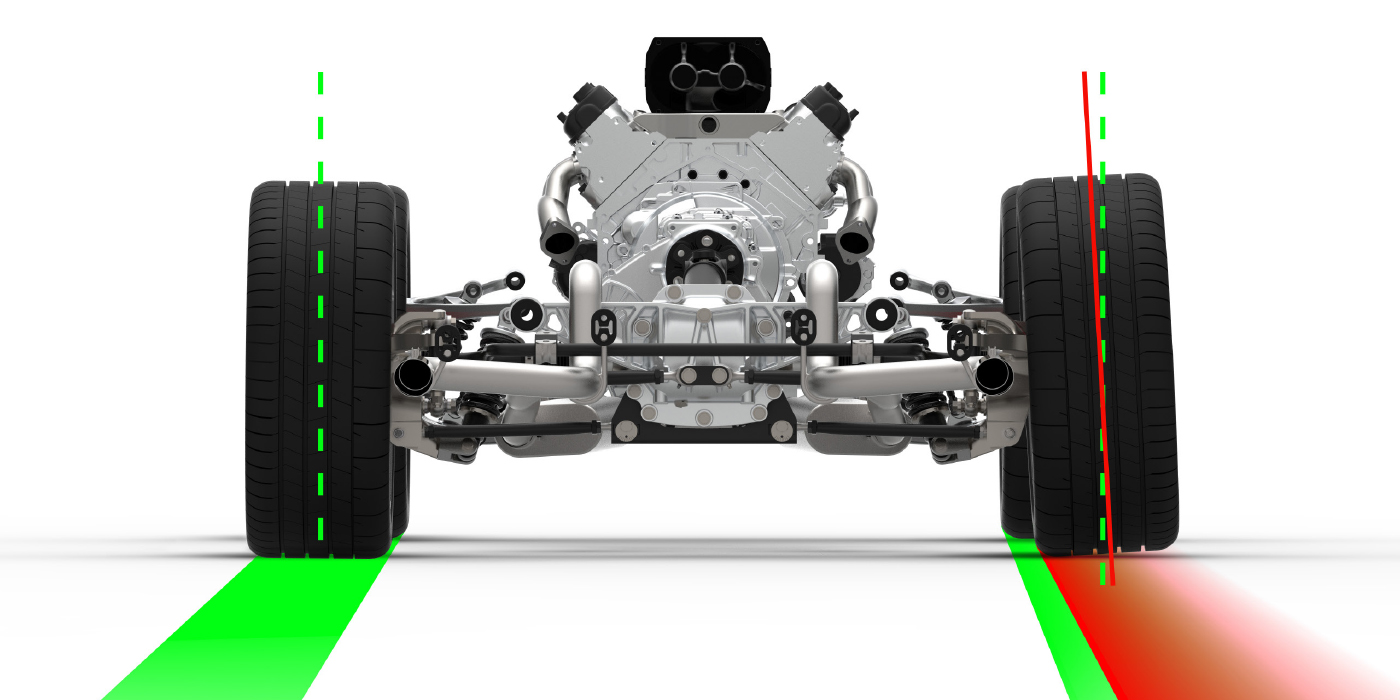
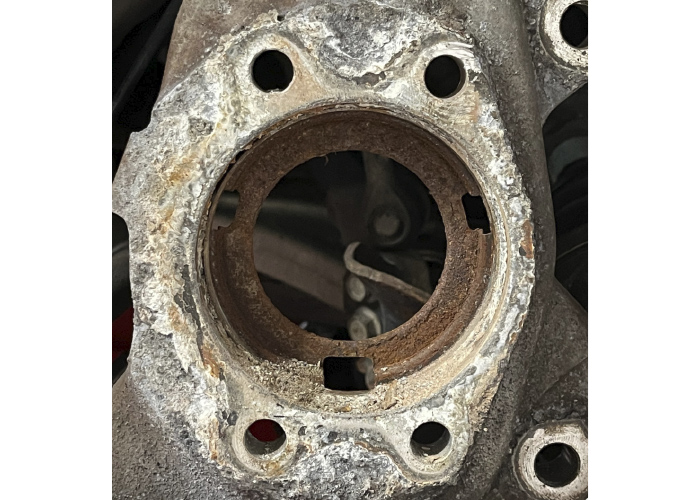
Another forgotten function of threadlocking compounds is a way to seal the assembly to prevent corrosion. GM has been using threadlocking compounds on suspensions with aluminum control arms and knuckles. This can prevent galling and corrosion where the fasteners for the hub unit make contact with the component.
Most manufacturers use the same colors, but it’s always best to check before using them, as there might be more than one strength in the same color. The most popular color, red, almost always indicates permanent usage and usually needs heat for removal. Other colors include yellow, blue, green and purple. Blue usually indicates medium strength that will allow removal with basic hand tools. Green is also a medium strength, but its main characteristic is to wick its way into already assembled threads. Purple is a lighter-duty threadlocker that’s good for smaller and adjustable fasteners.
Selecting the correct threadlocker for a job should first start with knowing which fasteners will or will not need to come apart again. If you do need to take them apart, you should also know what it will take to do so.
Color – Strength/Removal Level
Red — Maximum strength, permanent. Requires heat for removal.
Blue — Medium strength, not permanent. Can be removed with hand tools.
Green — (Penetrating) Medium strength. May need heat for removal.
Purple — Low strength, easily removed with hand tools.

TIPS
Drip Method: Avoid touching the applicator to a dirty fastener. Doing so may transfer contaminants to the rest of the threadlocker in the bottle, tube, etc.
Keep it Clean: Remove all of the old cured threadlocking compound from the fastener. This can prevent the fresh threadlocker from being evenly distributed.
Blind Holes: Place several drops of threadlocker into the blind hole, as well as on the fastener or stud. During installation, air pressure will push the threadlocker material up the blind hole and flow it along the threads of the fastener or stud, ensuring sufficient coverage.
Size Considerations: In general, the smaller the diameter of the bolt, the lower strength of the threadlocking compound. A caliper guide pin bolt may use only a medium-strength compound, while the larger caliper bracket bolt might use a high-strength compound.
Induction Heating: An induction heater can loosen a bolt with cured threadlocking compound without the fear of snapping the bolt. Induction heaters use magnetism to heat ferrous materials without a direct flame.