 Customer complains that the parking assistance issues warning sounds for both the front and/or rear of vehicle with no obstacle in range. Water intrusion into sensor holders is causing corroded plug contacts and sensor electrical pins, which results in acoustic feedback in the attachment area of sensor(s).
Front Parking Aid Sensor Procedure
• Turn ignition off and place the key on the seat.
• Remove the front grille and front bumper cover (see Repair Manual Group 63 Bumper in ElsaWeb).
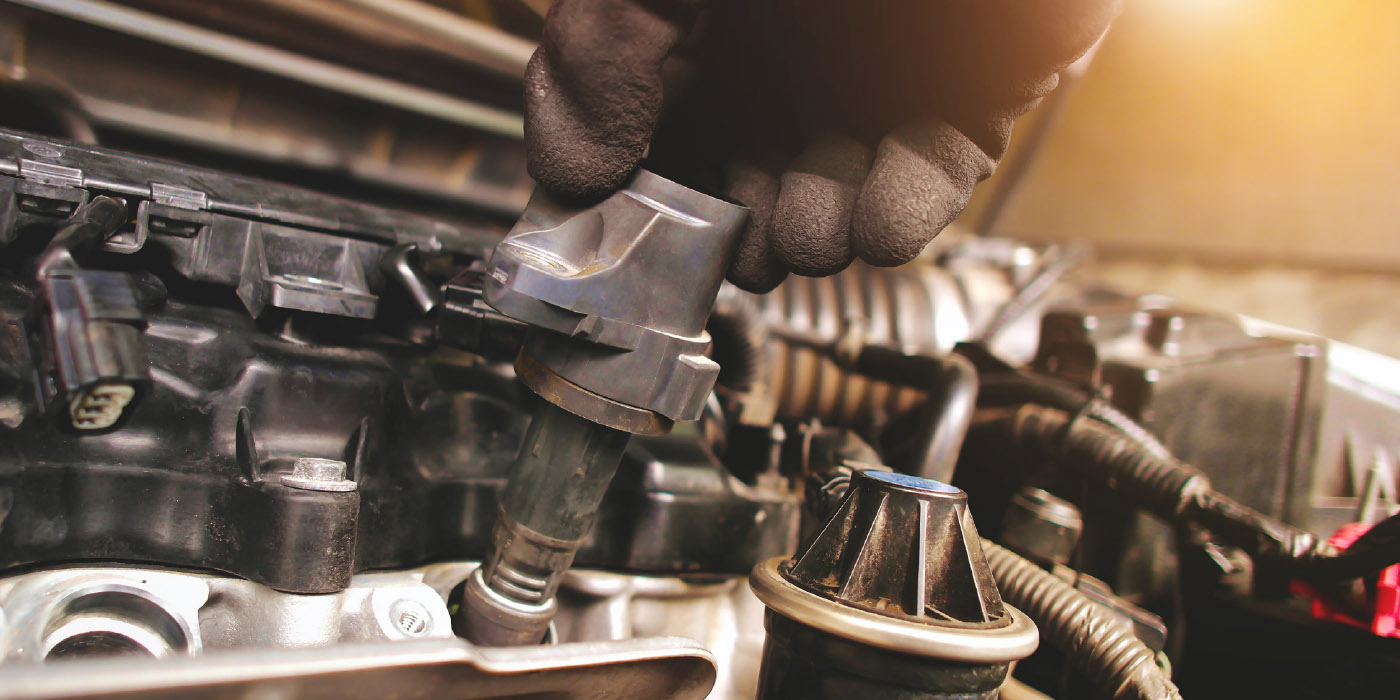
• Disconnect parking aid sensors by gently separating the parking aid sensor retaining tabs and sliding the sensor out of the retainer.
• Inspect the sensor terminals and wiring harness connector terminals of all sensors (front and rear) for corrosion, cleaning as necessary.
• If corrosion is too severe, replace sensor, wiring harness connector and terminals.
• Inspect and record index numbers of all sensors. Sensors of the same index number must be placed back into their original position.
• Replace the sensor with the fault.
Note: ALL sensors must have a new protective cap installed.
• Place grille on a clean and protective surface.
• Remove parking assist sensor from retainer.
• Using a 3 mm drill, carefully drill a couple of drain holes into the parking aid sensor retainer where shown in Fig. 1. Only the sensor retainers mounted to the grille require drain holes.
• Ensure proper positioning of parking aid sensor seal on sensor. Flat surface of the seal must seat on sensor.
• Install sensor into retainer and listen for an audible click (Fig. 2).
• Place a protective cap over the sensor and secure with a tie strap.
• Inspect and/or replace front bumper cover parking aid sensors, see Repair Manual Group 94 Lights, Lamps, Switches Outside, Parking Aid. Install protective caps.
Rear Parking Aid Sensor Procedure
Rear Tail Lamp Removal, Wagon Only
• Carefully remove snap-in reflector next to tail lamp assembly using a removal wedge and remove tail lamp fastener.
Note: The tail lamp housing can be easily damaged, causing tail lamp replacement, if removed improperly. The tail lamp housing is retained to the rear fender by spring clips (Fig. 3, lower arrows). There are grooves molded into the lamp housing (upper arrow) that fit into the rear fender. The spring clips provide the necessary tension to retain the tail lamp housing.
• Using the heel of your hand from the rear, and the tips of the fingers of your other hand between the rear fender and the lamp assembly (or use a removal wedge), apply slight diagonal pressure (heel of hand toward tips of fingers). This will allow the tail lamp spring clips to disengage from the fender. While using fingertips wedged between the fender and lamp assembly, pull the tail lamp assembly directly rearward to remove.
• Do not wiggle, twist or tug the tail lamp assembly once the retaining fastener is removed from beneath the reflector.
• Remove rear bumper cover (see Repair Manual Group 63-Bumper).
• Inspect and/or replace the rear bumper cover parking aid sensors (see Repair Manual Group 94 Lights, Lamps, Switches Outside, Parking Aid). Install protective caps.
Clear faults stored in the control modules.