The AERA technical committee offers the following information regarding a revised oil pan gasket and installation kit for 1986-2001 Ford 3.0L VIN U engines. The issue of continued oil pan leakage has prompted this new installation kit.
A service oil pan gasket and a new service oil pan gasket kit has been released for all 3.0L-2V “Vulcan” engines built from 1986 to 2001. The new service (only) gasket eliminates the need to attach the gasket to the block with a contact adhesive, thus eliminating gasket creep (sideways) movement during installation. Slightly longer fasteners (bolts) have also been released and packaged in the kit.
The old bolts must be replaced with the new ones. The new-formed gasket should be installed by placing it on the oil pan rather than gluing it to the block. The bolts will still have to be torqued twice during installation and once after the engine has reached operating temperature. The torque value for the bolts has not changed and is the same as listed in the workshop manuals, 106 in.-lbs. (12 Nm).
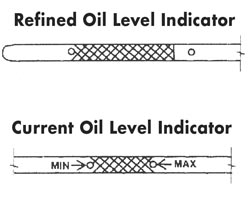 After verifying all mounting areas are flat and clean, follow the procedure listed below to install the revised gasket kit P/N 2U7Z-6710-AA. Beads of sealant are still required in the four corner mating areas of the pan and block. See Figure 1.
Apply beads of silicone gasket and sealant (F7AZ-19554-EA), or equivalent meeting Ford specification (WSE-M4G323-A4), to the front cover and rear bearing cap-to-block parting lines.
Install the gasket on the oil pan, being careful not to damage the plastic tabs. Install the bolts noting the two corner bolts near the front of the engine are a different length (P/N W708366-S437).
Tighten the four corner bolts first to 106 in.-lbs. (12 Nm).
Tighten the remaining 14 bolts (P/N W708365-S437) from back to front (alternating from side to side) to 106 in.-lbs. (12 Nm). Go over the bolt torque procedure a second pass at 106 in.-lbs. (12 Nm) again.
Go over the bolt torque procedure a third pass at 106 in.-lbs. (12 Nm) and once again after the engine has reached operating temperature.
Courtesy of the AERA Technical Committee.

