Rack on the floor
Secure vehicle on rack.
Leave transmission in park or 1st gear on manual transmission cars.
Level and lock steering wheel with a holder.
Perform a simple bounce test. Check for excessive bounce and noise.
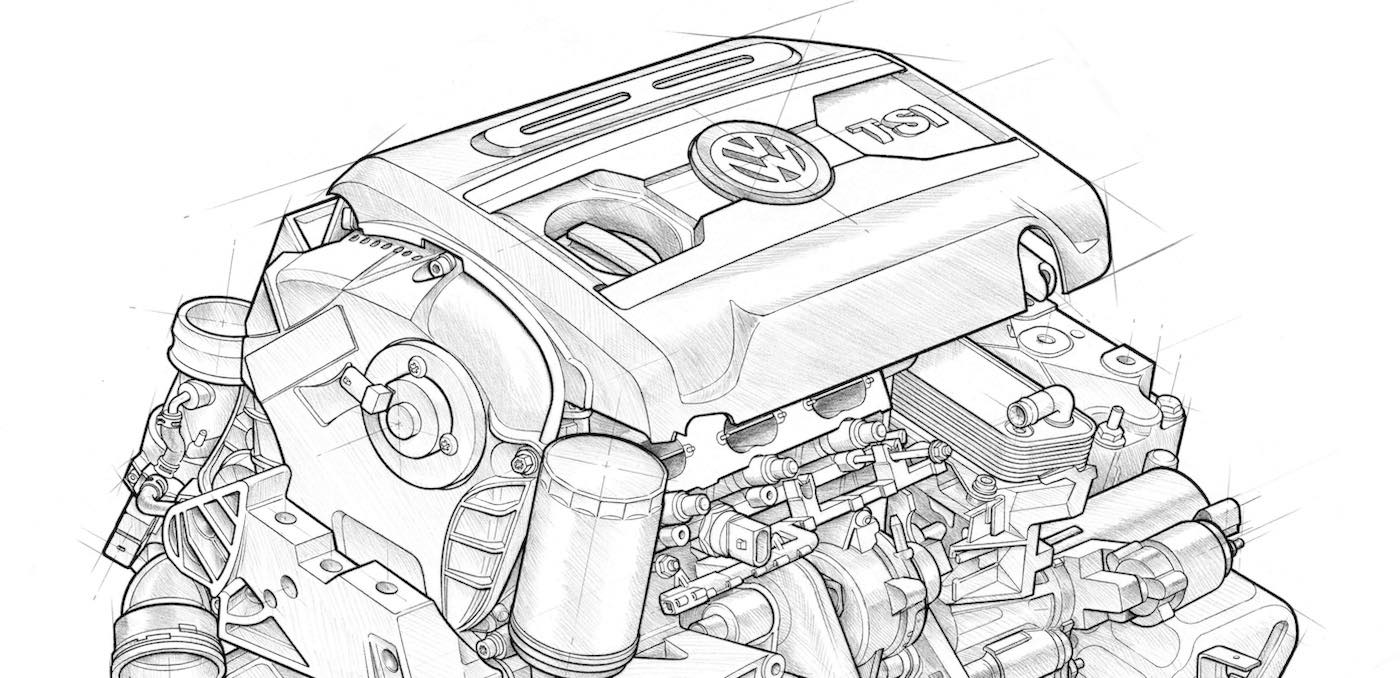
Underhood inspection
Check engine mounts and struts by rocking the vehicle fore and aft. Inspecting these items can reveal possible cradle damage.
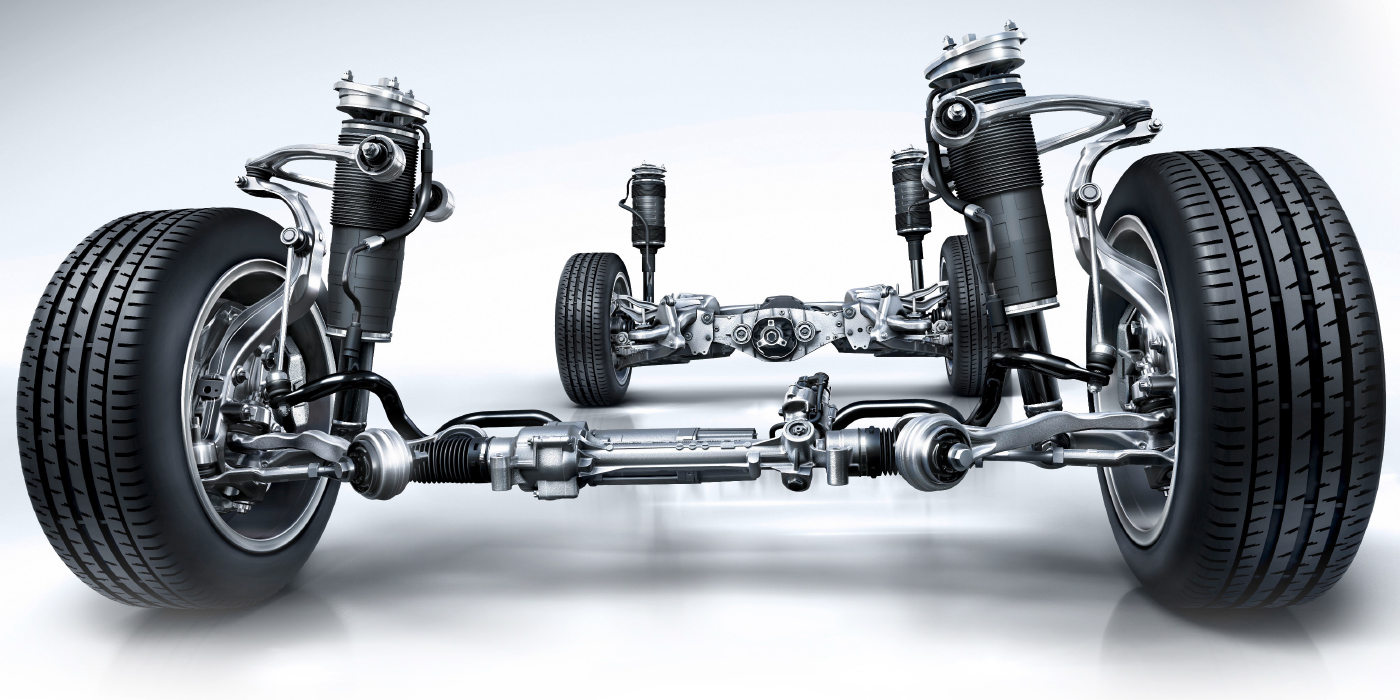
Check the power steering components. If these components are malfunctioning, it could cause a hard-to-steer complaint.
Inspect the upper control arm bushings if visible from under the hood.
Check the upper shock and/or strut mount bushings for signs of damage.
Raise the rack waist high
Perform a preliminary tie rod inspection. Grab the wheels at the 3:00 and 9:00 positions and shake.
Check the ride height with tape measurer by measuring the bottom of rim to top of wheel opening. Some alignment heads have a feature that can simplify this process.
Raise rack eye level, tires on turnplates
Inspect the power steering gear for leaks and play in the mounting bushings. When inspecting the steering gear, level the steering wheel and observe the position of the front tires. If both front wheels are turned left or right, check the engine cradle alignment. On most vehicles, you can verify that the hole in the engine subframe lines up with the hole in the unibody. Inspect the steering gear’s sector shaft for twisted splines. If equipped with a pitman arm it should be facing straight ahead with the steering wheel centered. If only one wheel is turned outward or inward at the front, inspect the steering arm.
Shake the tire to test outer tie rod ends and inner tie rod ends. If the vehicle has a pitman and/or idler arm, visually check to see if there is any play. Also, grab centerlink and try to move up and down.
Visually check the control arms for damage. Check the wear indicators on the ball joints. Inspect the control arm bushings for excess play and signs of damage like dry rot. Also, check the jounce and rebound bumpers for damage and possible heavy contact.
Inspect shocks and struts for mechanical damage. Always check for leaks. Rubber bushings and upper strut mounts that are damaged can cause headaches later on in the alignment process.
Check the springs for damage. On vehicles with struts, make sure the spring perch is in good shape and that and rubber or plastic insulators are still in place.
Jack up vehicle to unload the ball joints
Check lower load-carrying ball joints for up-and-down movement.
Check follower ball joints for in-and-out movement.
Lower the rack onto its leveling legs or lower lock position
Check the unloaded upper ball joints that are load carrying for up-and-down movement. If the upper ball joints are follower, look for in-and-out movement.
While the vehicle is in the lower position, look up into the fender well at the bottom of the upper strut mount bushings.
While the wheels are at eye level take a look at the tires. Make sure that the pressure, size and tread design correspond to the manufacturer’s recommendations that are printed on the tag on the door jam.