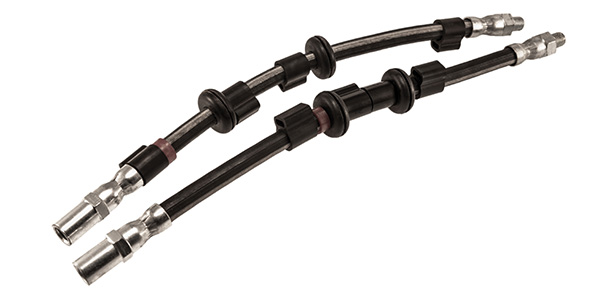
 Most hydraulic brake hoses are made to handle extreme conditions, but sometimes they do fail. After all, most brake hoses live in a tough environment and are subject to testing and regulations, unlike many other vehicle components. Rubber brake hoses are typically made of several layers of synthetic rubber and fabric such as a nylon weave for added strength, but if they are not properly installed or if harsh elements take their toll, failure can result. The best way to prevent failures is by performing a thorough physical inspection with your hands and eyes (and sometimes even your feet).
DOT Standards
Brake parts are some of the most regulated components in a vehicle and must conform to DOT standards FMVSS 106 and SAE J1401. Brake hose tests often go further than what a vehicle will experience in real-life conditions. Flexible rubber or stainless steel brake line must operate in a wide range of temperatures in a predictable manner. The hose must be flexible enough to allow pedal feel and firm enough to engage the ABS in all conditions. Regulations also require the hose to be able to bend and twist at various angles without collapsing, kinking or bursting. But, testing and the real world often have their differences.
Aftermarket brake hose (not OEM hose) must have two clearly identifiable stripes of at least 1/16 of an inch in width. The markings should be on opposite sides of the hose in a straight line across the length of the hose, called “torque stripes.” The marking should have DOT information FMVSS 106 or SAE J1401 printed on it somewhere. The stripes help prevent twisting during installation.
Inspection
A proper brake hose inspection should include checking all hoses for cuts, cracking or swelling. Brake hoses often crack around the metal sleeve that seals the hose to the metal fitting, so be sure to pay close attention to these areas.
Check that the hose is flexible and installed in the correct position. The clips should be in place and there should not be any contact with the frame or suspension throughout the normal range of steering and suspension travel. The hose should also have some slack when the suspension is fully extended.
Get a helper to pump the brake pedal to check for defective brake hoses. Hoses typically tend to fail near the ends. The hose flexes more at the end due to suspension and steering movement. This area is also more exposed to damage from debris and heat from the brakes.
Testing
DOT brake hose that is 3/16 (between 4-5 mm) is tested at 4,000 psi for two minutes, in which time it must not rupture. Smaller hose, 1/8 inch (3 mm), is tested at 7,000 psi. A machine flexes the hoses for 35 hours at pressure at many angles, and it must also withstand a pulling force of 325 pounds without separation from its end fittings during a slow-pull test. During a fast-pull test, the hose must hold up to 370 pounds without separation of the hose from its end fittings.
Other testing includes chilling the hose below -49° F for 70 hours without signs of cracking when bent around a cylinder. The chemical resistance to brake fluid is tested at temperature of 248° F for 70 hours while filled with SAE-compatible fluid, which is either DOT 3 or DOT 4 brake fluid. Hose is then tested at 4,000 psi burst pressure, and a further 70 hours at 104° F. Any cracks at magnification means the hose fails.
Corrosion
A 24-hour salt spray exposure test must show no corrosion on the end fitting, except at the crimping or on the surface of the labeling information. DOT tests do not account for longer-term exposure to salt or corrosion-causing moisture, which can be more troublesome in the Rust Belt area of the country where cars are routinely bathed in salt or salt brine during winter months.
In such cases, not only are hard (steel) lines likely to rust out to the point of leakage, but crimp fittings and hose ends are also susceptible to heavier-than-normal corrosion. While there is no recommended replacement interval for brake hoses since conditions differ among vehicles, drivers and the environment, inspection is the only way to spot a problem before a brake failure.
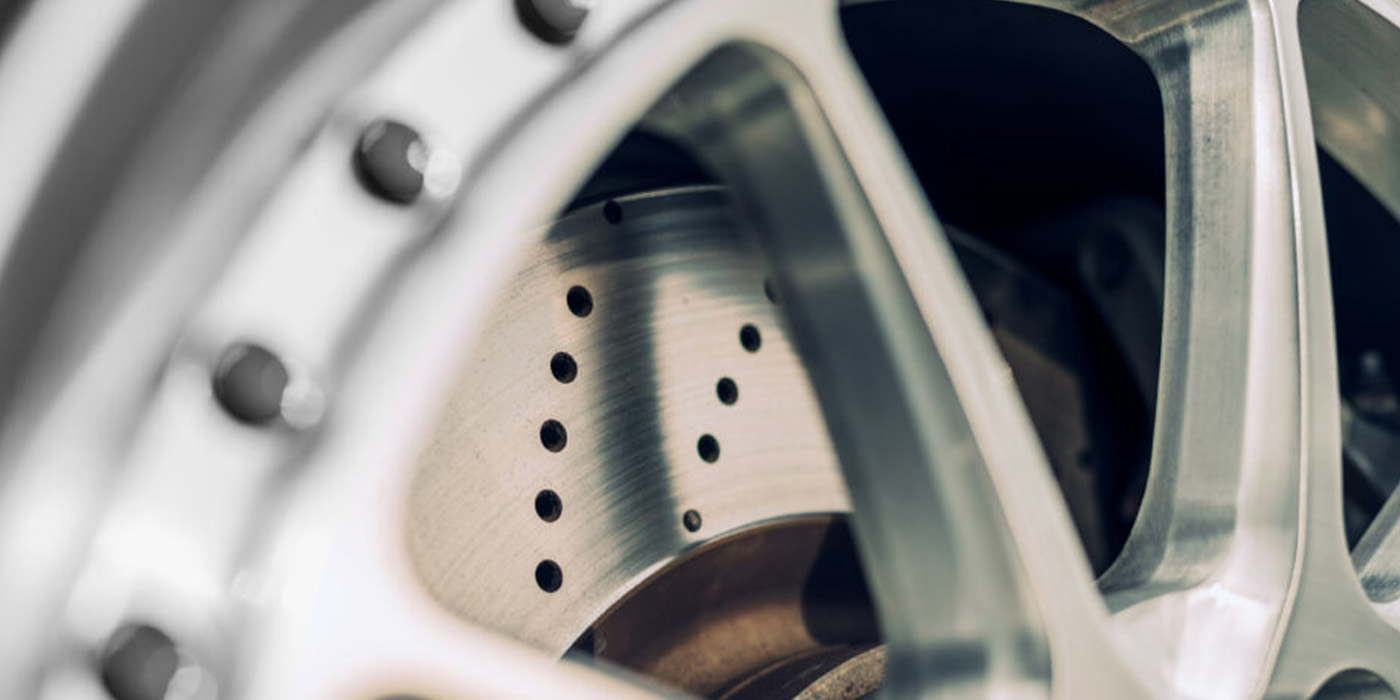
Stainless Steel vs. Rubber
Some customers with performance import vehicles may wish to upgrade their brake system by installing premium stainless steel hoses instead of rubberized brake hose. Stainless steel does offer some advantages over rubber in that it doesn’t flex and, therefore, gives the driver a better “feel” on the brake pedal. But today’s rubber hoses are also wrapped in nylon and flex very little. Stainless can withstand flexing and the outer layer is stronger than rubber.
Typical stainless hoses are layered with a PTFE nylon core inside a rubber hose that is wrapped in a braided stainless wire. Some manufacturers go a step further and wrap the stainless layer in a clear rubberized coating, which holds the braided line together to keep it from fraying on sharp objects. Once the braided layer starts to fray, it can be a sign of a potential failure. The line should be replaced and the underlying cause of the abrasion should be addressed.
Brake Hose Tips
1. Replace the hose if the brakes have gone through extreme thermal shock.
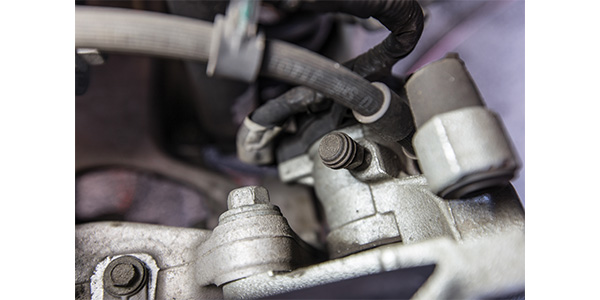
2. Check that the angle of the banjo fitting is correct.
3. Using a torque wrench on banjo fittings is recommended.
4. Be sure to use new copper washers any time you remove a banjo bolt.
5. Do not hang a caliper by the hose. Always attach a support.
6. Crimp the hose in the middle, not near the ends if you must clamp a line.
7. Replacement hoses must have the DOT markings. If not, don’t install it.
8. All replacement hoses should have a torque stripe, unless it is the original hose.
9. Make sure “torque stripe” or labeling information is straight when the hose is installed.