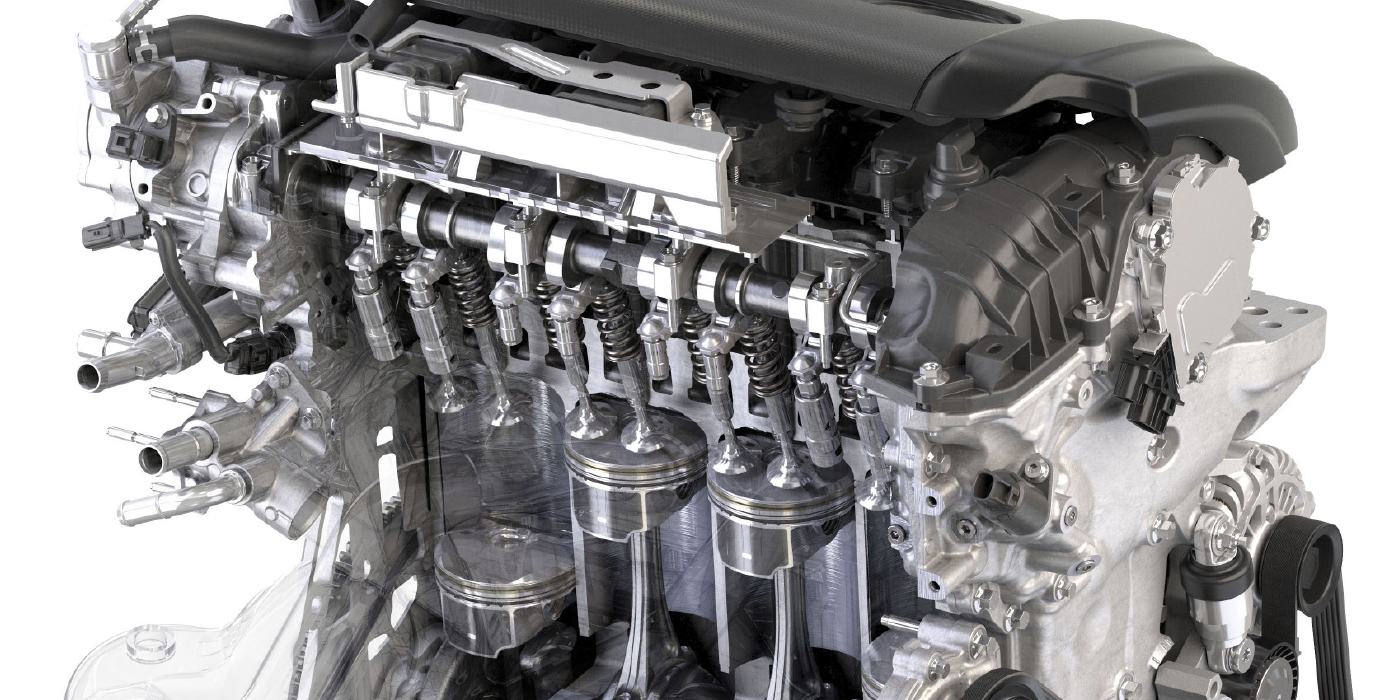
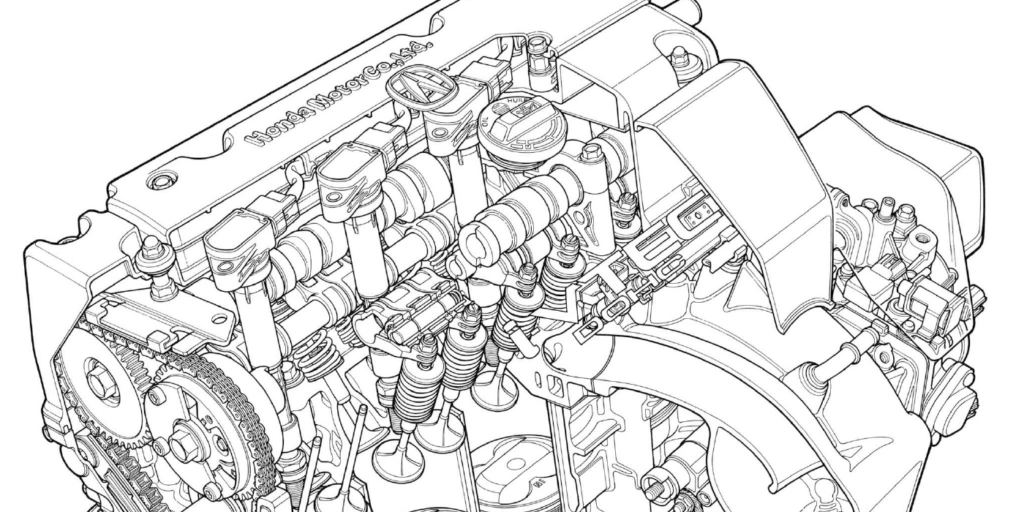
At cold start-up, a Honda engine rattles loudly for about two seconds. What could the possible cause be? Check to see if the variable valve timing control (VTC) actuator is defective.
Models
- 2008-2012 Accord
- 2012-2013 CR-V
- 2012-2013 Crosstour
Corrective Action
Replace the VTC actuator. This procedure does not require the complete removal of the cam chain.
Inspection Procedure
1. Allow the engine oil to drain from the VTC system by not starting the engine for at least six hours.
2. Start the engine and listen for a loud rattle on start-up. Do you hear a rattle that lasts about two seconds?
Yes: Perform repair procedure.
No: If you hear a different noise, continue with normal troubleshooting.
Repair Procedure
This procedure is in an outline format so you can also use as a checklist for the repair. If you need more details, refer to the service information.
1. Remove the strut brace.
2. Remove the engine cover.
3. Remove the ignition coils.
4. Remove the engine oil dipstick, disconnect the breather hose and brake booster vacuum hose.
5. Remove the two bolts holding the EVAP canister purge valve bracket to the cylinder head.
6. Remove the cylinder head cover.
7. Raise the vehicle on a lift.
8. Remove the right front wheel.
9. Remove the splash shield.
10. Remove the auto-tensioner cover.
11. Rotate the crankshaft clockwise to top dead center No. 1 cylinder.
12. Rotate the crankshaft counterclockwise to compress the auto-tensioner. Align the hole in the lock and auto-tensioner, insert a 1.2 mm diameter stopper lock pin.
13. Rotate the crankshaft clockwise to TDC No. 1 cylinder.
14. Lower the vehicle.
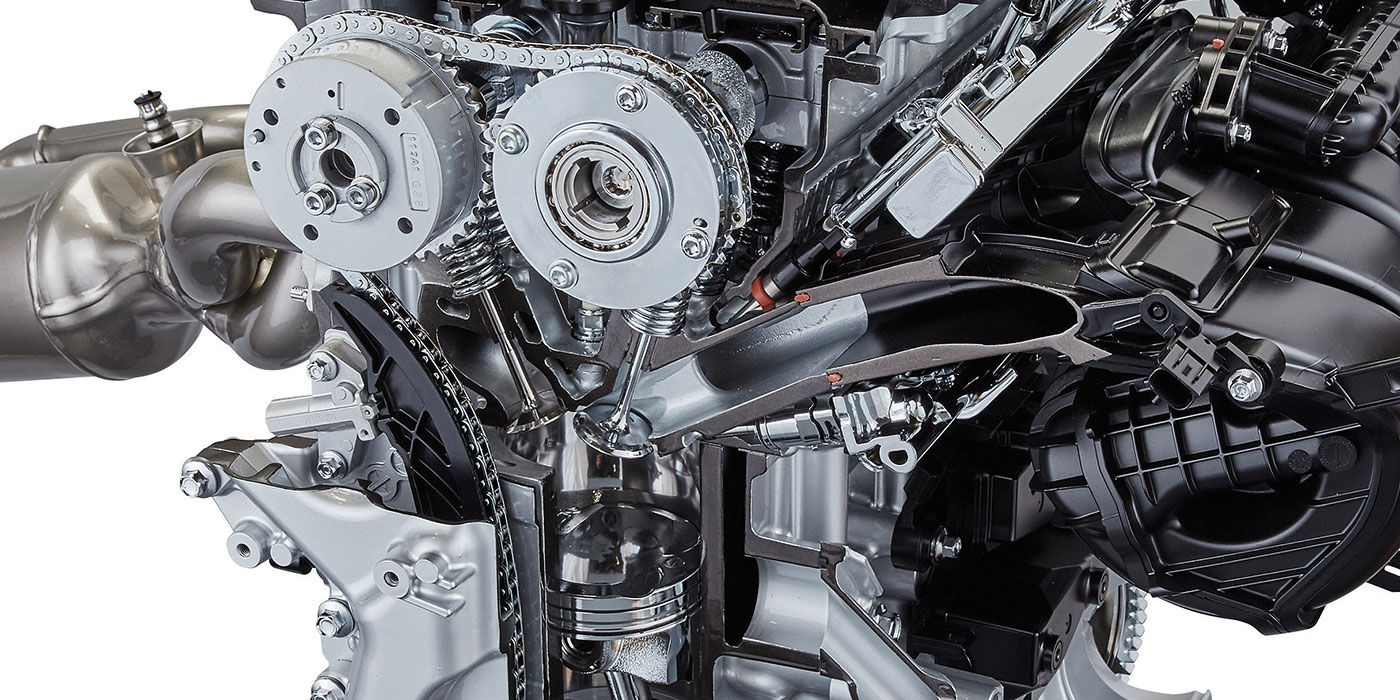
15. Mark the chain at the punch marks on the exhaust camshaft sprocket and actuator. Secure the chain to the sprocket with a wire tie.
16. In sequence, loosen the camshaft holder bolts two turns at a time.
17. Remove the five camshaft holders. Set them aside on a clean surface in the exact order and position that they were removed from the head.
18. Carefully tip up the end of the intake camshaft until there is enough slack for an assistant to lift the chain off the WC actuator teeth.
19. Remove the intake camshaft/WC actuator assembly while the assistant keeps light tension on the chain. Place the camshaft/VTC actuator assembly on a clean, padded workbench.
20. Secure the timing chain to the A/C compressor hose using a zip tie to keep it from falling into the front cover.
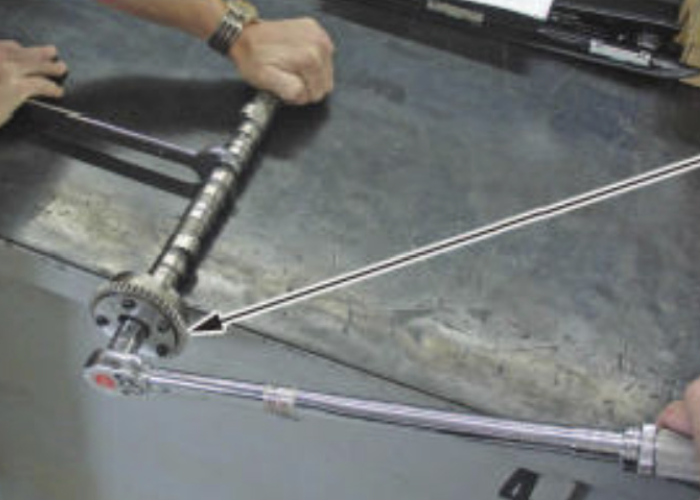
21. Hold the camshaft with a wrench, remove the actuator mounting bolt, then separate the actuator.
22. Before installing the new and unlocked VTC actuator onto the camshaft in the unlocked position.
23. Install the unlocked actuator.
24. Once fitted, with the actuator facing you, carefully rotate it counterclockwise until it engages the camshaft locator pin. When installed and rotated this way the VTC actuator will not lock. Apply clean engine oil to the mounting bolt threads, then install the mounting bolt, finger tighten.
• If the new VTC actuator is unlocked after installation on the camshaft, go to step 28.
• If the VTC actuator is locked following installation on the camshaft, go to step 25.
25. To unlock a locked VTC actuator, apply clean engine oil to the mounting bolt thread, then install the mounting bolt on the actuator.
26. Cover the pressure port No. 1 on the camshaft with several layers of electrical tape. Secure with a wire tie.
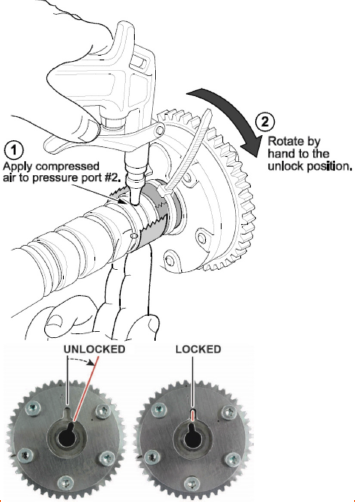
27. Apply compressed air to pressure port No. 2. At the same time, rotate the actuator by hand to the unlocked position.
28. Have an assistant hold the camshaft/VTC actuator assembly steady on the padded workbench with an open-end wrench. Use a torque wrench to torque the mounting bolt to 113mm (83lb-ft).
NOTE: Be careful not to scratch or damage the camshaft. Also, do not use an impact wrench to tighten the bolt. It will cause damage to the VTC actuator housing, vanes, or lock pin.
29. After the bolt is torqued, rotate the actuator to the locked position.
30. Remove the wire ties as an assistant keeps tension on the chain.
31. Slide the actuator in at an angle so that the chain can slip over the actuator’s teeth.
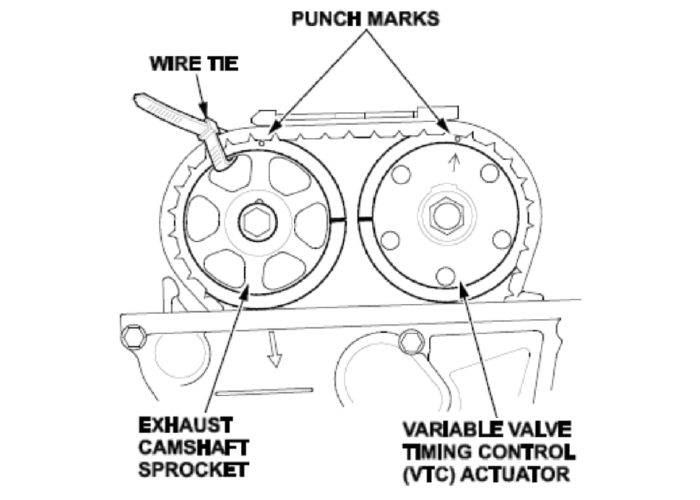
32. Line up the marks you made on the chain with the marks on the exhaust camshaft sprocket and actuator.
33. Apply oil to the journals and caps. Lower the camshaft and actuator onto the journals.
34. Install the cam holders. Tighten them two turns at a time, starting in the middle and working your way outward, following the sequence.
35. Remove the lock pin from the auto-tensioner.
36. Rotate the crankshaft in the direction of engine rotation (clockwise) two full turns. Then stop at the TDC mark. Make sure both camshafts line up as indicated in step 15.
37. Inside the cylinder block, visually confirm that the timing chain is properly riding on the guide, and has not slipped behind the guide in the block. If so, realign the chain.
38. Remove the old sealant and reseal. Reinstall the auto-tensioner (chain case) cover. Wait 30 minutes before adding oil. Then wait three hours before starting the engine.
39. Check the valve clearance using a tappet adjuster. Adjust if needed.
• Intake: 0.21-0.25mm (0.008-0.010”)
• Exhaust: 0.25-0.29mm (0.010-0.011”)
40. Following adjustments, use a tappet locknut wrench to torque the nuts.