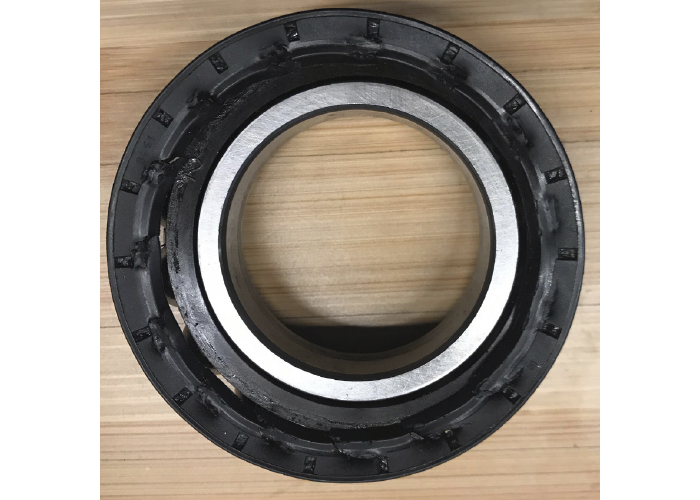
A cartridge or Gen 1 wheel bearing needs to be pressed into the knuckle of the vehicle. These types of bearings are used by Toyota, VW and many other import nameplates. The labor time for installation of these bearings range between 1.5 to 2.5 hours.
Inspection
Cartridge or Gen 1 wheel bearings have the same failure symptoms as hub units and bearing sets. Noise and play are the main signs of failure. But, ABS codes for wheel speed sensors are another common sign the bearing has failed.
These include codes for erratic or no operation. This is because the encoder or tone ring is in the seal.
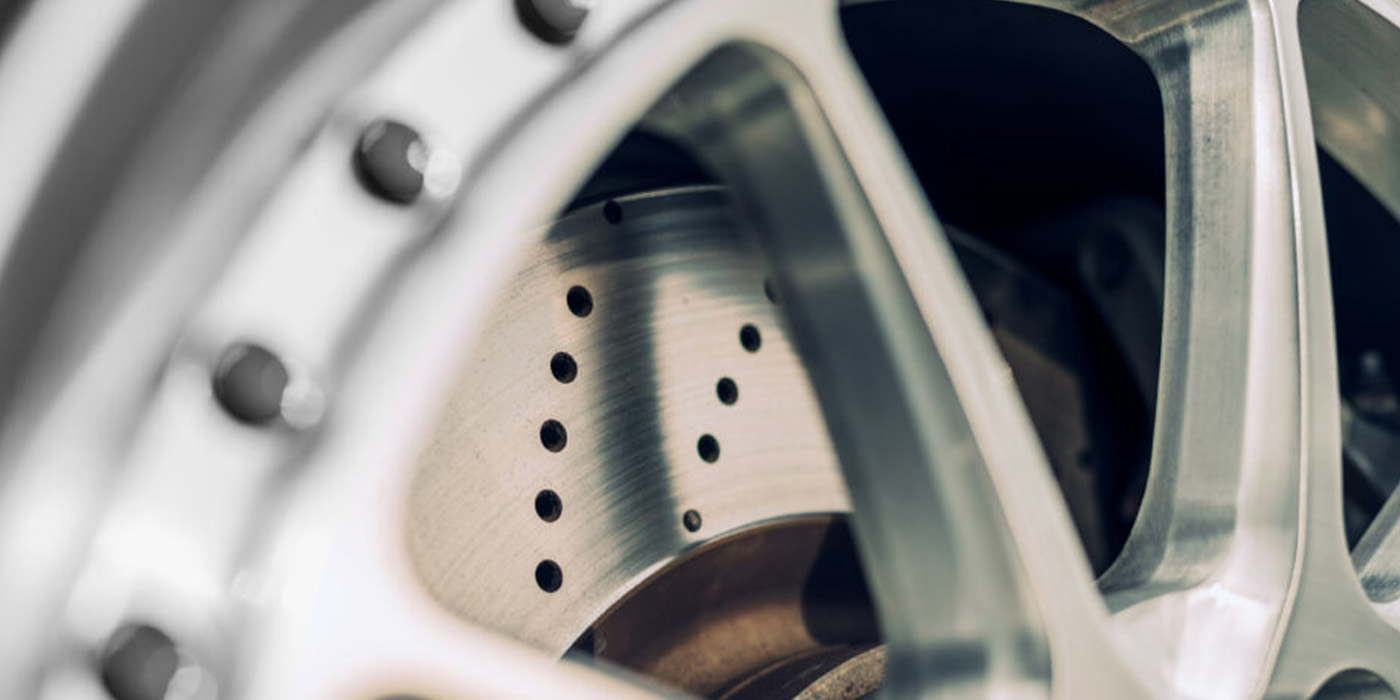
On the cartridge-style bearing, look to the condition of the seals for evidence that the pre-load was destroyed. On the inner seal, the balls will impact the seal, and the reluctor ring on the outer seal will show signs of heat damage. When the ring separates from the rubber material, the wheel speed sensor stops working. The tone ring is magnetic and can be detected using a card that locates the permanent magnets in the seal.
Removal
Removing a Gen 1 or cartridge-style wheel bearing is not an easy task. Pressing out the bearing requires significant disassembly and force with a puller or hydraulic press. Make sure to use the correct adaptor or fixtures on the press.
The main precaution is not to use an impact to remove the axle nut because an impact on some vehicles can damage the needle bearings on CV joints. The key point is not to whale away to break the nut loose with the impact, but you can use an impact to run the nut off.
While an air impact may not seem as powerful as the engine, if the suspension is at full droop, the angles of the joint could damage some of the delicate surfaces. Also, the rattling caused by an impact is not good for the spider gears in the differential.
Knuckle and Axle Inspection
Once the old bearing has been removed, take the time to clean and inspect the bearing bore and the surfaces of the axle that make contact with the bearing. Any debris or imperfections can prevent the bearing from seating properly and prevent the pre-load from setting properly.
Check the bore for roundness using a snap bore gauge. The gauge should rotate in the bore easily. Any distortion in the bore can cause a new bearing to fail prematurely.
Installation
When pressing in the new bearing, make sure the adapter does not come in contact with the seals. Also, make sure the seal with the tone ring faces inward so it will be facing the wheel speed sensor.
When pressing the bearing into the bore, make sure it is not cocked or misaligned. If you have to put a lot of torque on the forcing screw or hydraulic pressure on the bearing, stop and check your set up.
Pressing the flange into the inner race can be nerve-racking. First, it needs to go in straight without damaging the seal. Second, it is difficult to determine how far the flange needs to be pressed into the inner race. A top tip is to measure the distance between the flange and knuckle before disassembly. For most vehicles, tightening the axle nut will set the final depth.