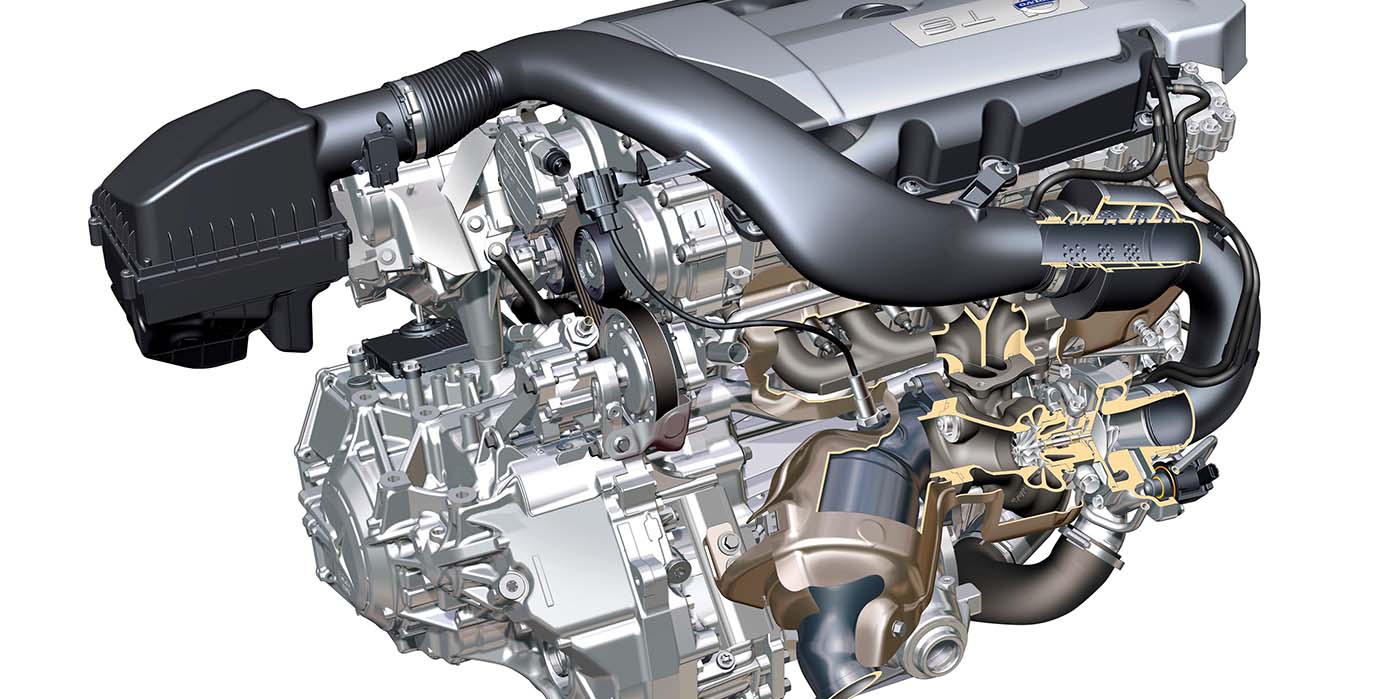
Last month, we looked at the timing chain setup on the Audi 3.2L engine and saw how a lack of oil changes can adversely affect the tensioners and cause engine failure. We’ve also seen similar issues with the timing chain setups on the 2.5L 5-cylinder BGP engine that came out in 2005, and the 2.0L 4-cylinder CCTA engine that came out in 2008.
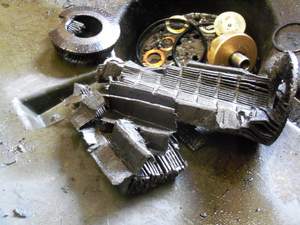
It was apparent when the 2005 VW Jetta with the 2.5L engine came to our shop that there was no compression. The check engine light was on and DTC P1340, Cam Position Sensor Incorrect Correlation, was stored. There was no oil on the dipstick, and when we finished the job and changed the oil and filter, we could see that the filter was trashed (see Photo 1).
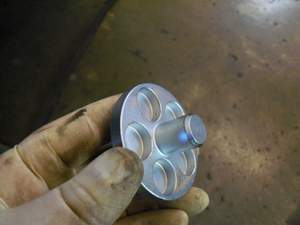
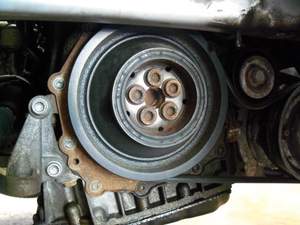
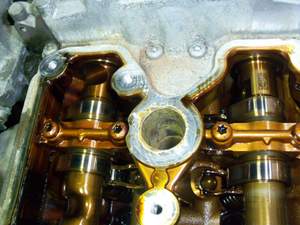
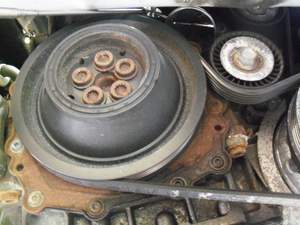
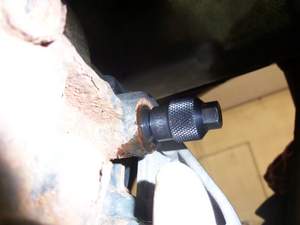
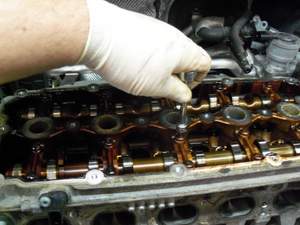
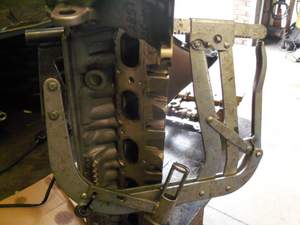
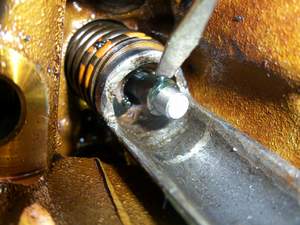
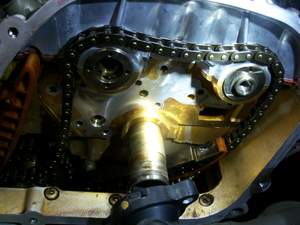
We were fairly certain that the cams were out of time and there were bent valves, so we got the customer’s OK to remove the cam cover to see just how far the cams were out of time. The cam lockdown tool we used is the same as the tool for the 3.2L. Most of the tools are the same, with the exception of the special socket to turn the crankshaft (see Photos 2 and 3). It was easy to see that the threaded holes the tool screws into were almost 180º off (see Photo 4). It was time to pull the head and assess the damage.
FIXING THE ENGINE FAILURE
1. Turn the crank until the timing mark lines up. It’s difficult to see the mark behind the pulley (see Photo 5). A mirror can be helpful.
2. The plug for the crank lockdown pin is near the front of the engine on the firewall side. Pull the plug and insert the lockdown pin (see Photo 6).
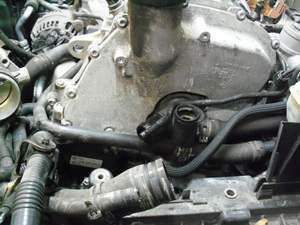
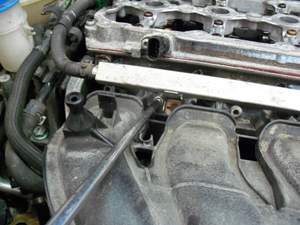
3. Remove the intake manifold (see Photo 7).
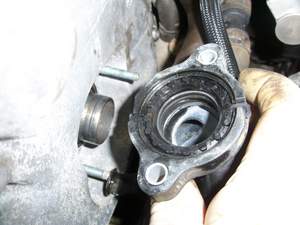
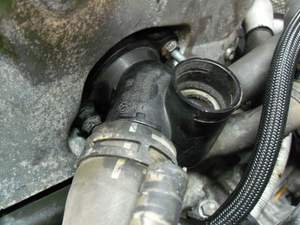
4. Remove the water flange that comes through the timing cover, and then remove the timing cover (see Photos 8, 9).
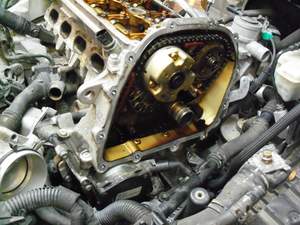
5. Remove the cam sprockets and then the chain tensioner (see Photos 10 and 11).
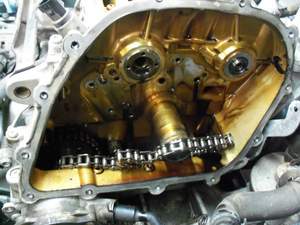
6. Remove the cam tray, cams (see Photo 12) and the head bolts, and the head is ready to come off.
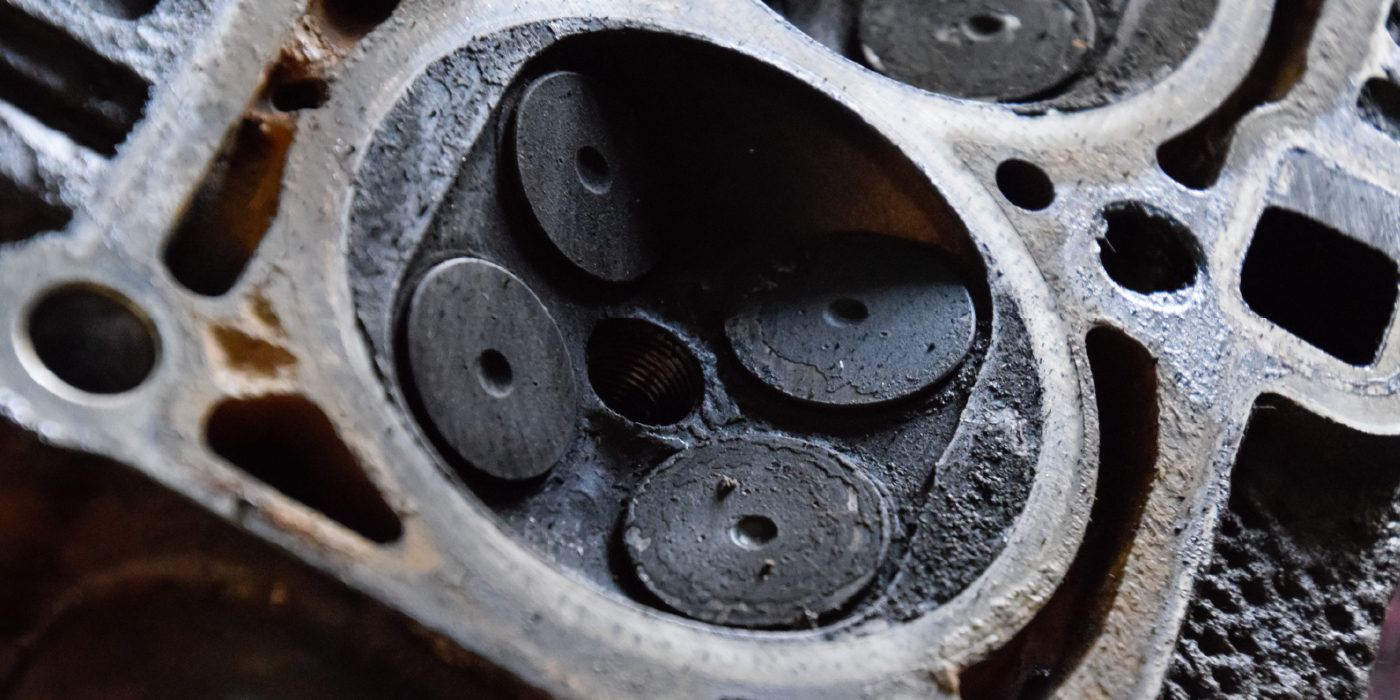
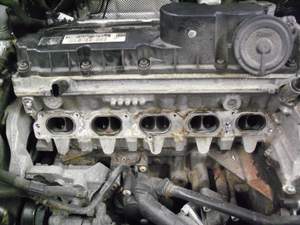
All of the intake valves are bent, so we’re going to replace all 10 intake valves (see Photo 13). Always make sure the valve retainers are seated properly after lapping in the new valves (see Photo 14).
7. Once everything is cleaned up, the head is ready to be put back on.
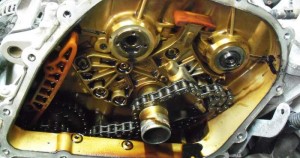
8. After torqueing the head per the factory recommendations and using new head bolts, you can lay the cams in place. The threaded bolt holes for the cam lockdown tool should be facing up, and the sealing ring gaps should also be at the top (see Photo 15).
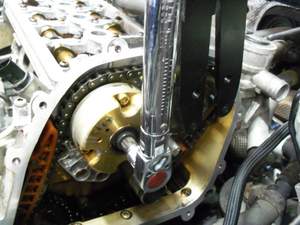
9. Install the cam tray and follow the recommended torqueing sequence. Then, lock the cams down (see Photo 16).

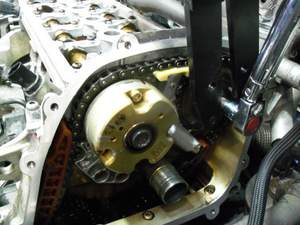
10. Now that the cams and crank are all locked down and in proper time, hang the timing chain behind where the sprockets go, and then install the sprockets and new tensioner assembly (see Photos 17, 18 ). The sprockets should remain loose on the cams.

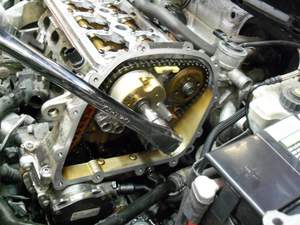
11. Pre-tension the chain using the spanner wrench (see Photos 19 and 20);
Snug the new cam bolts, and then finish torqueing the bolts (see Photo 21).
12. Once the timing cover is back on, install new sealing rings in the cooling flange and then install the flange (see Photos 22 and 23).
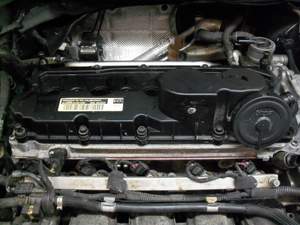
13. Install the intake manifold (see Photo 24) and cam cover (see Photo 25).
14. Finish attaching the hoses and secure any wiring as necessary. Use an airlift and fill the coolant.
15. Once you change the oil, the car is ready to start.
As you can see, the timing setup on the 2.5L engine is very similar to the 3.2L engine and most of the tools are the same. But, the 4-cylinder is very different. There are colored links on the chain that line up with marks on the sprockets. Your service information system should have a good description of the process, if a vehicle with one of these engines finds its way into one of your bays.
Cars have changed a lot in the past 30 years. We’ve seen timing gears turn to chains, timing chains turn to belts, and now some vehicles are going back to chains. When properly maintained, any of these setups work well and should last a very long time. But when maintenance is neglected, parts fail and we are the ones who need to make the repairs.
I decided years ago that I wanted to invest in the tools and training to keep up with the changing technology in our industry. It’s time you make that same decision because there are plenty of service opportunities awaiting.