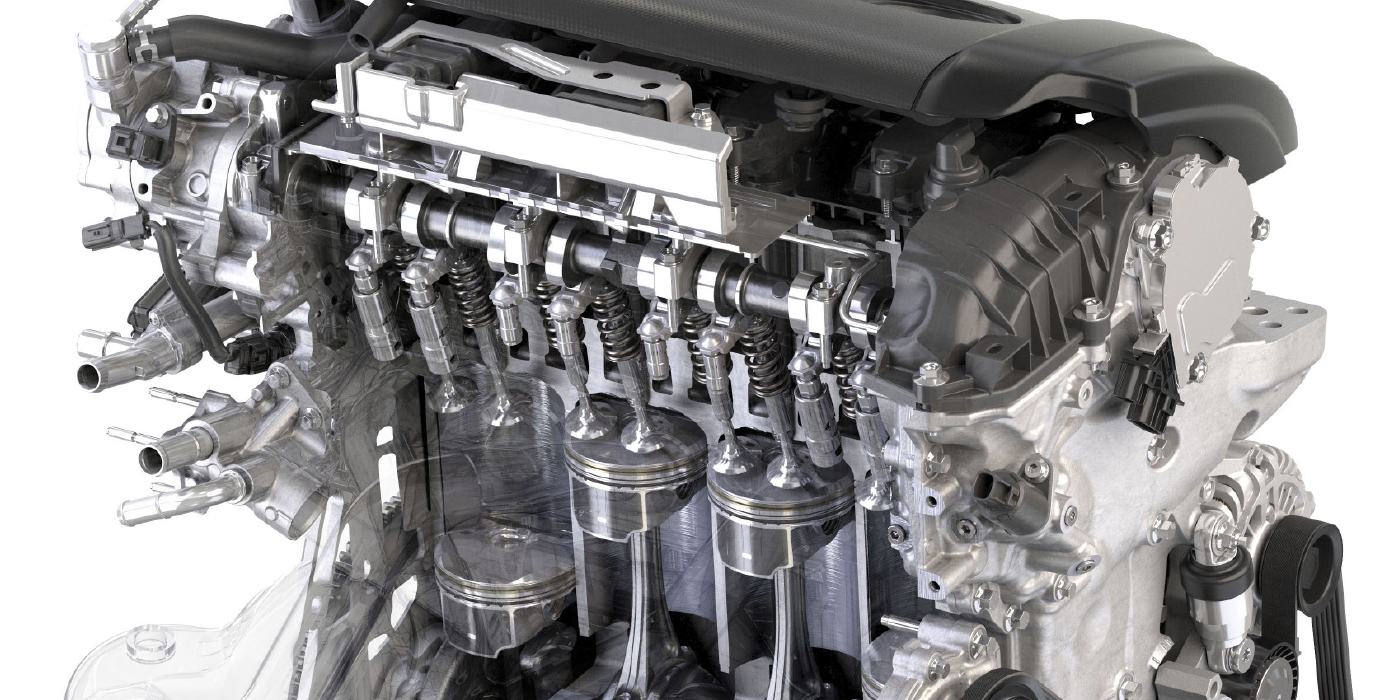
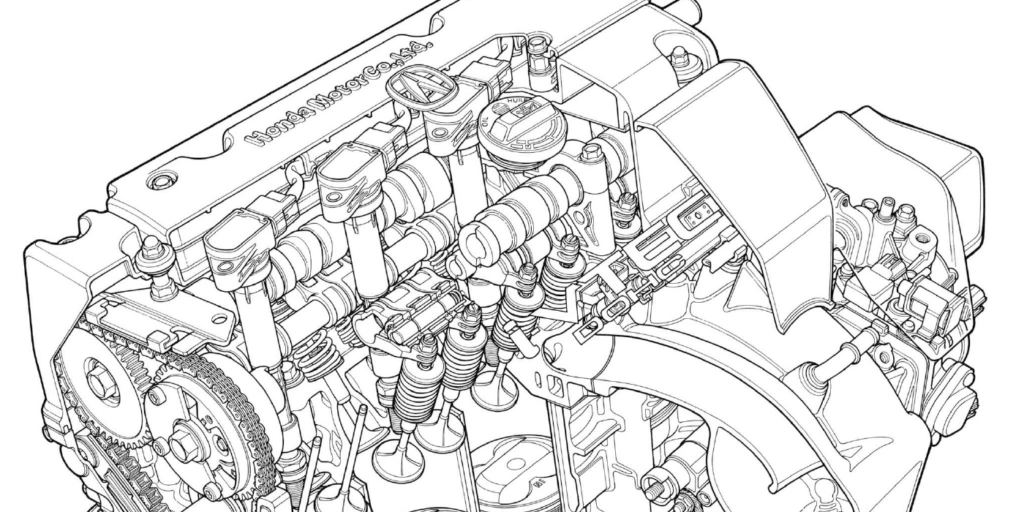
This month’s article will be a case study on a 2010 Kia Rio with a 1.6L engine that details the replacement of the timing belt as a maintenance item. Like most carmakers, Kia is moving away from timing belts and going with timing chains. Only the 1.6L used in the smaller Kia models continues to use a belt-type main drive with the camshafts tied together by a chain under the valve cover. Some models are equipped with Kia’s version of variable cam timing, known as Continuous Variable Valve Timing (CVVT).
By now, we should all be familiar with this system that uses engine oil pressure controlled by an oil control valve to advance and retard the intake cam timing. This is based on sensor inputs to the ECU that decide the ideal cam timing for a given set of parameters.
Test Job
In our shop, we use timing belt replacement as a type of test job for our entry-level techs to see if they can handle a more challenging job that requires the skills we need in today’s shop environment. By watching how they handle the job, you can quickly see if they’re doing all the right things, such as looking the job over on the service information and confirming that all parts are on hand to complete the job.
From there, I’ll look at how they prepare their work area in anticipation of removing the numerous parts required to get to the belt.
As mentioned earlier, the car in the bay was getting a belt replacement as preventive maintenance at the 90,000-mile mark as recommended by us as well as Kia. Luckily, the belt did not break or we would be removing the cylinder head to repair bent valves. It is our policy when we are replacing a timing belt that we also replace the water pump, drive belts and any seals that show signs of leakage. It only makes sense since we have good access to the pump and seals with all of the labor involved in accessing the belt. Plus, it’s a good way to ensure the car won’t be back for another 90,000 miles. I also like to have the tensioner and idler pulleys available should they become necessary during the service procedure.
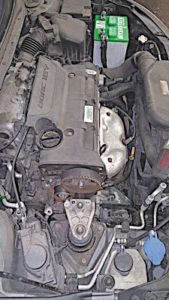
I watched as the young tech got started, and I was pleased to see him get right to it — by removing the right front wheel and access panel in the wheel well (it drives me crazy to see guys working around the wheel rather than removing it); opening up the belt area; and quickly removing the plastic engine cover. Before removing the drive belt, he took the opportunity to loosen the water pump pulley bolts using the tension of the drive belt so they could easily be removed after the belts came off. He also did a good job to check all of the rotating parts as the belts were removed to identify any additional problems.
Step by Step
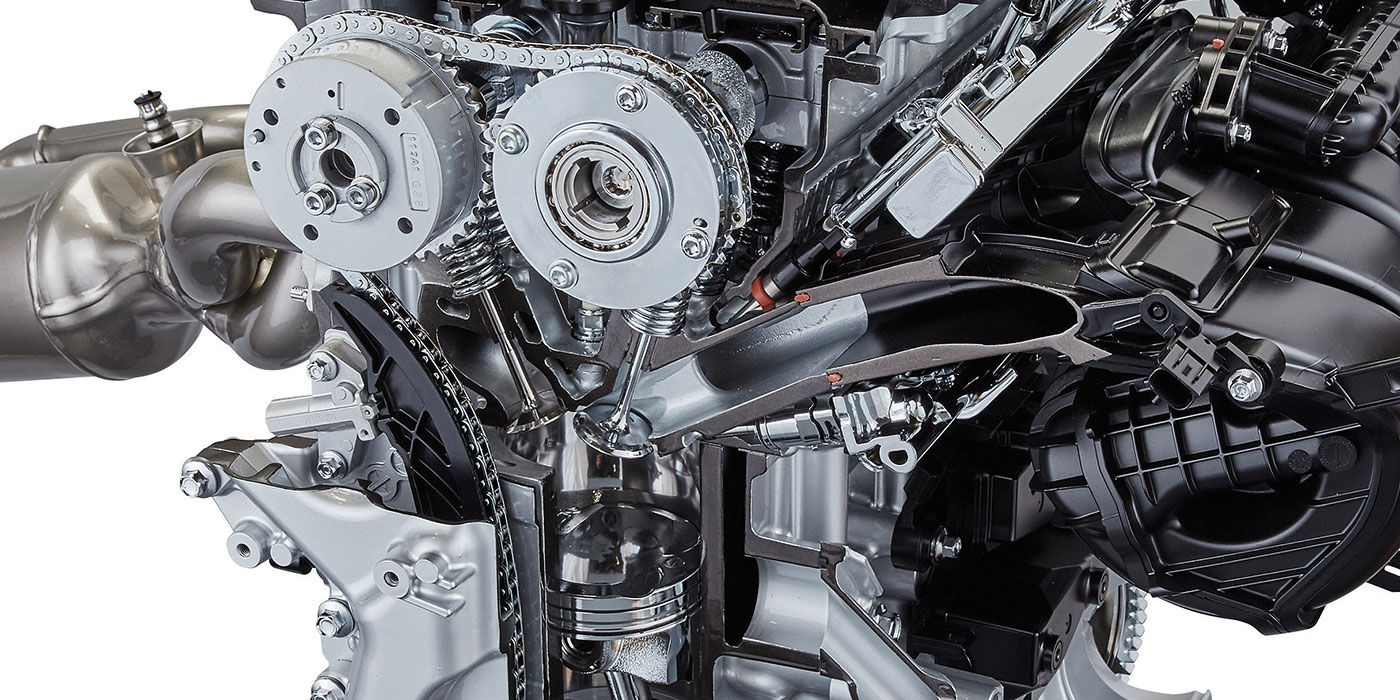
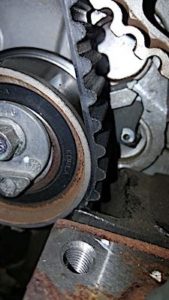
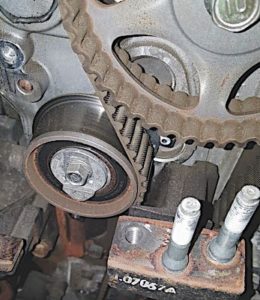
With the drive belts and water pump pulley removed, next up was removing the upper timing belt cover. Again, he went right to the next step of turning the crank pulley in the proper clockwise direction to bring the timing mark to TDC, while confirming that the camshaft marks were where we expected to confirm the cam timing. There was a hole in the cam gear that lines up with a corresponding notch in the head. He used a pin to feel for the notch to be sure the cam lined up with the mark.
We were glad to see everything line up as expected. With the mark being hard to see, he made his own reference marks on the pulley and head.
His next step was to remove the crank pulley and the washer behind it. I did remind him to make note of what side of the washer was facing outward so he could be sure to reinstall it in the correct direction.
At that point, I got that “look” that clearly indicated he wanted to be left alone so he could take care of the job at hand. I have to say he was doing a good job — he had a clear area for the parts as they were removed; he was careful with the hardware to keep it together for each component; and his tools were in order, so I stepped back and let him work.

Tips from Experience
One thing that didn’t seem to get any attention in the service info was the removal of the right-side motor mount bracket. We find it easier to use a jack stand or floor jack to support the engine while the bracket is removed. The downside is the car cannot be raised on the lift with the bracket removed. There’s no reason why an underhood support bar can’t be used — our guys just prefer supporting the engine from below.
With the engine supported and the bracket removed, the tech made quick work of removing the lower cover, backing off the tensioner and removing the belt. Again, with the belt removed, he checked all of the pulleys for smooth, quiet operation, and he also checked that none of the sealed bearings were leaking. When the covers were removed, I saw him grab a flashlight to look closely at the cam and crank seal for any signs of leakage.
He moved forward with the job, replacing the water pump and reinstalling the timing belt. When installing the belt, he started with the crank pulley, moved on to the idler and then to the camshaft, and finally to the tensioner side. With the belt slack on the tensioner side, he loosened the two tensioner mounting bolts to let the spring “tension” the belt. The service information provided this tip to check the tension: With slight pressure on the idler side of the belt, the cog (tooth) of the belt should cover about half of the tensioner locking bolt.
From there, the covers and other parts were washed and reinstalled. When all was said and done, the young man did a good job and we were confident he could handle these types of jobs in the future — a win for both the shop and our young tech.
If you take anything from this article, I hope it is confirmation that it is pretty much up to the shop owners, service managers and experienced techs in the industry to train our future workforce. I’ve had good luck growing my own techs; it’s the best way to develop loyal employees and maintain quality service levels in the process.
More On Kia’s CVVT System
The most important thing to remember if you should be confronted with any codes related to cam timing is that the system needs a good, clean supply of motor oil to function. The first step is to always check the oil, and if it’s down more than a quart and a half, you may have already found the problem. The best scenario is to change the oil and filter, clear the code and run the two drive cycles to see if the code returns. If it does and the oil level is good, it could point to the oil control valves, which have been known to have some problems.
The valve is easy to check. With the valve removed, apply 12 volts to the terminals to be sure the valve moves, but apply the voltage for only a short time. Since the valve normally operates on a duty cycle, it could be damaged with too much full voltage. If the valve doesn’t move as expected, inspect it closely for any sign of debris or metal chips. If you find something, clean it out with compressed air, cycling the valve if necessary. If you get it clean, reinstall it and perform the drive cycles.
Should you come across an engine that shows signs of sludge, be sure that the filter that is screwed into the head to protect the valve is clean.