The 2006 Saab 9-3 Sport sedan came in on the hook and the tow truck driver said, “I think it needs a fuel pump.” The gas gauge was reading less than a quarter of a tank and the low fuel warning light wasn’t on, so a quick fuel pressure check was in order. The test showed zero fuel pressure, so I called the customer and asked “does your fuel gauge seem to read normally?”
It’s a good question to ask because these cars are prone to have sending unit issues. Sometimes the gauge will stick at full for a couple hundred miles and then suddenly, while you’re driving, the gauge will drop to almost empty. Other times, they seem to operate normally and will stick near a quarter tank of gas, but the car will run out of fuel. She told me she hadn’t noticed a problem, but before we ordered a fuel pump assembly we put in a few gallons of gas and the car started right up.
Sending units are part of the fuel pump assembly, but they are also available separately, so instead of paying $500 for a new pump when it might not be necessary, the sending unit is only $66. If it were a higher-mileage car, we would recommend the whole assembly, but we always give the customer the option of doing the whole pump or only the sender. But since this was a lower-mileage car, I thought that doing just the fuel sending unit would be sufficient. They are readily available, so let’s get to work.


STEP-BY-STEP PROCEDURES
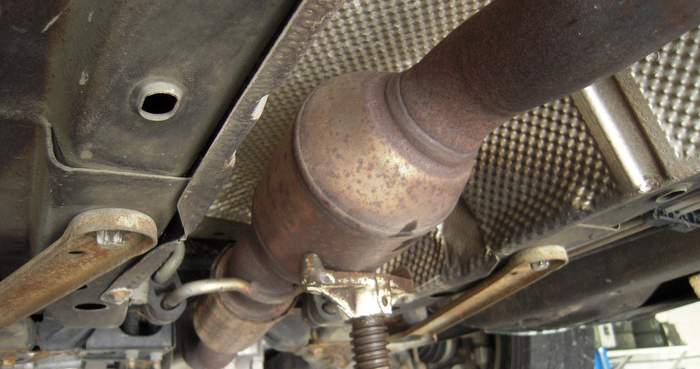
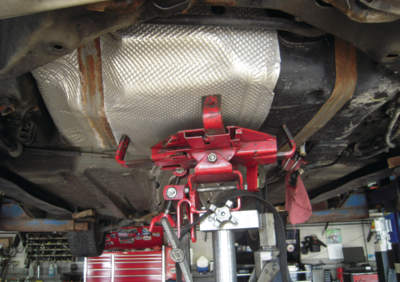
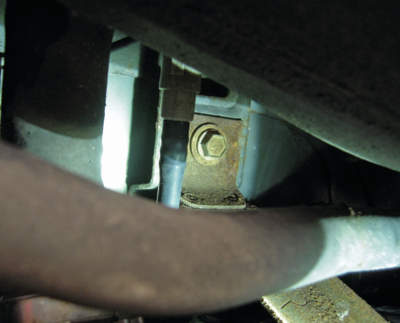
1. To remove the fuel tank, you first need to remove the exhaust (see Photo 1). Some cars have an access plate so you can get to the pump without dropping the tank, but this car is not one of them.
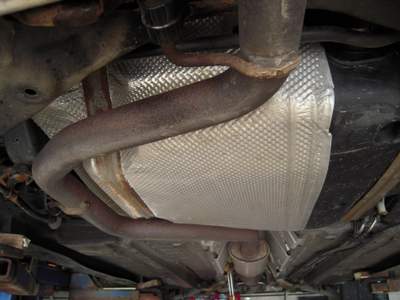
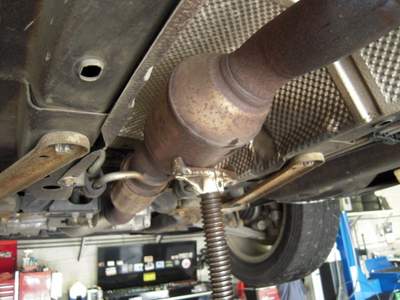
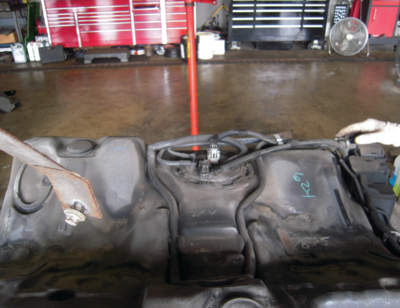
2. Make sure to support the converter so the flex pipe doesn’t break (see Photo 2), and if you live anywhere in the northeast like we do, you’ll need a smoke wrench to separate the front pipe from the back (see Photo 3).
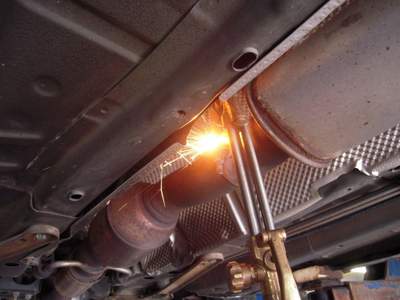
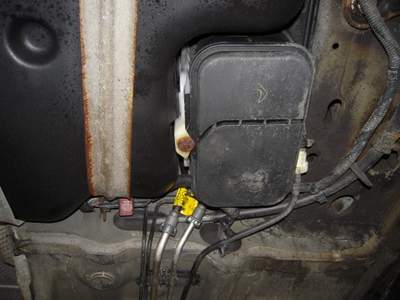
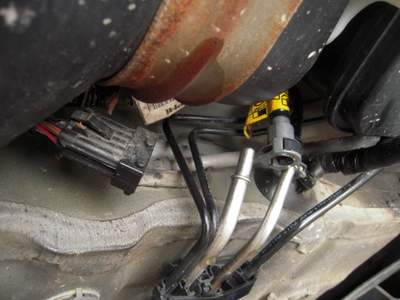
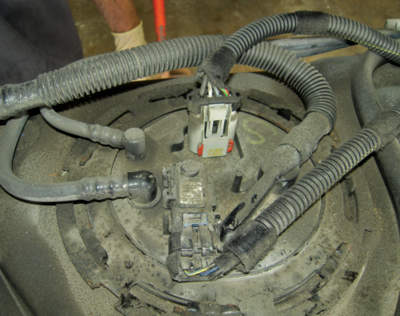
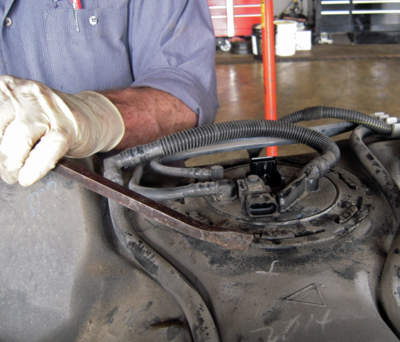
3. There is one main electrical plug and three fuel lines to disconnect from underneath (see Photo 4 on
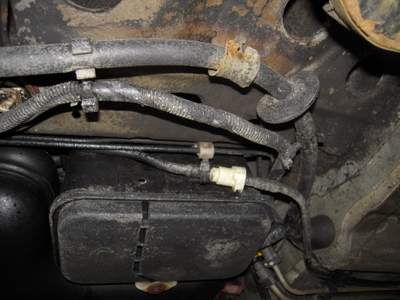
page 35). Disconnect the main feed and return lines along with the electrical plug (see Photos 5 and 6 on page 35), and then the vapor line to the right of the canister (see Photo 7).